We have been prepping the Chevybaker for some time. The mechanics were first and now we move on to some of the cosmetics. Honestly the interior was pretty bad and if we wanted girls to ride in the car we had to make some corrections.
Before August 3rd: We had two references for upholstery. The first was from a mobile mechanic (who worked on our brakes) and the second was from guys at the office who raved about a particular place. We choose the 2nd place because the “guys at the office” are true “car guys” whose projects make ours look childish. With the help of a bilingual friend (my Spanish maxes out after I order drinks) we were able to relay our needs, get a quote, and schedule delivery of the ChevyBaker for August 3rd.
Before Pics:


August 3rd: All of the prep work was done on our end. Everything was bagged and tagged. Anything that needed cleaning was cleaned. All of the sound/heat shielding was installed, and with 2 hours until delivery we asked our friend to call the shop and confirm. She reported back that the guy (shop owner) was going on vacation starting on the 4th and would be gone for two weeks. She explained that we had an agreement and that “hands were shook.” (remember when we shook hands). Nope - going on vacation!
So, in the afternoon of the 3rd we went for the original reference. We discussed options, pricing, and availability as before. The quote was $500 less than the 1st placeeven after adding a few “features”. The options discussion was highly detailed, the owner seemed very engaged, and they took the car on the next day.
August 4th: Again with the help of our bilingual friend we dropped off the car. The options were covered again in even higher detail now that we could point to and touch the ChevyBaker. We paid a little upfront to cover materials and they said we would have the car back in 4 weeks. After spending a year on the motor remounting this seems like nothing.
Pictures prior to delivery:
The trunk fiber board that seperates the trunk from the interior.
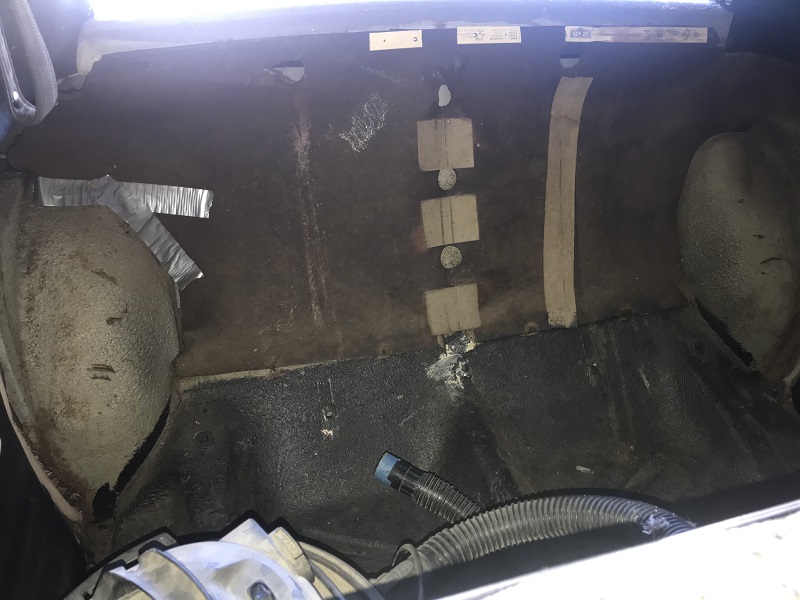
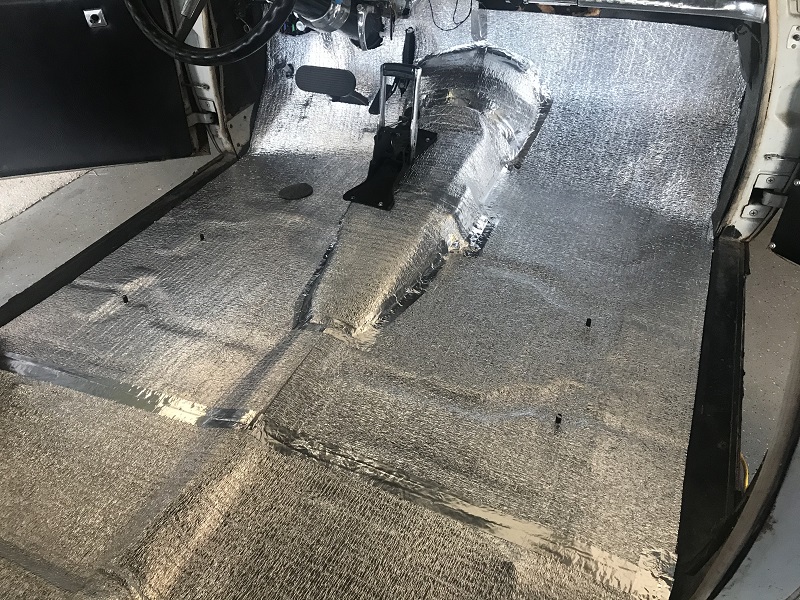
We cleaned down to bare metal on the floor and roof and then installed sound/heat barrier material. This was doubled up in the front area of the floor.
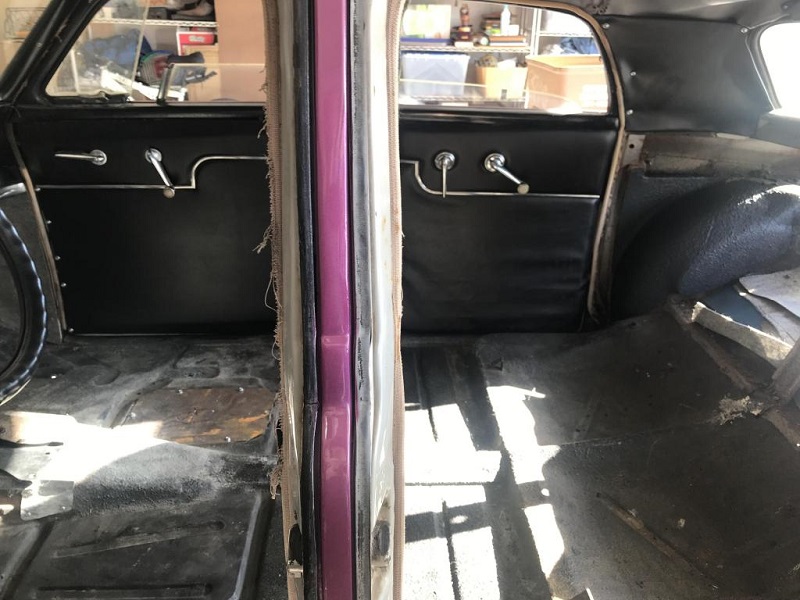
Take a look at the passenger door molding (below the handles). If you look at the drivers side (see abov) you will see the molding is actually upsidedown. You will see this was corrected in the upholstery shop.
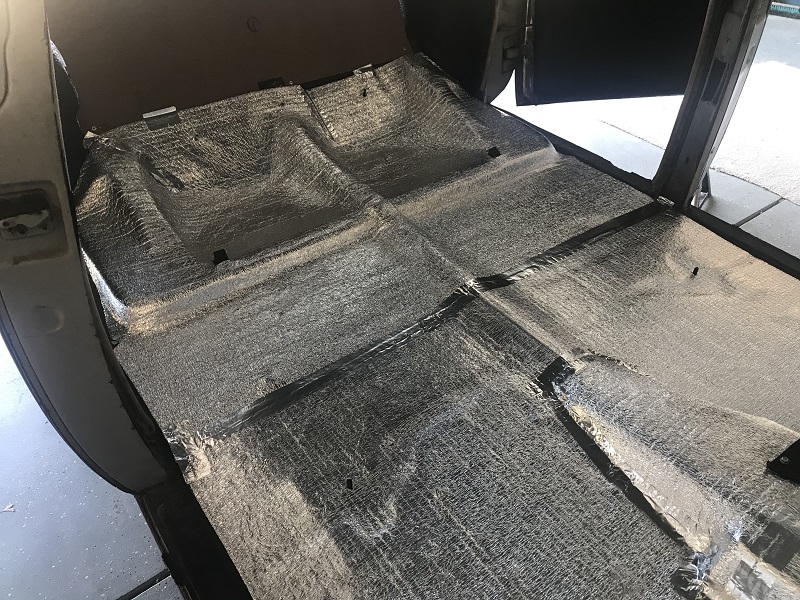


Because we were spaying 3M glue on the roof we covered anything we did not want to damage.
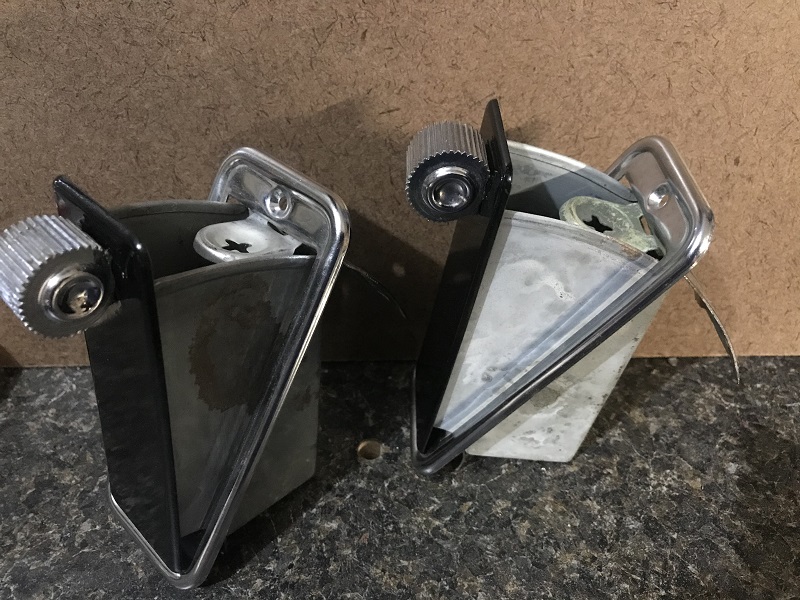
One item we purchased as New Old Stock were the B-pillar ashtrays. Our original ashtrays has discolored handles and were overly obused.
Long before delivery we, now including our Voice of Reason (AKA the girl), discussed what to do. Should we keep it as close to original as possible? Do we put in bucket seats? Do we go simple or wild?
Ultimately we hit a kind of middle ground. We kept the bench seat but with a small twist (see below). While we liked the idea of buckets there were more negatives than positives. Most of the photos we saw looked “OK” but not great.
The list of the things done are:
- Heat/Sound deadening
- Carpet padding
- Carpet
- Carpet on rear deck
- Kick panels
- Rear panels (upper and lower at the rear seat)
- Rear seat
- Front seat
- All four door cards
- Headliner
- B-pillar upholstery that transitions across all three materials.
- Installation of front and rear dash cam wiring
- Windlace trim around doors
Pictures of new interior:
Trunk Divider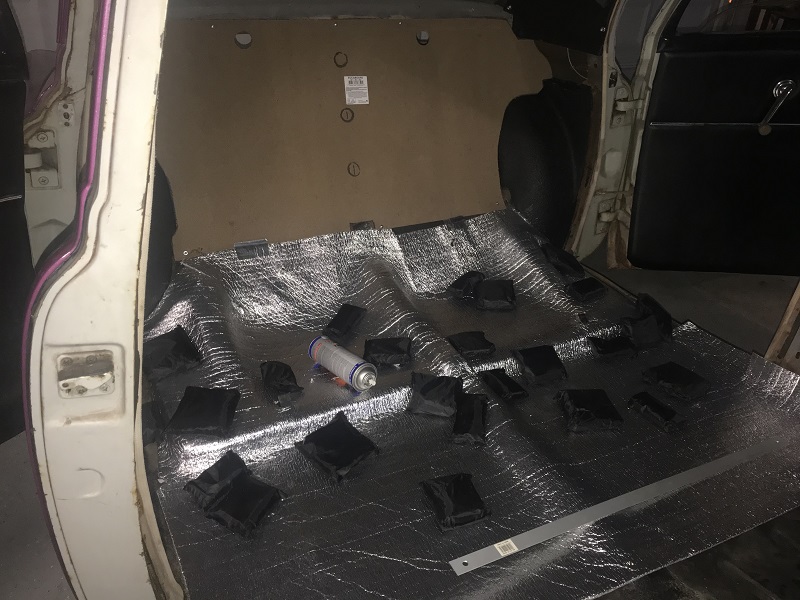
View thru doors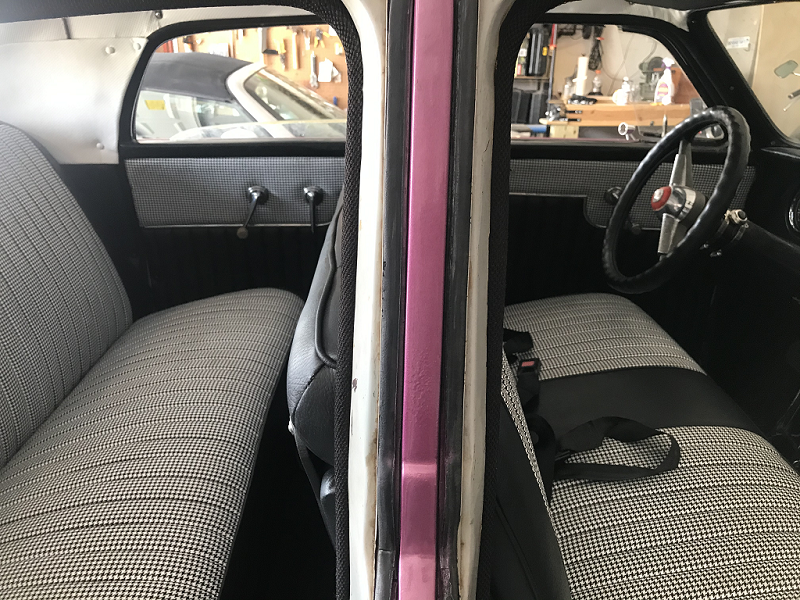
View of front floorboard and seat (note: the shifter looks very "mechanical" but is updated in a future project)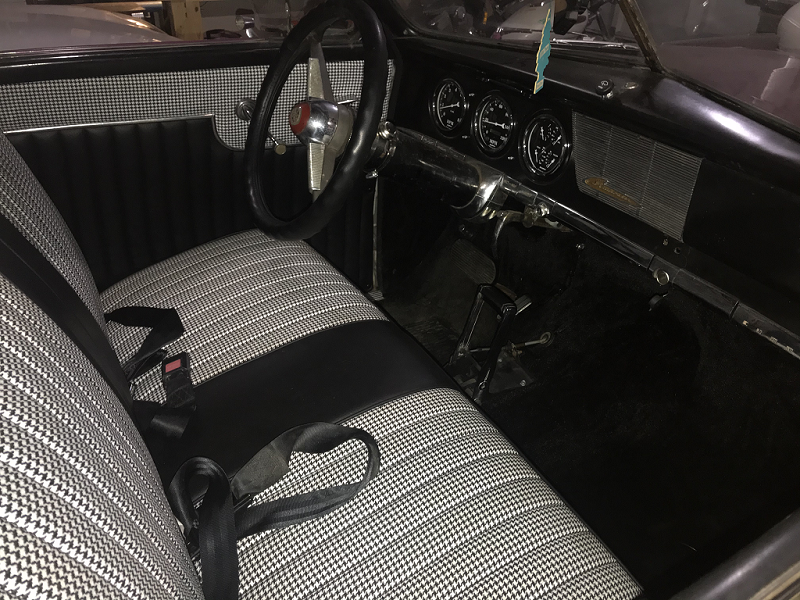
The front seat includes a double row of piping up the middle of the seat back. This simulates a split seat and we think it pulls this illusion off very well.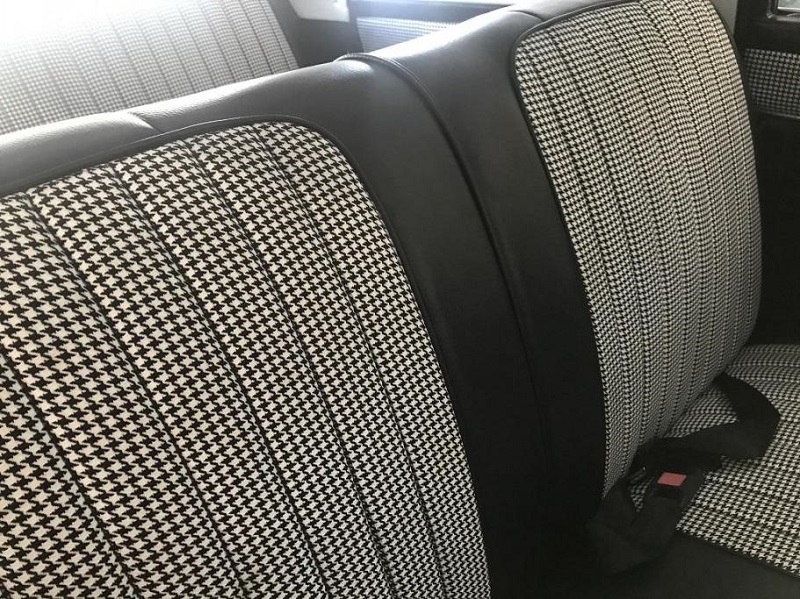
Here is the corrected passenger door panel. You can see the change is suttle but now its not only correct but matchs the drivers door.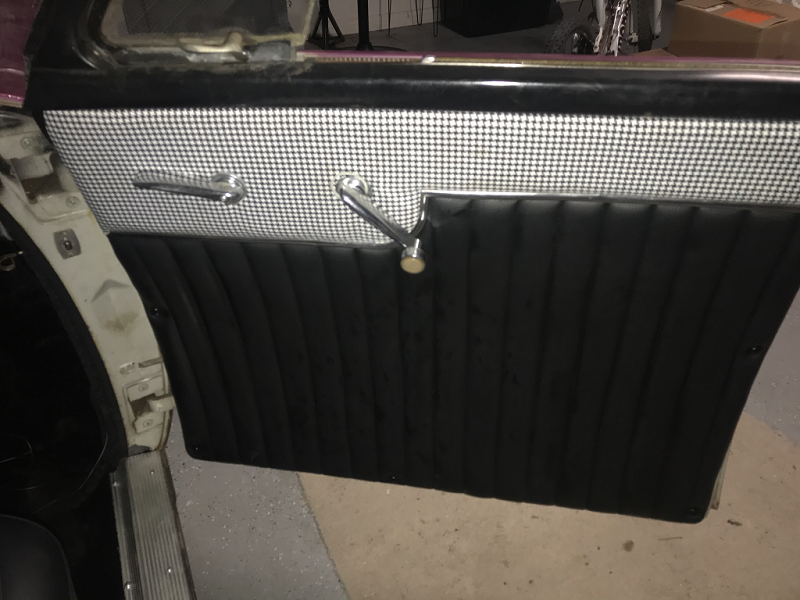
Hidden feature: The B-pillar presented a small puzzle as it needed to transision from the headliner to the black/white houndstooth, to the black vinyl used on the bottom. And, we made the transisions so the each material was seemlessly extended from front to back. It is perfect. It was done with great quality and care. It is just about useless as no one will ever see it between the front seat back and the B-pillar. THis is the best picture we could take...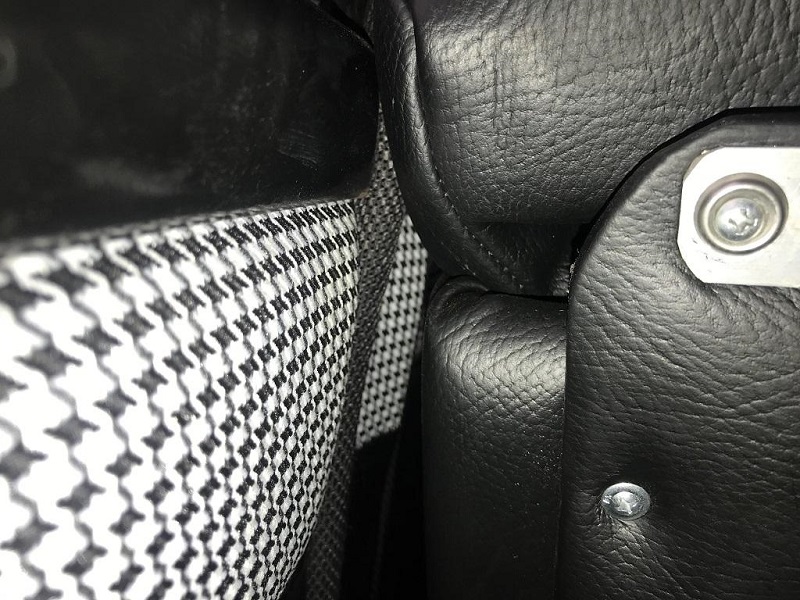
Overall we love the interior and have had great reviews/comments about the results.
Side Note (upgrade):
Thought all the work on the Chevybaker we must have taken out the front seat 2 dozen times. Each time we had to "find" the threaded hole where the front seat bracket bolt went into the frame rail:
We knew that after two layers of sound/heat shielding, carpet padding, and the carpet - this would be overly difficult. To this end we replaced the bolt with a double threaded stud. Now we leave the stud, drop the seat braket over the stud, and tighten it down with a nut: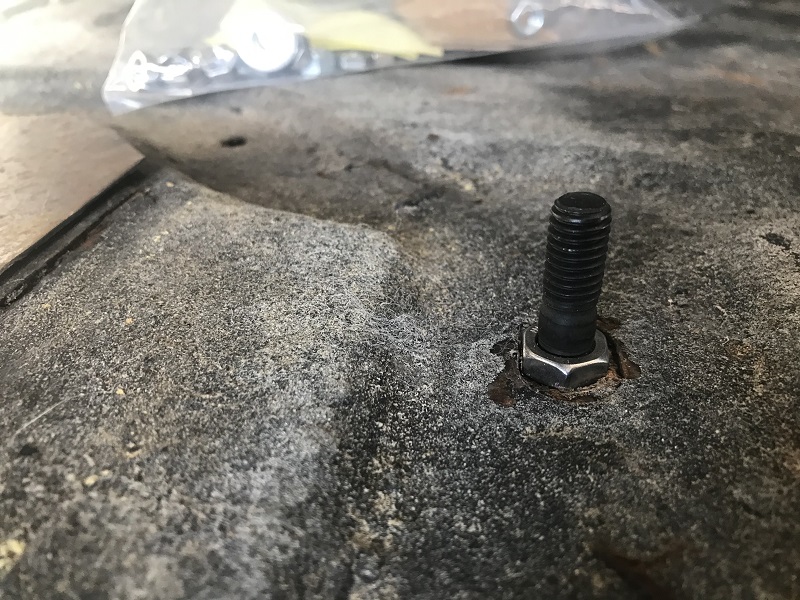
Why oh why did it take so long for this realization to hit us‽ (interrobang - what)