With the interior finished it was time to work on the trunk and the fuel “fill system”.
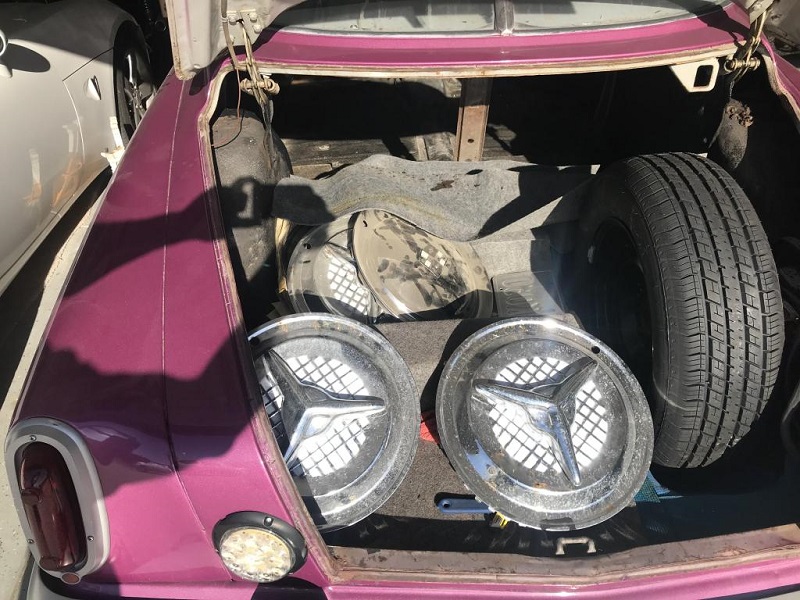
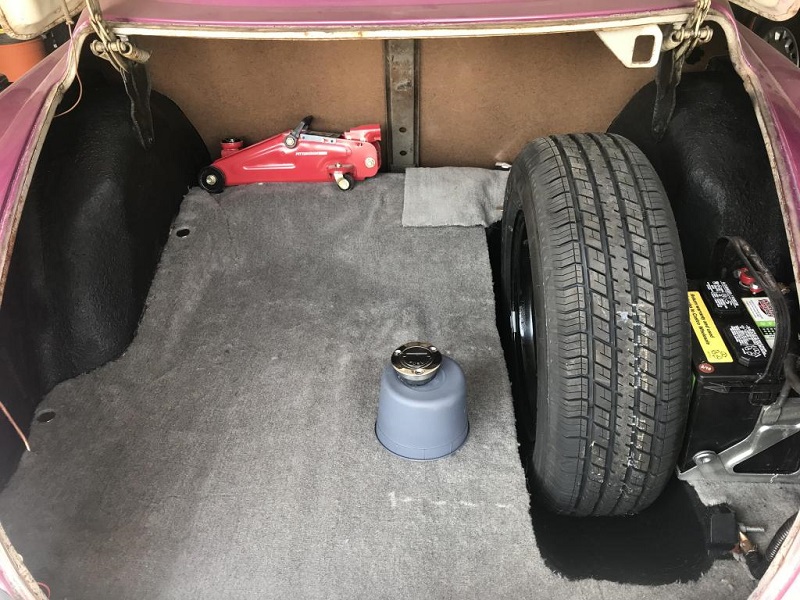
While the above photo is busy (sorry about that) please note the "box" that was build over the fuel fill tube. Based on the paperwork provided with the car the PO installed a fuel cell from Summit Racing. This “tank” has a top fill nozzle and a hole was cut in the trunk floor to allow for this. Now he had the problem of getting the fuel from the fuel door to the middle of the trunk.
The Previous Owner (TPO - ya that guy) used a stick down carpet kit not only in the car but all through the trunk. He used a thin blue padding (thinking yoga mat) and it all had to go. When all of the carpet, padding, and a wooden box covering the fill tube was removed we saw this.
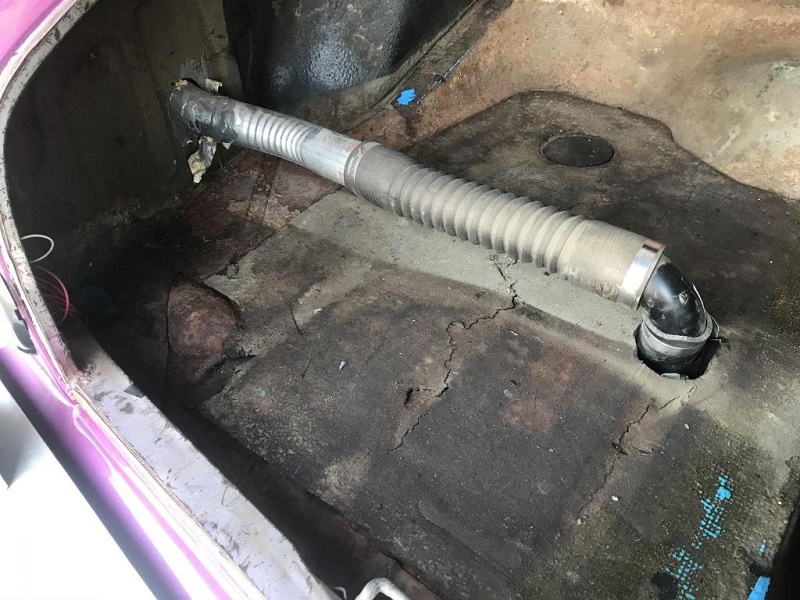
As you can see in the above this was done with a fill tube + flex hose + PVC elbow + rubber hose (found cracked) + a hand full of hose clamps + a surprise (see below) + and of course two part epoxy (TPO’s favorite fabrication media). The fuel vent was tapped into the fill tube about ½ inch from the end and had to be routed up so that it was higher than the tube and not splash. One issue was the fuel would need to be put in very slowly or it would back up.
Also in the above you can see the original, very nasty, trunk liner (pad/soundproofing??). We tore (read as scrapped with a chisel and hammer) this away and as predicted we found a small hole that had rusted through. We used a huge amount of elbow grease + rust dissolver + rust converting primer + fabricated a patch (go go Harbor Freight metal brake) to “repair” the area.
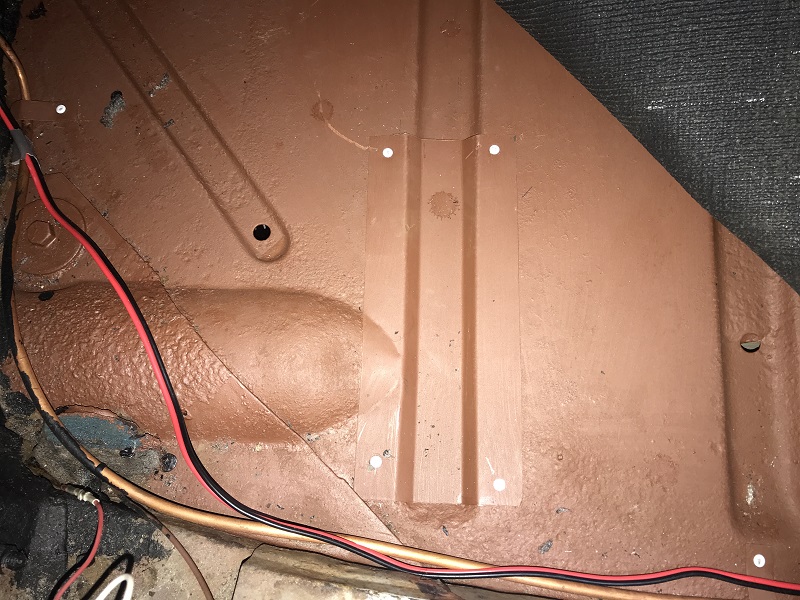
A second patch to cover the original fuel access hole and third to cover the fuel fill hole (with a small slot - more on this below) All of this so we could paint the wheel wells, side walls, and spare tire well in black. The long red and black wires are for the permanently mounted trickle charger (see below). The shorter red wire is the reverse light.
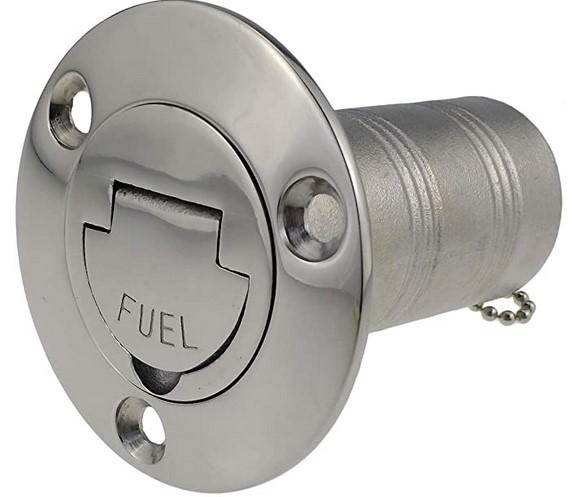
Now we had already decided to do the Hot Rod thing and omit the fuel fill tube and simply open the trunk to put fuel in. It was this or change the tank (not fiscally responsible) or recreate the way the PO worked through the problem (shudder). We found a new fuel cap (not a cap) on Amazon which is actually for a boat.
The problem here is the vent. How do add a vent that is higher than the fill tube and NOT vent into the trunk/car. This was done by adding a thru-wall fitting into the new rubber hose attached to the tank fill nozzle. Into this fitting we threaded a ¼” elbow with a compression fitting on the other end. To this elbow we attached a ¼” copper tubing that ultimately runs to the original fill tube hole (through the slot in the patch) and extends up so that it is higher than the new “cap”. You can see a bit of this tubing in the next picture.
The fittings described above looked a little to “Steam Punk” and were not protected at all. While we continued to look for a real solution we had to do something. We leave it to you to deduce our temporary solution.
We previously purchased a two piece carpet kit for the interior work and upon arrival HATED it. While we used the supplied padding we put the carpet on the shelf. This was then repurposed for the trunk. You can see in the above that the two pieces are different shades of grey which as part of our decision to not use it in the car.
Charger:
Part of the trunk work included repainting the battery hold down which started a small cascade of work. Not only did we pull out the battery and the hold down but we did a little rerouting of the battery cables. It was here we thought about the fact that the ChevyBaker will be "garage art" most of the time and we will need to get a trickle charger. So how to permanently mount the charger and make it look "cool"? Well with the fuel fill now in the truck we discovered a bit of available room in the original fuel door area.
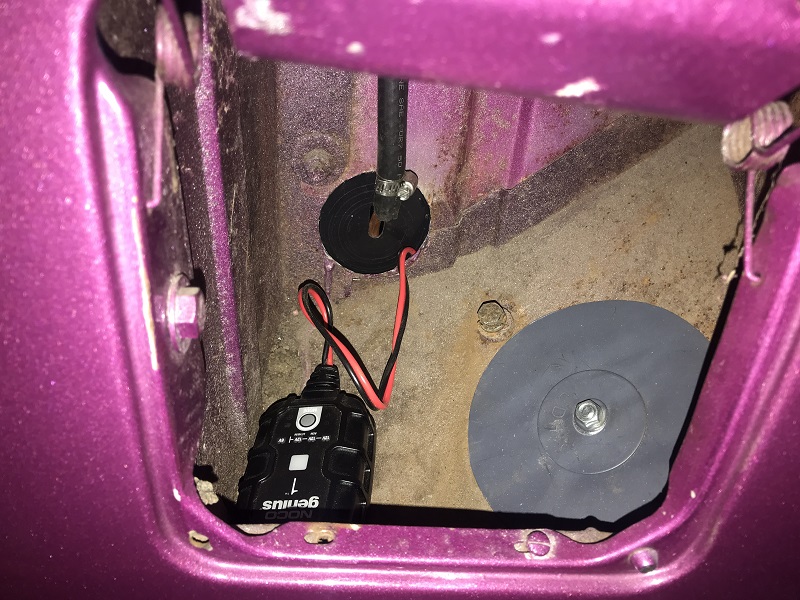
We routed the plug for the trickle charger from the battery to the fuel door area and voila. If we need to charge we simply open the fuel door and pull out the charger plug. Notice we "pull out" the and not plugging it in to the extension cord in place. This is because the fuel vent is also located in the same space but obviously is located much higher. You can also see we plugged the original fuel filler pipe hole. (its the small things)
The surprise:
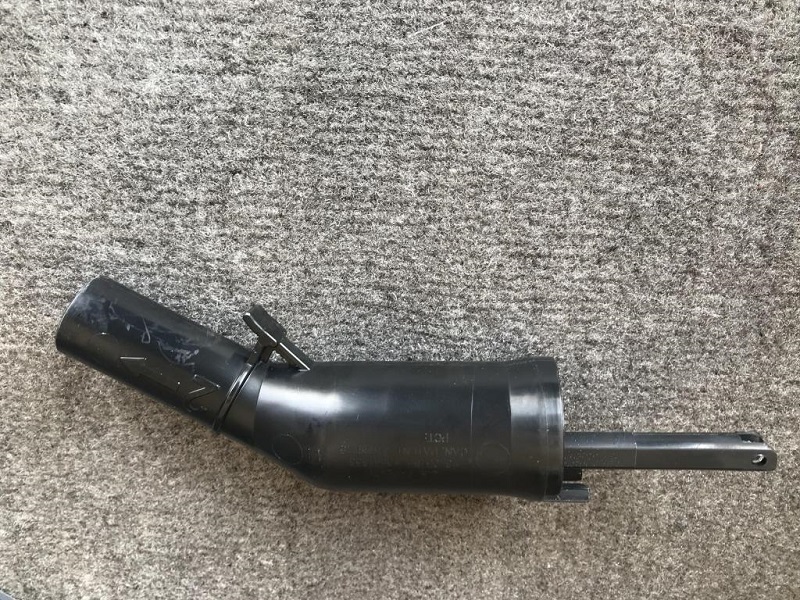
This is a portable gas can fill nozzle and was found INSIDE of TPO’s fill tube. This is obviously the reason the gas had to be put in oh so slowly. (really - how did this happen?) From the outside (pre demo) we thought it was the expansible (semi corrugated) hose. Obviously we did not incorporate this "feature" into the new design.