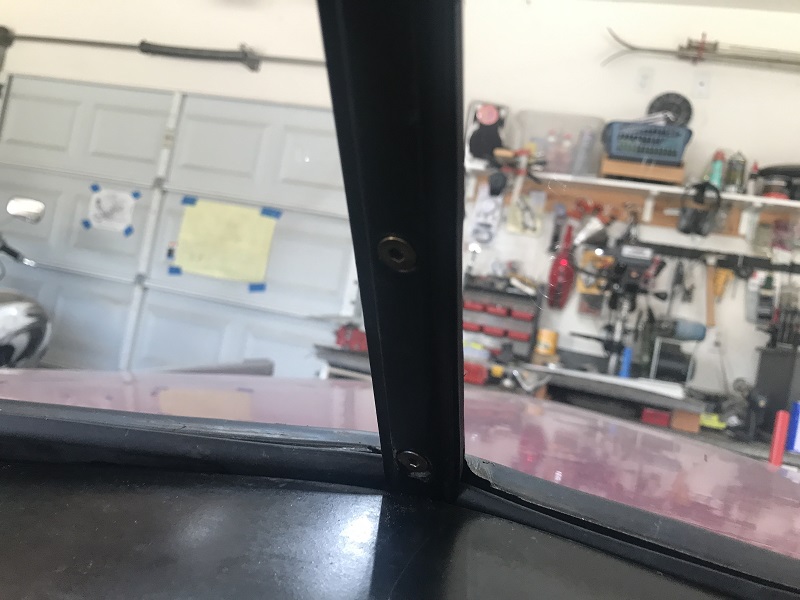
So we are prepping for the door glass and 2 part windshield replacement and it was obvious that we needed to replace the windshild center bar. (read as bittle and hard as a rock) Oddly enough we never paid this much attention prior - mainly because it was a low priority. In a moment of pure hindsight that little spot of what can only be called "rust color" should have told us something.
Removing the mirror (oval head, phillips bit) = no problem.
Removing the top two bolts (shorter oval head, phillips bit) = no problem.
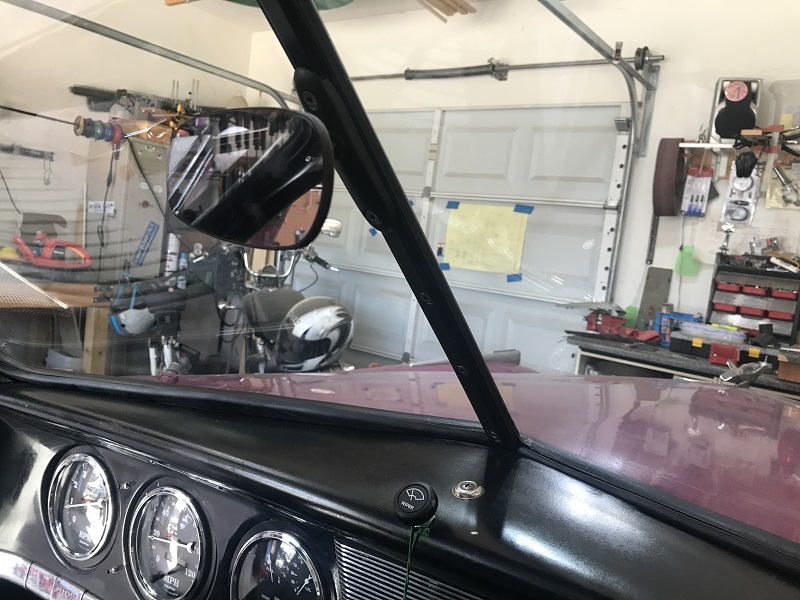
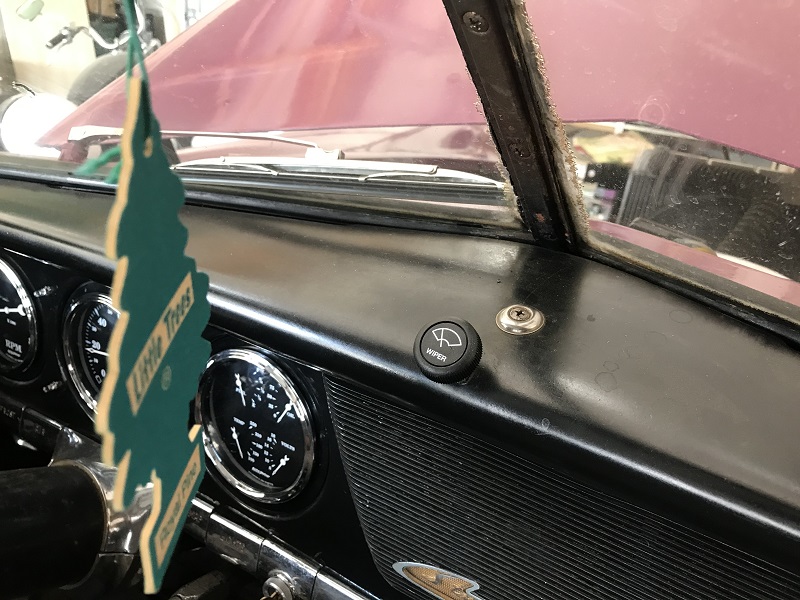
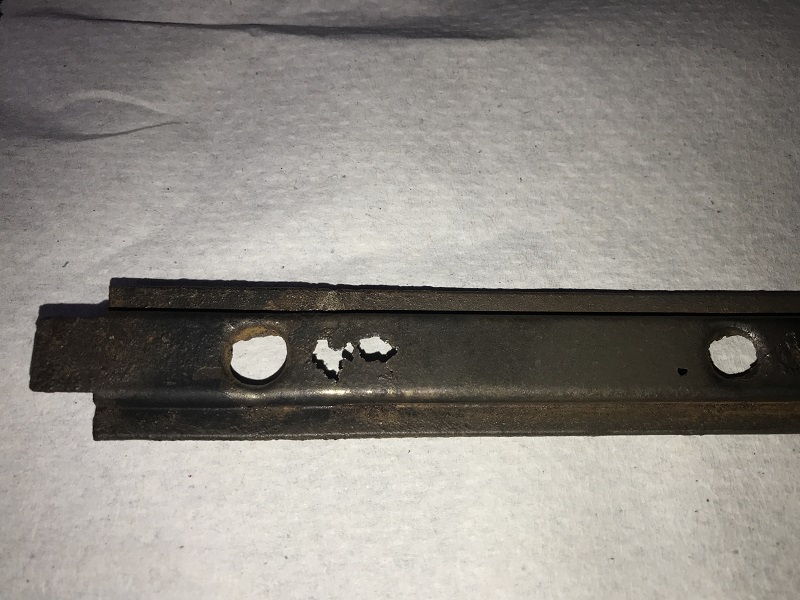
Still not seeing the rust spot we put the phillips bit on the next bolt and SNAP. The bolt head sheared off and a small amount of rust fell out onto the dash. Really, on our nice dash??? It was at this moment we knew this was about to become less than fun. The bottom bolt is "just" above the dash and inline with the wiper control so we took it slow. Getting a very long flexible driver we ensured we where fully engaged and slowly turned to the left. Unlike the last bolt this one was locked into place and we watched the bolt head slowly tear out. (notice how everything was slow...) It was odd as the driver never slipped - the bolt simply peeled open. "Well $%^&"! After a little thought and a visit to Home Depot (12" long 1/8" drill bit) we drilled out the head and removed the inner center bar molding. And in pure shock (OK maybe mock shock) we found RUST. Rust we say!
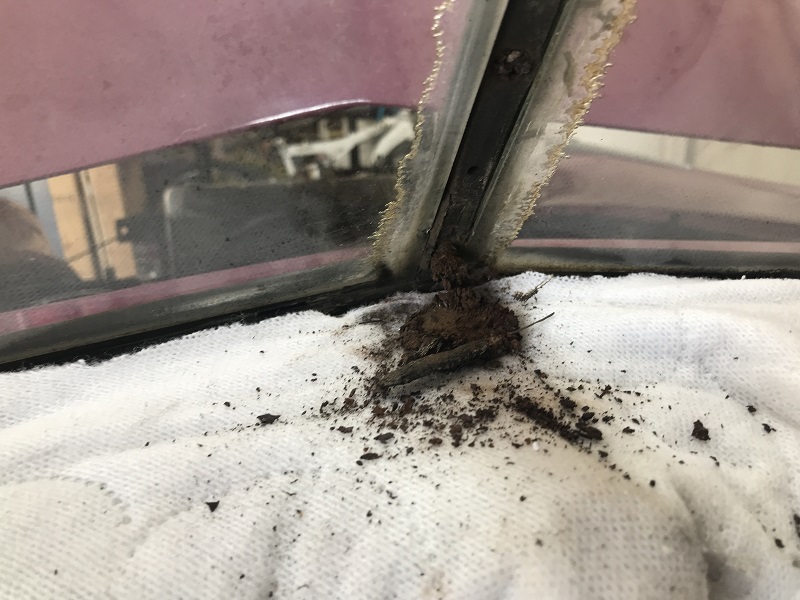
Now we could get a good look at what we had to deal with.
We looked up the part ID (2147-30), got the part number (284447P), and what do you know - the part is now a full fledged unicorn. This left us with a few options. First we could clean this back and attempt a repair. Secondly we could fabricate a new part which could be cool. Lastly we could try to find a replacement, Desert Valley Auto Parts (DVAP) showed a few donor candidates. These are most likely in order by expense and since option 1 was cheap we began there.
After a great amount of cleaning we saw the extent of damage.
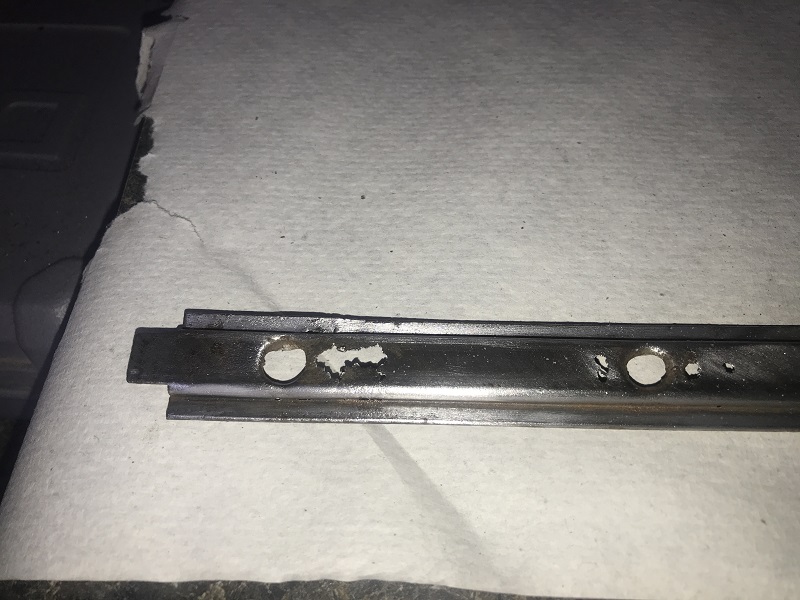
Thinking option 2 and 3 were still valid, and if we fubar'd this horribly, it was JB Weld (steel reinforced epoxy) to the rescue. Mix, apply, and sand back!
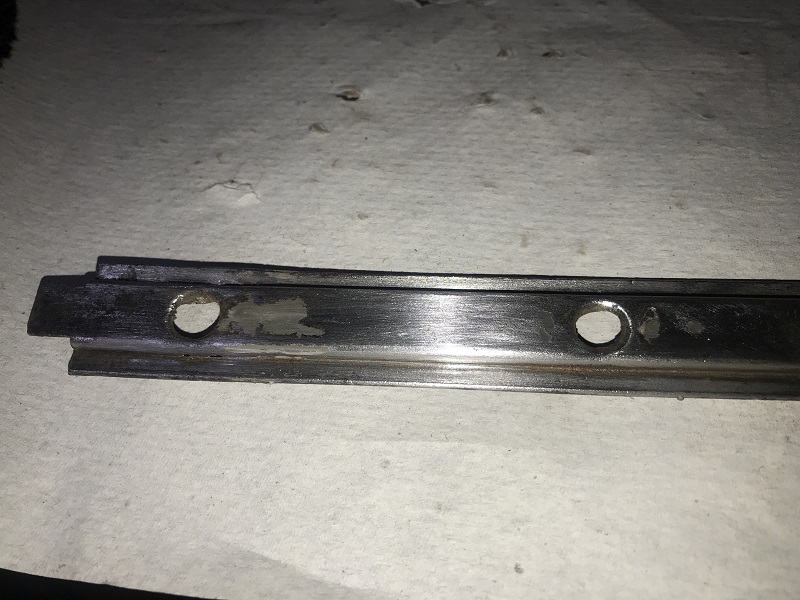
While not perfect we hit it with primer which showed all of the imperfections. We then alternated between sanding and reprimering the area until we had something acceptable. Still not perfect but acceptible.betw
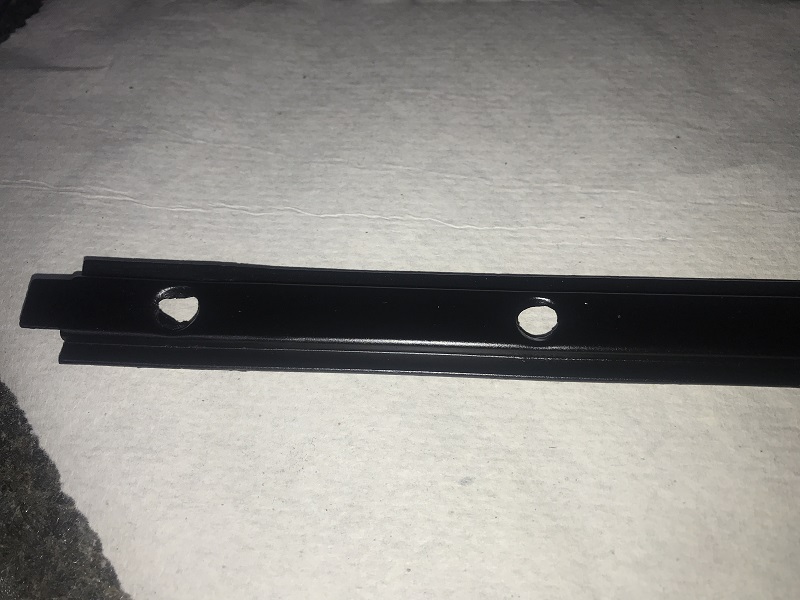
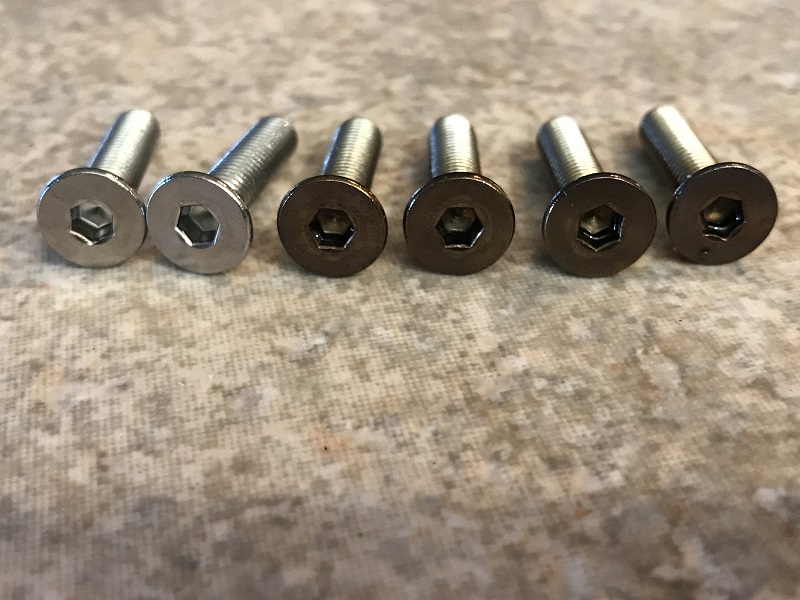
While we were done, the part just needed a new windshield after all, we did not like the new shiny bolts (from the replacement center bar) and desided to replace these with allen head bolts. The hexagon fitting would in our humble opinion look "cool". After finding these (harder than we thought) we still did not like the shiny contrast with the black inner bar. It was then we had the idea to Hot Blue the bolt heads. Even if we don't like this once installed we can always paint then heads black. Hot Bluing is when you heat the material to a glowing red and then dunk it in oil. This darkens the material while providing a very tough layer.
As almost a side note the center bar outer molding was still attached to the original center bar and what do you know - another unicorn! Bacause we saw donors at DVAP we gently removed the chrome cover from the center bar and for ONCE it was easy. The rubber is sooooo old that we broke it away to expose the stainless edge. We then, again gently, used a utility knife and cut along this edge with actually broke the rubber more than cut. After the cuts/breaks we simply lifted the center bar and the remaining bits that were under the chrome lip just slid down to the center.
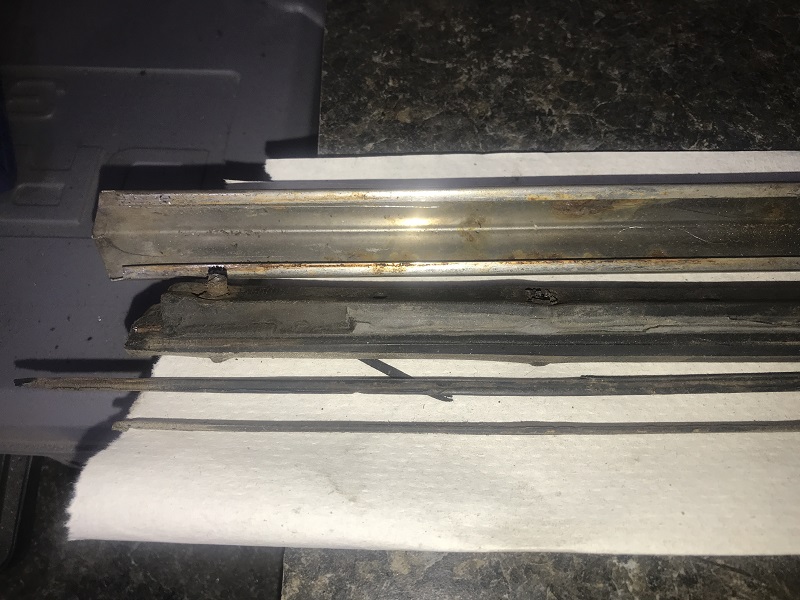
We used steel wool to clean the stainless and it is looking great. This slide onto the new center bar and like the inner moulding is waiting for the new windshield.
We can't believe this project does not include a reference to the previous owner. How did that happen?
And here is the final results after the glass was replaced!