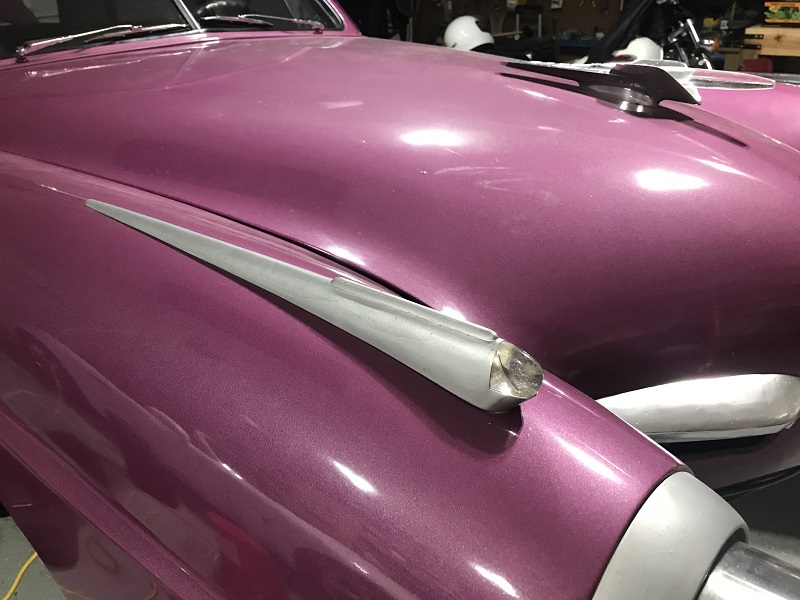
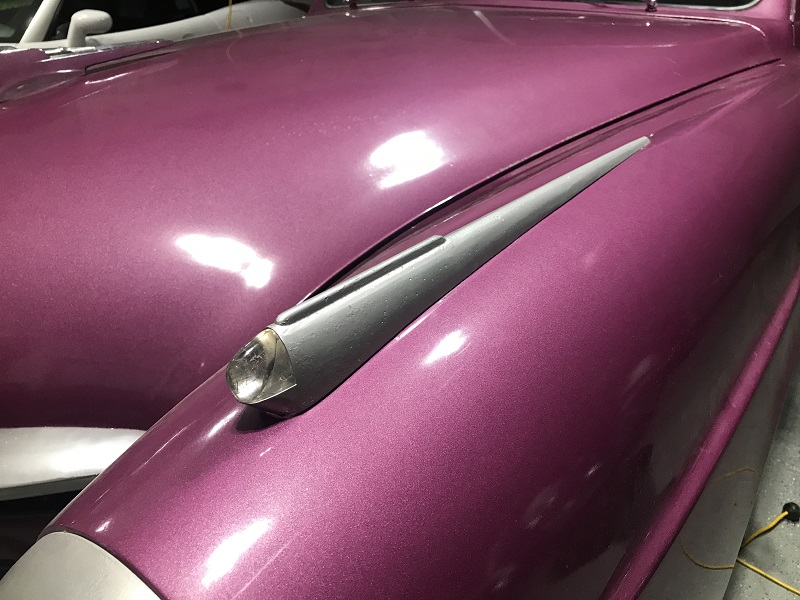
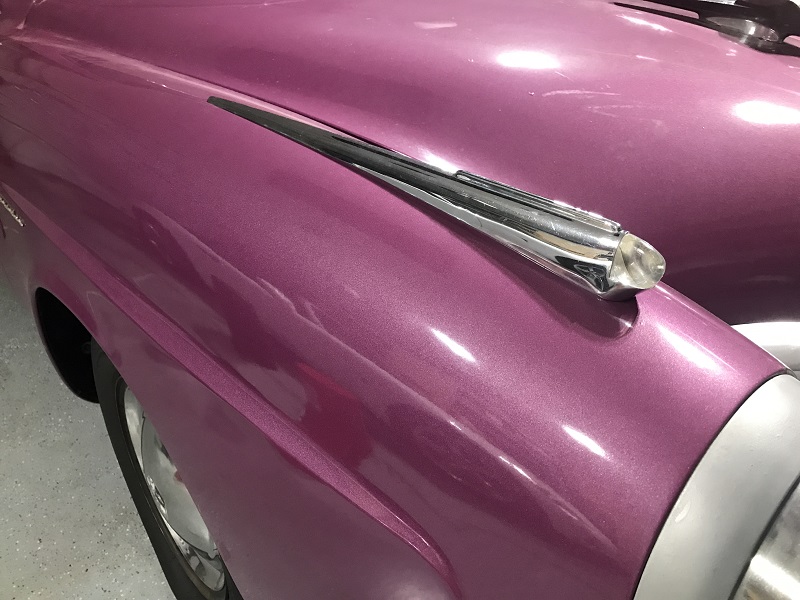
As we looked at all the grey bits and pieces on the Chevybaker we began looking up part numbers and combing through the Studebaker vendor sites. (thank you all) One focus was the fender spears.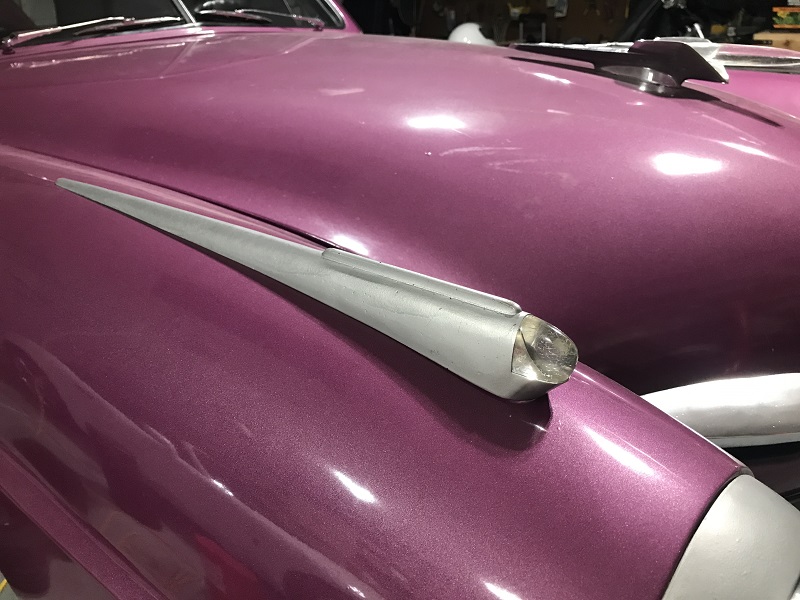
Of course most of the parts can NOT be simply ordered so we where off to Ebay. We have a few sellers saved and there just happened to be a New Old Stock set of 50' fender spears. (thank you Milt) They looked amazing but only had one of the jewels. We installed these with the better of our jewels and thought, well that looks like %^&*. The new 'perfect' jewel makes ours look like junk.
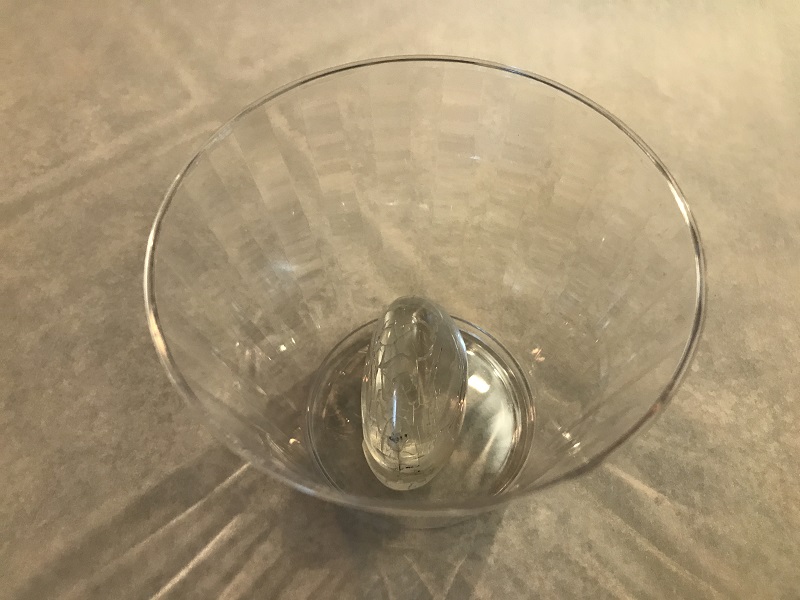
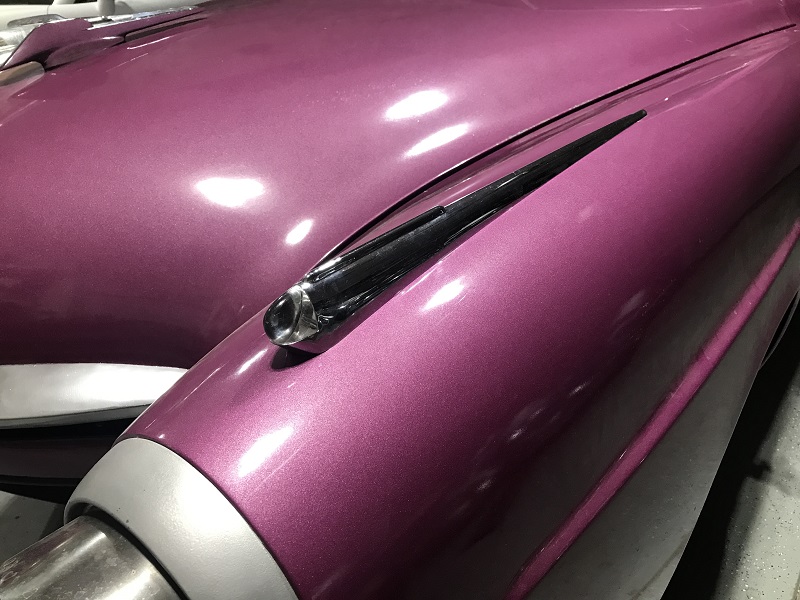
Original Jewel: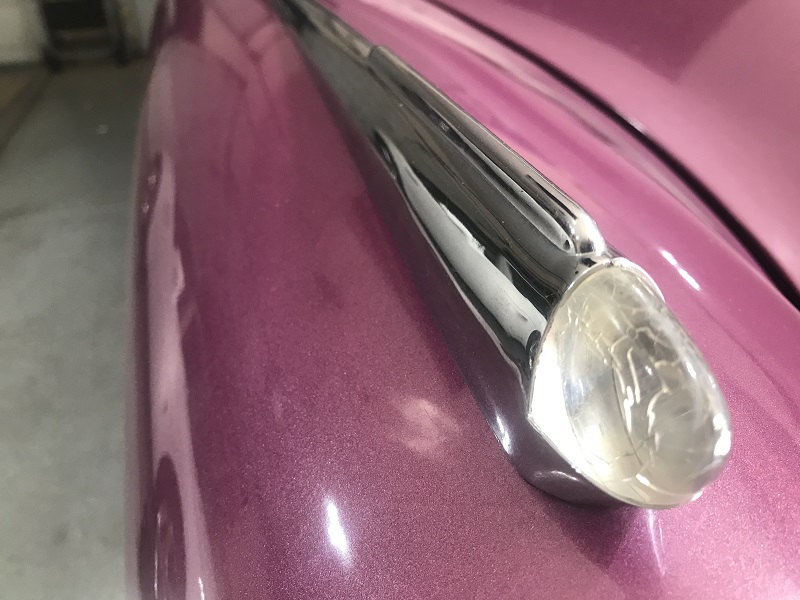
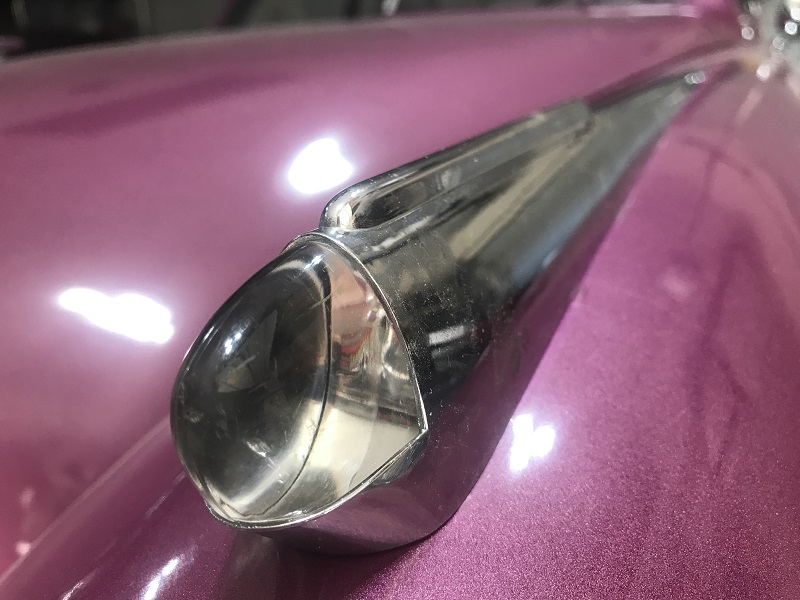
New Jewel:
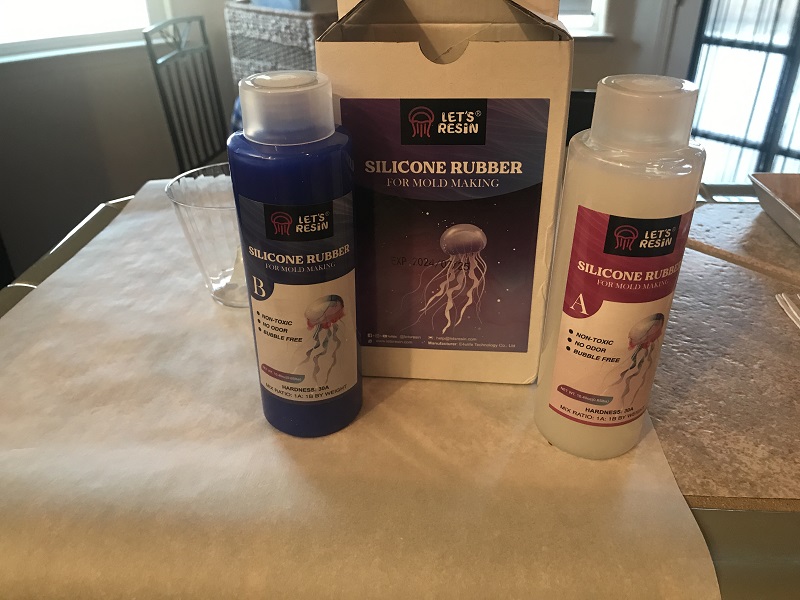
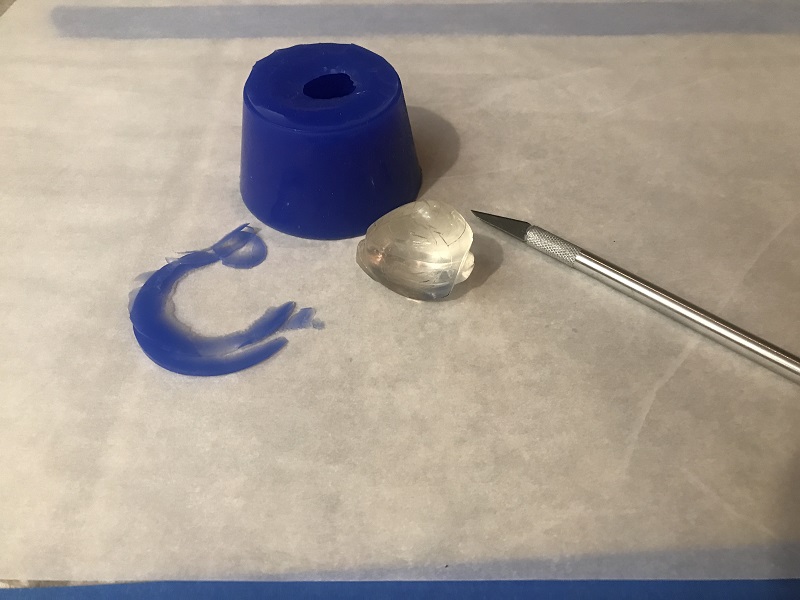
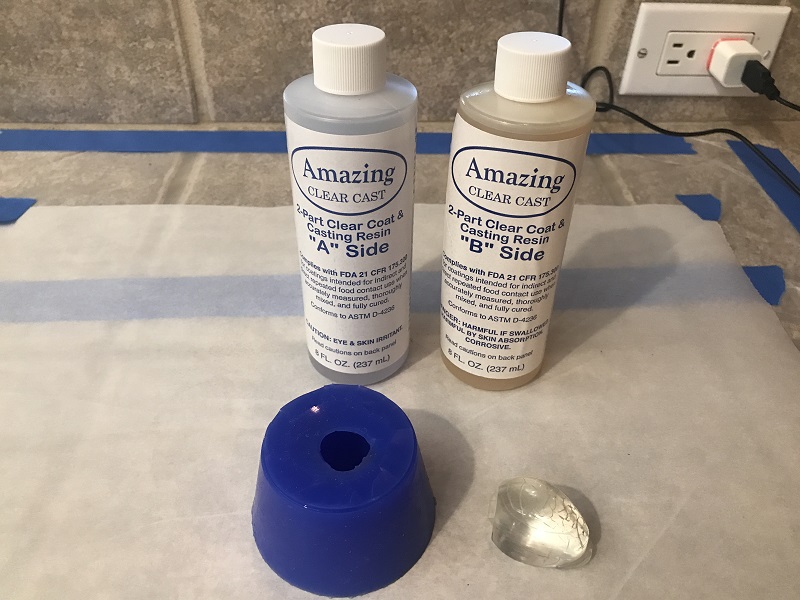
As we sat there looking at the now very noticable low quality jewel, and the extra unused original jewel, we realized we could cast our own. We had left over casting resin from the Horn Button project and now we just needed to make a mold. Poking around on Amazon this time we found a two part silicone mold kit and we were in business.
We made our mold over a two day period...
and then cast our first jewel which set up for an additional two days.
While this was truly an arts & crafts project it had a real purpose. We were 'fabricating' a replacement part. Our problem was that we used a cooking product as the releasing agent (so the casting could be easily removed) and this cause the part to be slightly colored. 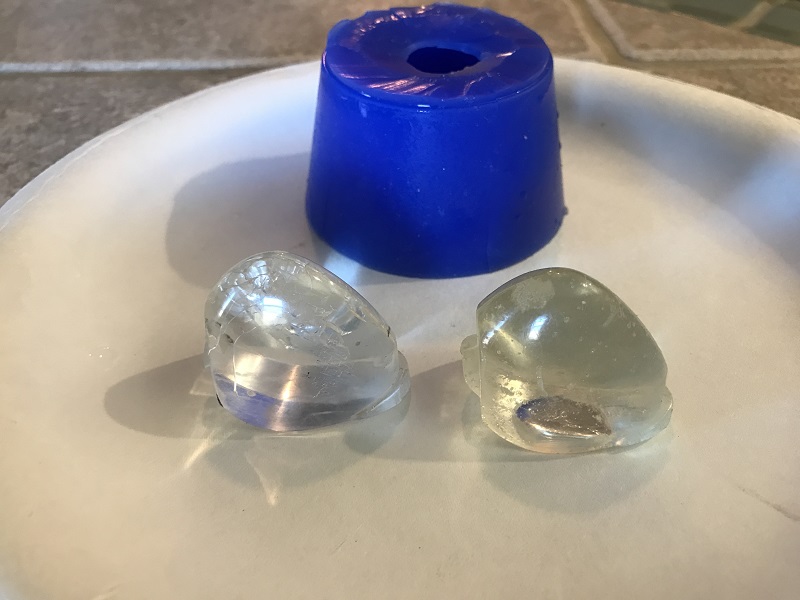
This however caused some inspiration. Since the previous owner added LED lights behind the jewels they are now part of the turn signals. We could make two jewels that are amber in color and they would work even better. So it was off to Amazon again for some resin dye of which we used 13 drops.
We really wanted these to be the same shade of amber so we made a second mold (two more days), followed by mixing up a colored batch of casting resin, and poured both castings at once. To ensure we had enough we way over did it and had a lot left over.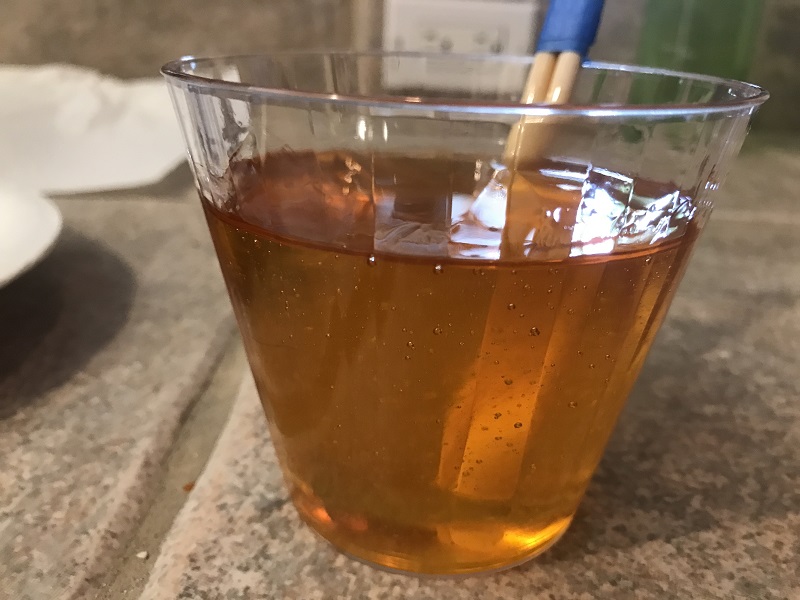
We did not use a releasing agent (lesson learned) and let this setup for 12 days. This was not for Christmas but was just the time period we happen to be out of town.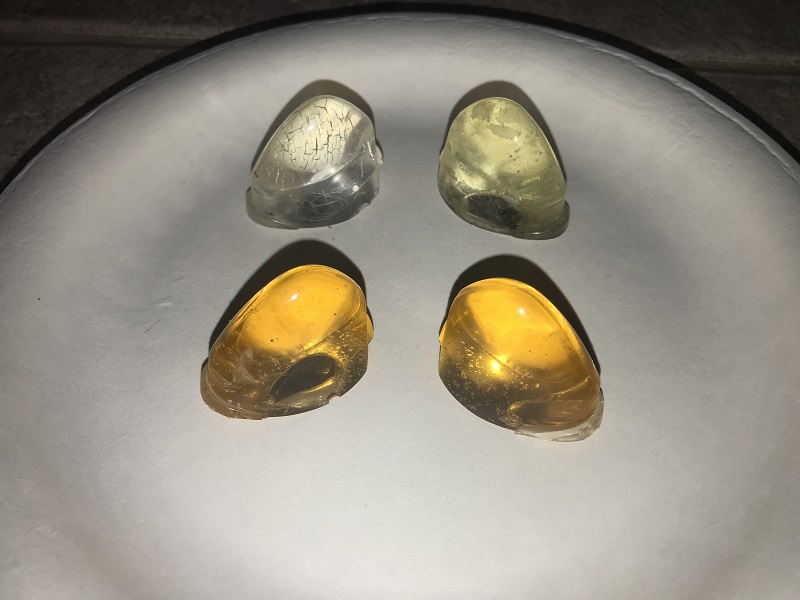
Now it was just the process of removing the new spears (with the clear jewels) and replace the clear jewels with our newly crafted versions.
To show this we will show the original, then the new with clear jewels, then the final product.
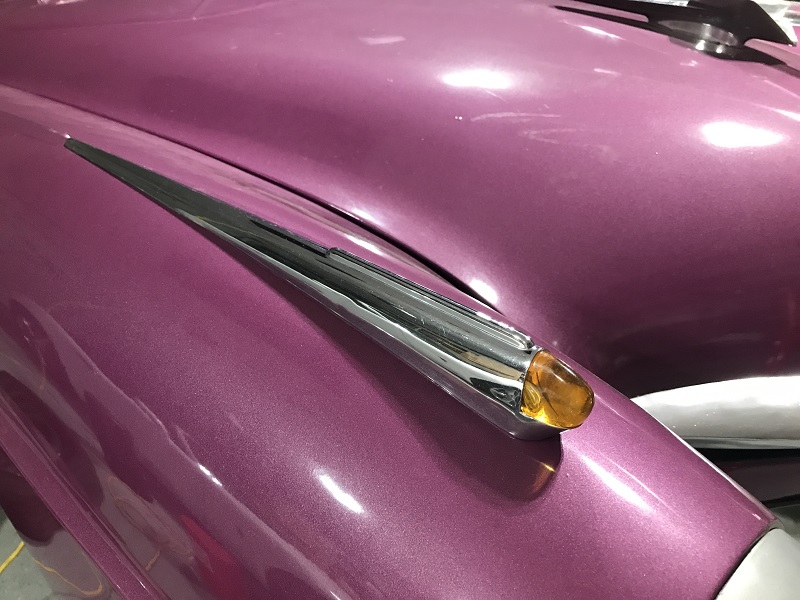
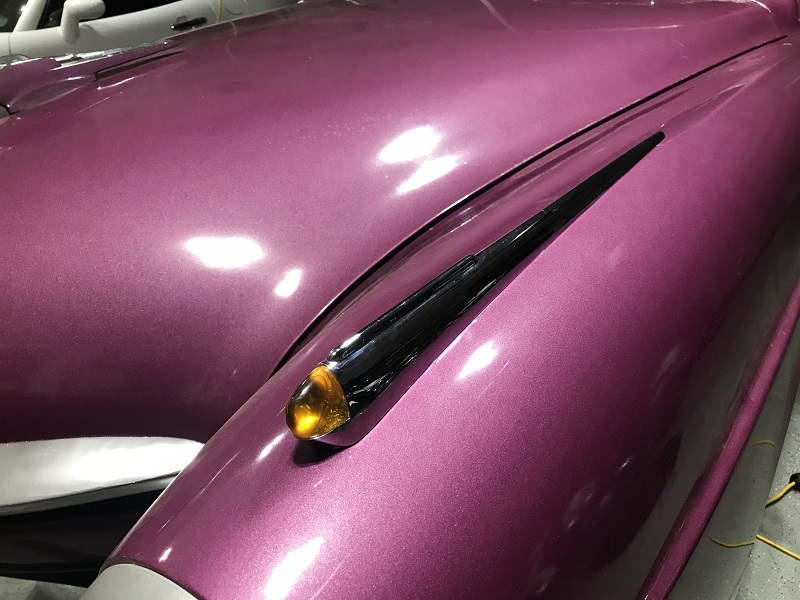
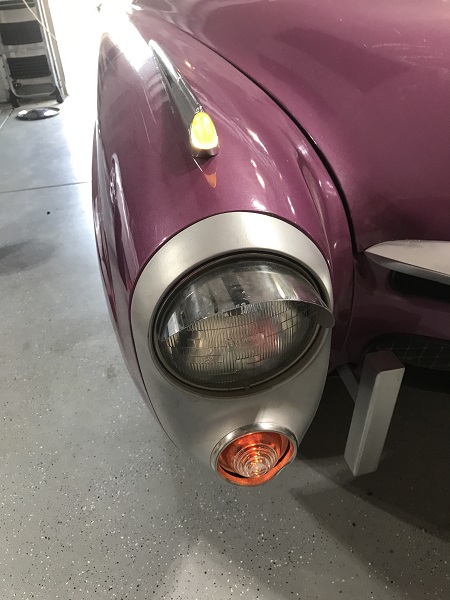
Now that the amber jewels are in place it made the original clear turn signals look out of place. We knew they were clear but now they truely looked weird. So what to do? Do we return to casting a clear jewel? We have after all become fairly proficient at resin casting. Do we make the original turn lenses amber as well? (could be tricky) Hmmm, when we rewired the car to 12V negative we changed the turn signals to use a more common bulb, an 1157 bulb to be exact. Ya its a dual element but we had the sockets. And what do you know - Sulvania just so happens to make an amber version, the 1157a.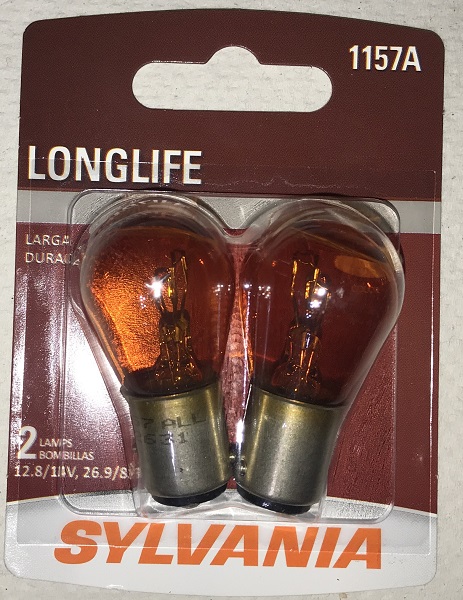
We removed the headlight bezel (2 screws) and then the turn lens retaining ring (3 screws) and swapped the bulbs. On came the lights, nothing caught fire, and we called it a success.
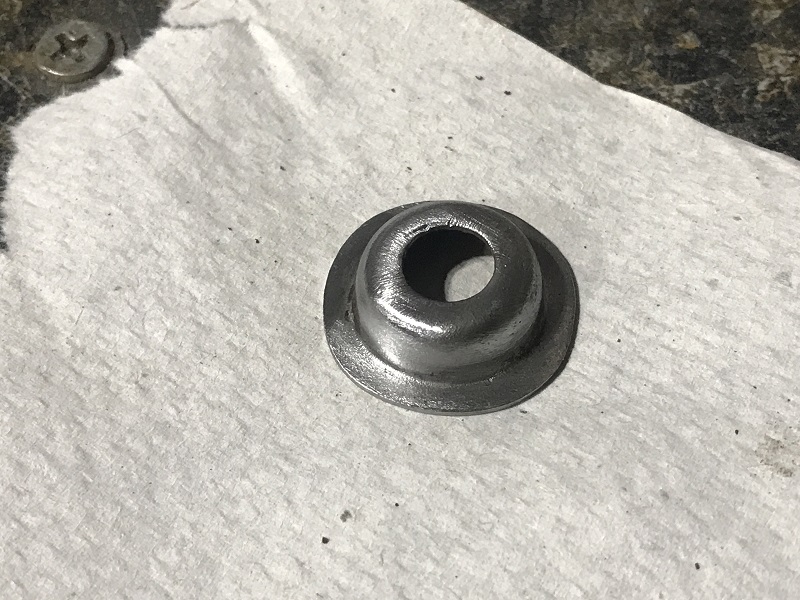
One of those 'hidden' things was the ordering/use of the specially cup shaped washers for mounting the spears. These washers provide a wide and deep washer that holds the spears down to the fenders. We ordered 3 replacement washers - here is one of ours before and after cleaning.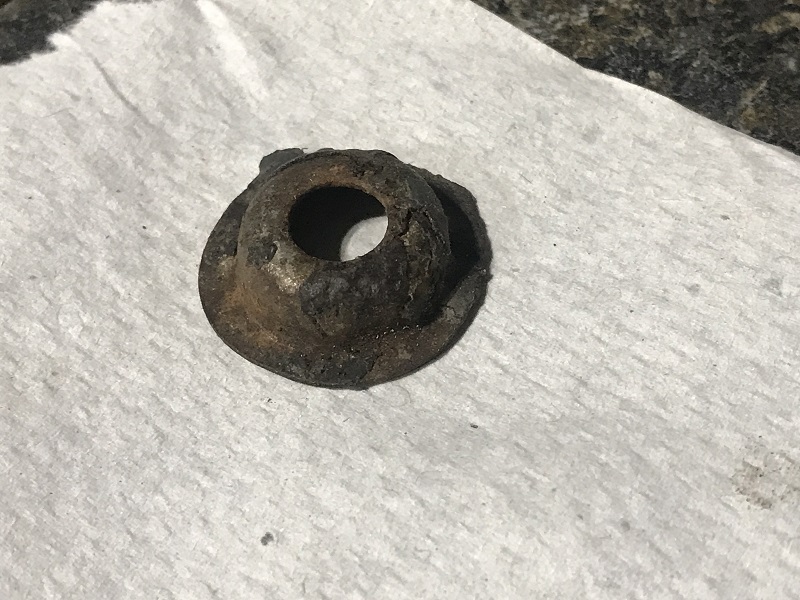
Due to the time looking up parts, and the drying/curing times for each fabricated/modified part - this project took over a month. In the end we did learn a lot, had a great time, and can EASILY switch everything back in.