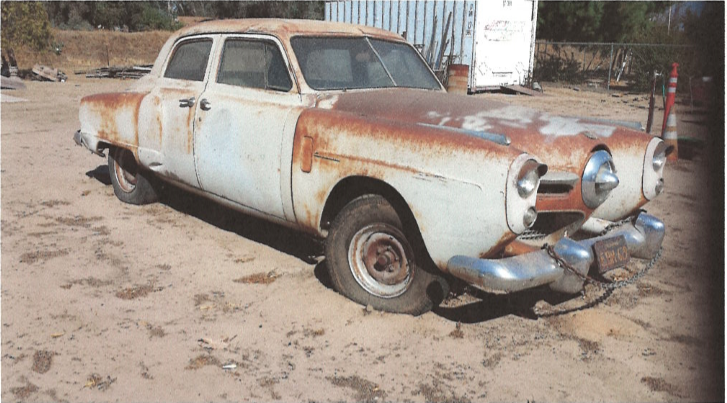
This has to be one of the last things from The Previous Owner (yep that TPO) that we wanted to change. We just can't say enough about the work he put into the car to get it from nothing to drive-able. Maybe not "road worthy" but drive-able. 
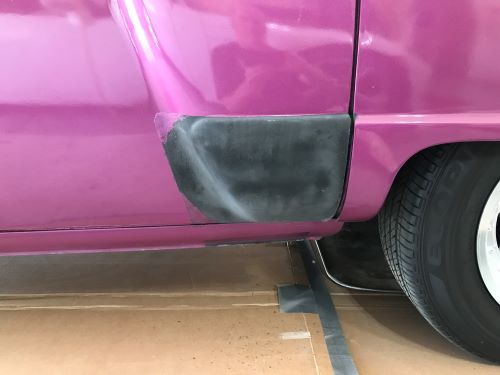
TPO is a great guy with a huge amount of skill but he did take some liberties One such item is the Gravel Shields. You can clearly see in one of the original (well original to TPO) photos that the passenger side "shield" area has a dent.
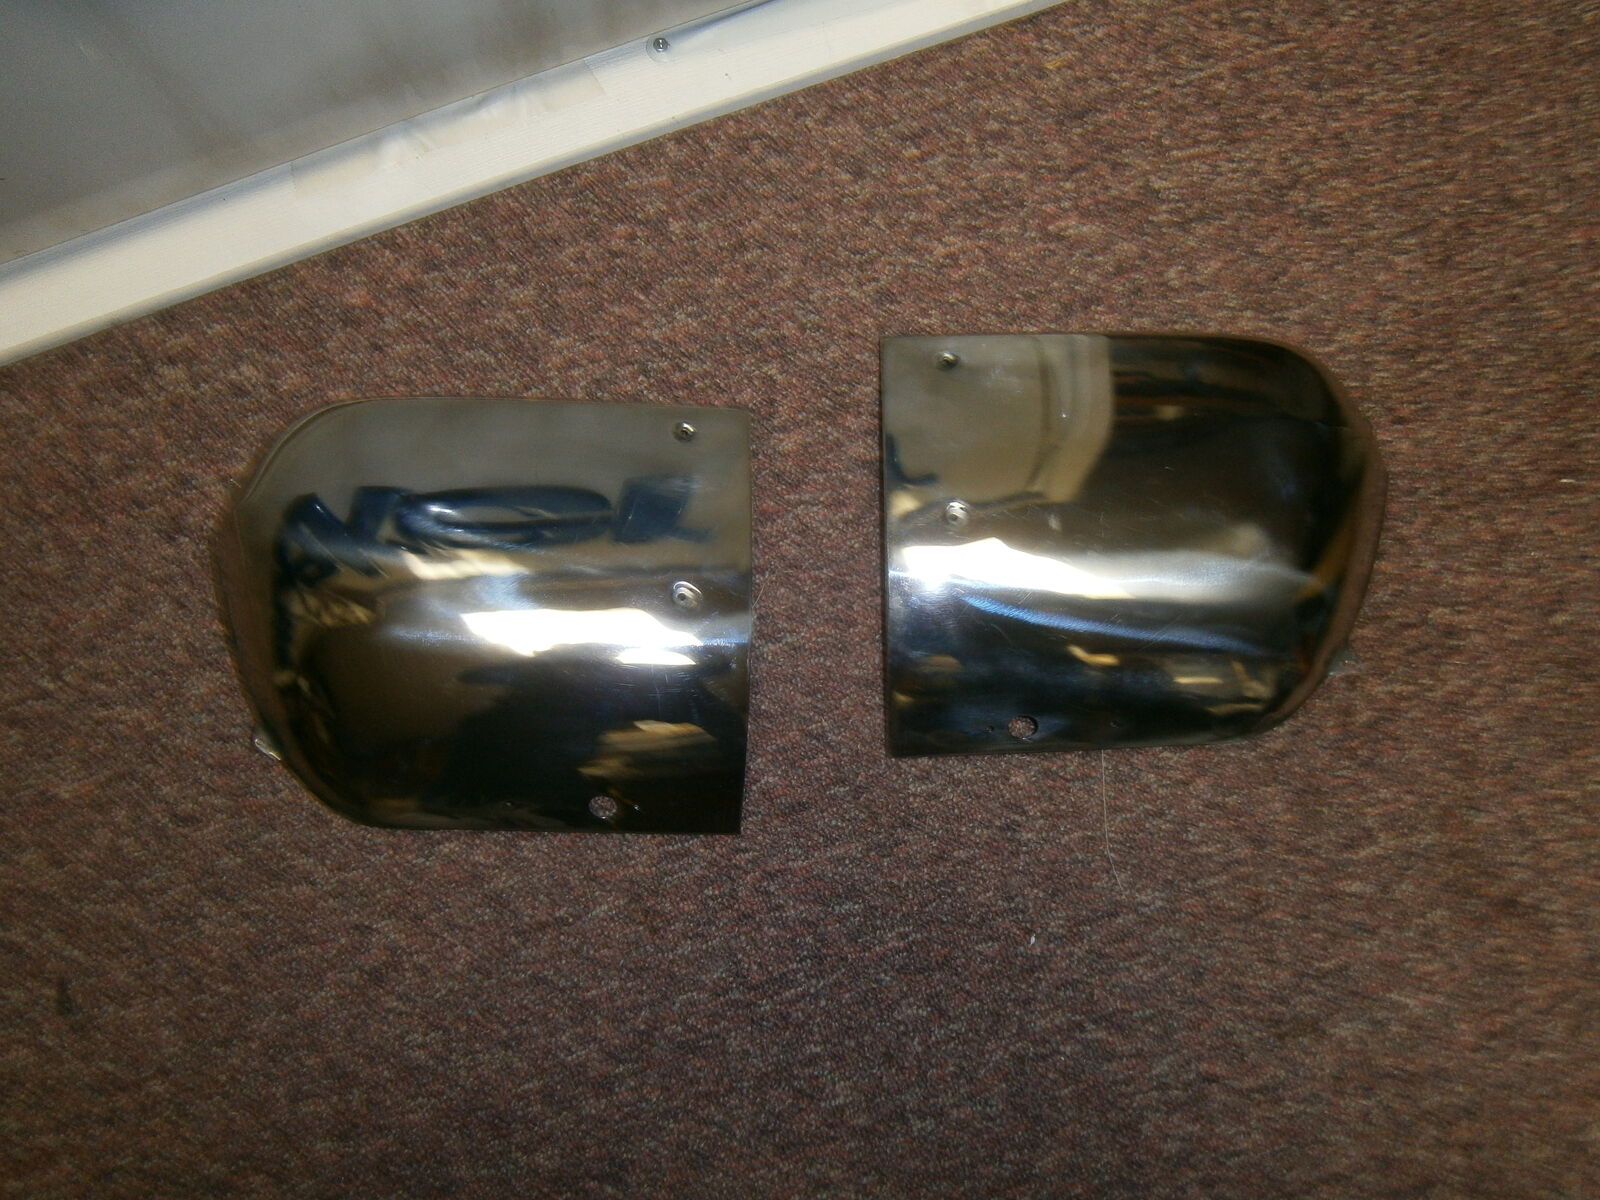
What TPO did do was cover this over using some type of rubber. We think maybe it was applied using a spray method? It did cover the dent but for all we know the dent was pulled out. Yes we hear you - we could pull the door card and look inside but that sounds like work, ew! Side note: Studebaker Drivers Club sticker just makes the car that much cooler.
 .
.
When hit with some Armor All they look fine but this does not last for more than a couple days. When we looked at getting proper guards we were hit with the same issue that TPO probably avoided. Because they are not made anymore, and they have a very small user pool, they are not cheap. As such; we just kept postponing this task. We would either keep this application along with the paint or "some day" we would purchase the shields.
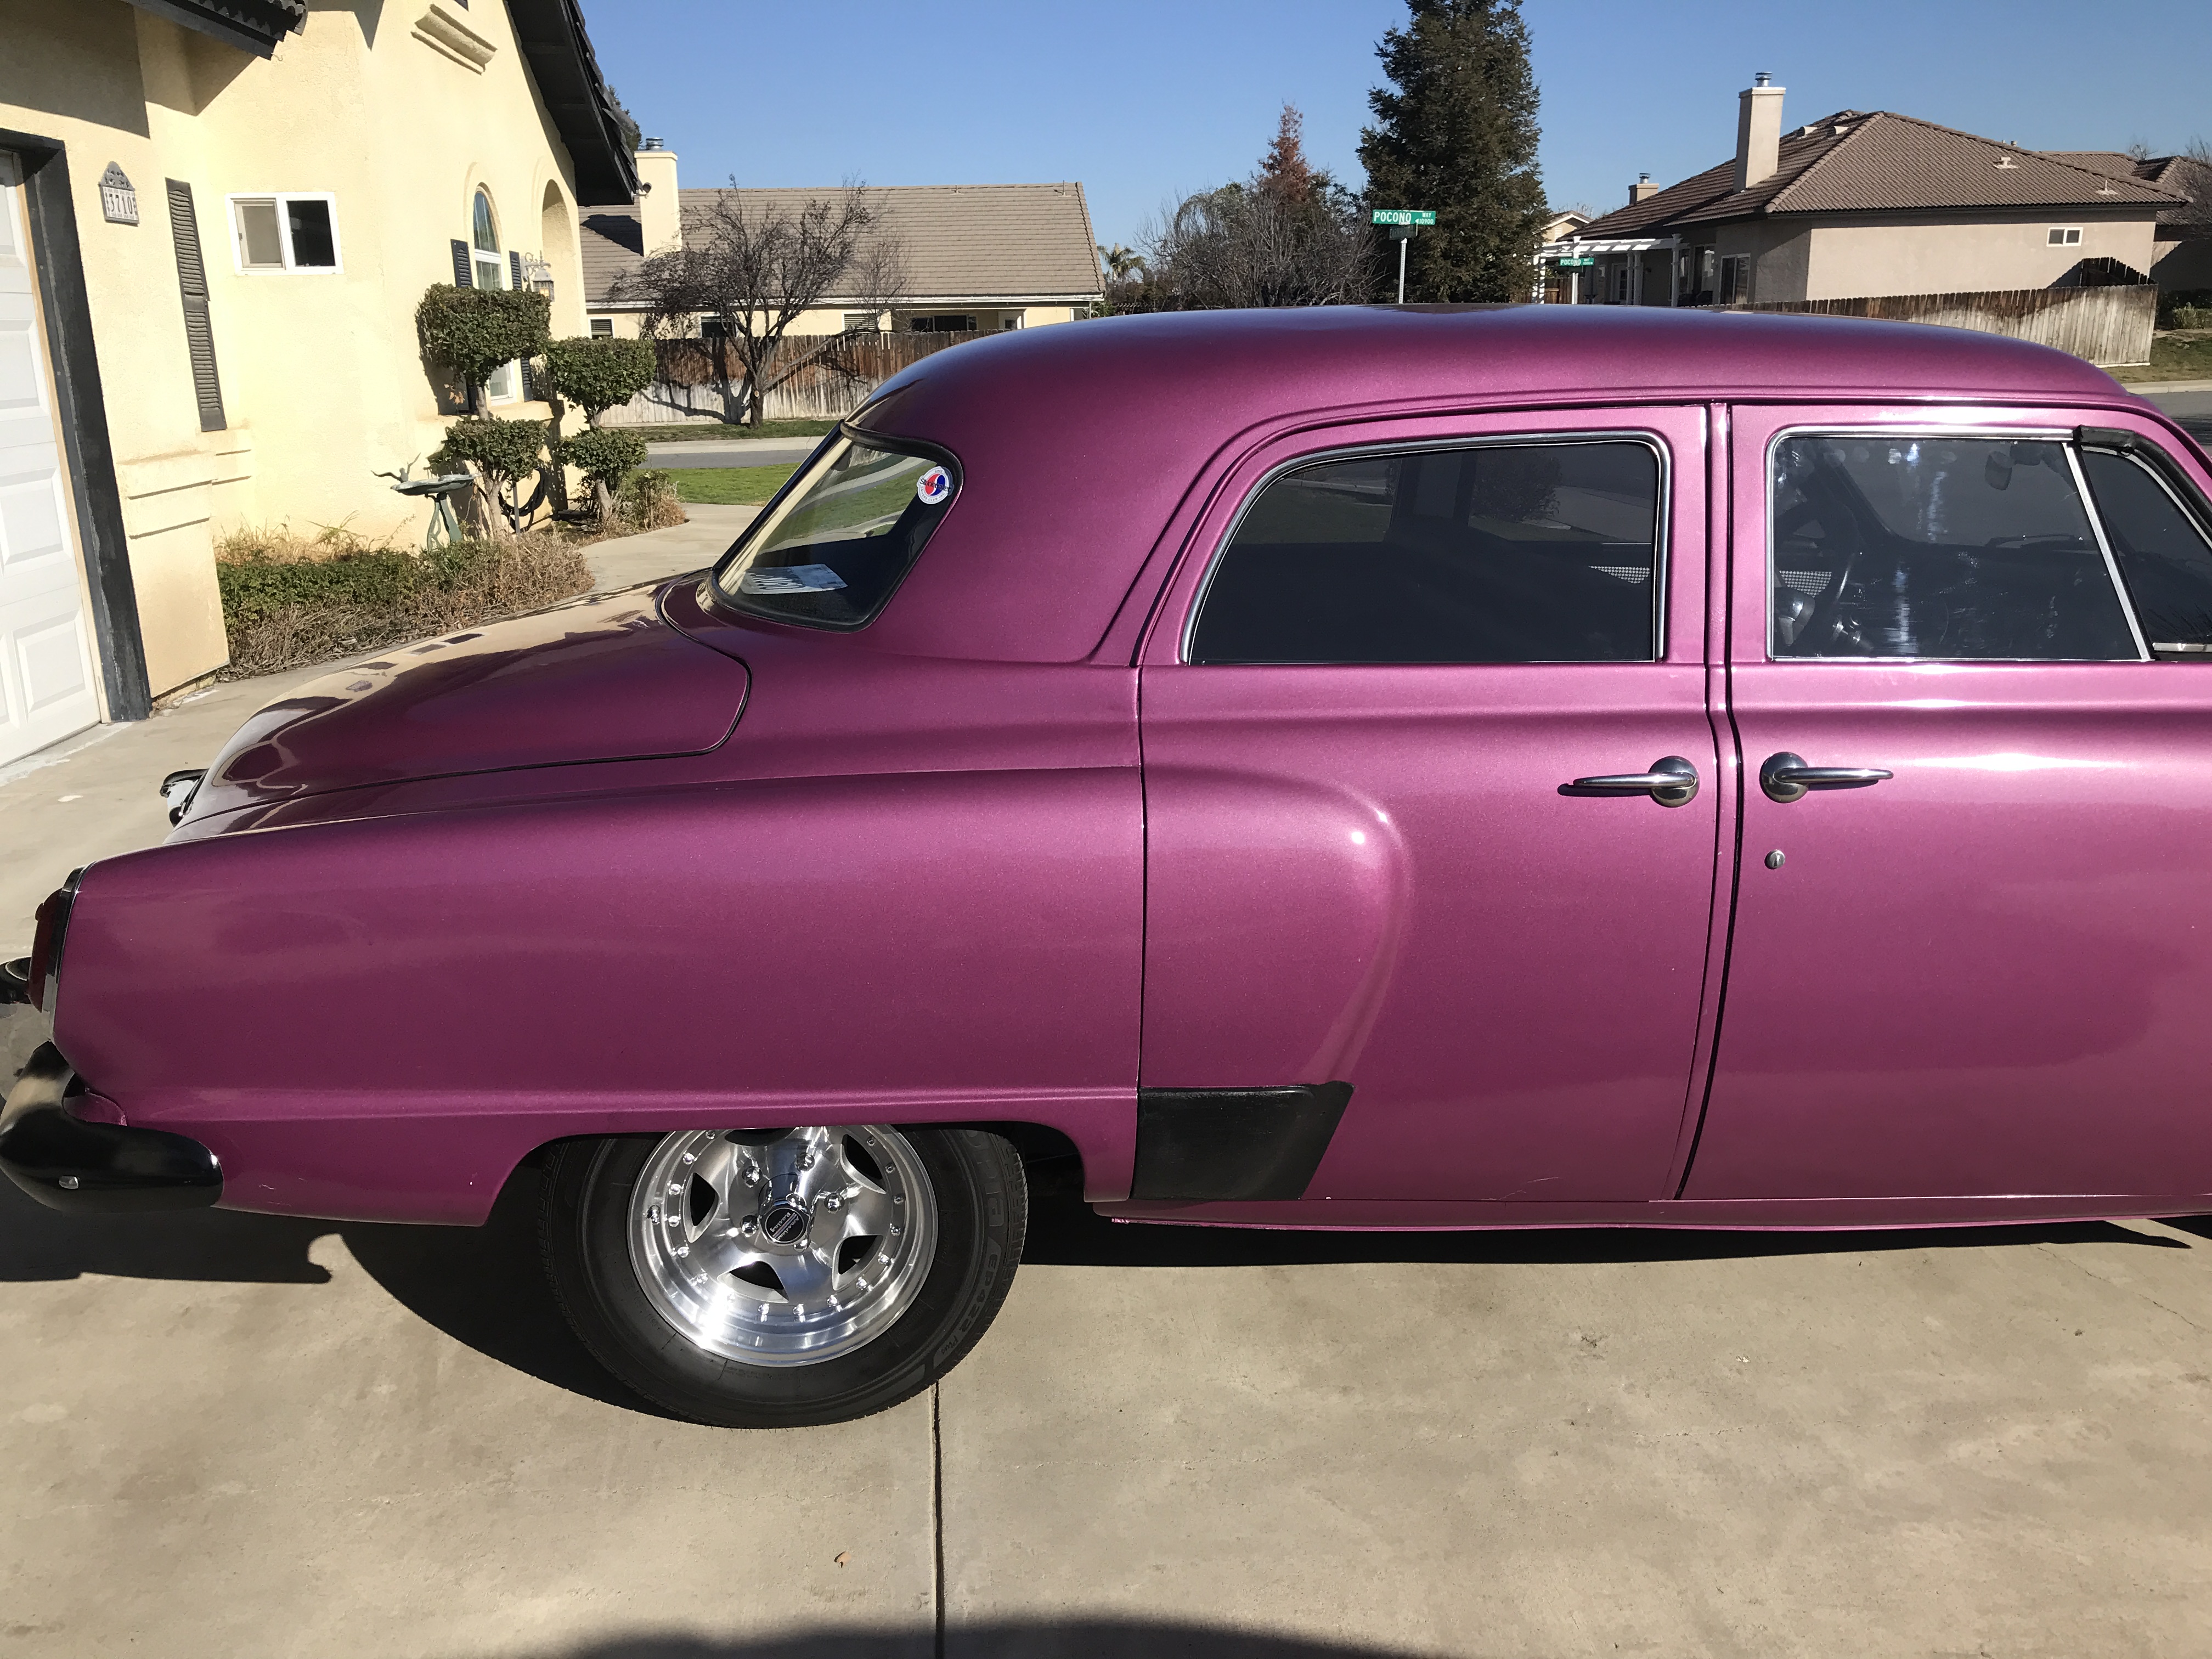
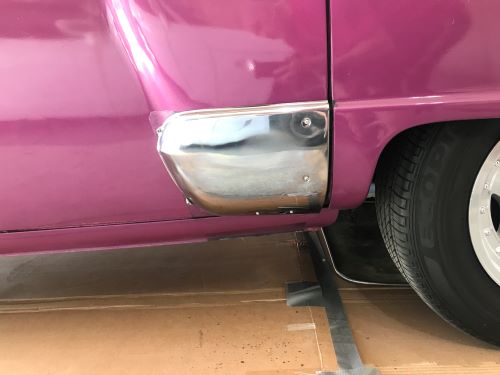
Then, browsing Ebay as one does, we saw the following listed by what has to be our favorite seller and fellow forum member. Its like he knows what we need and when the time is ripe to take our money.
Side note: why is photographing chrome so difficult?
Now the parts are actually numbers 291876 and 291877 which, per the Body Parts Catalog, are for a 50' Commander but they are for the highest trim package for sedans (W5) or convertibles (Y). Short answer, "No one will know but us, and now you - so shut it."
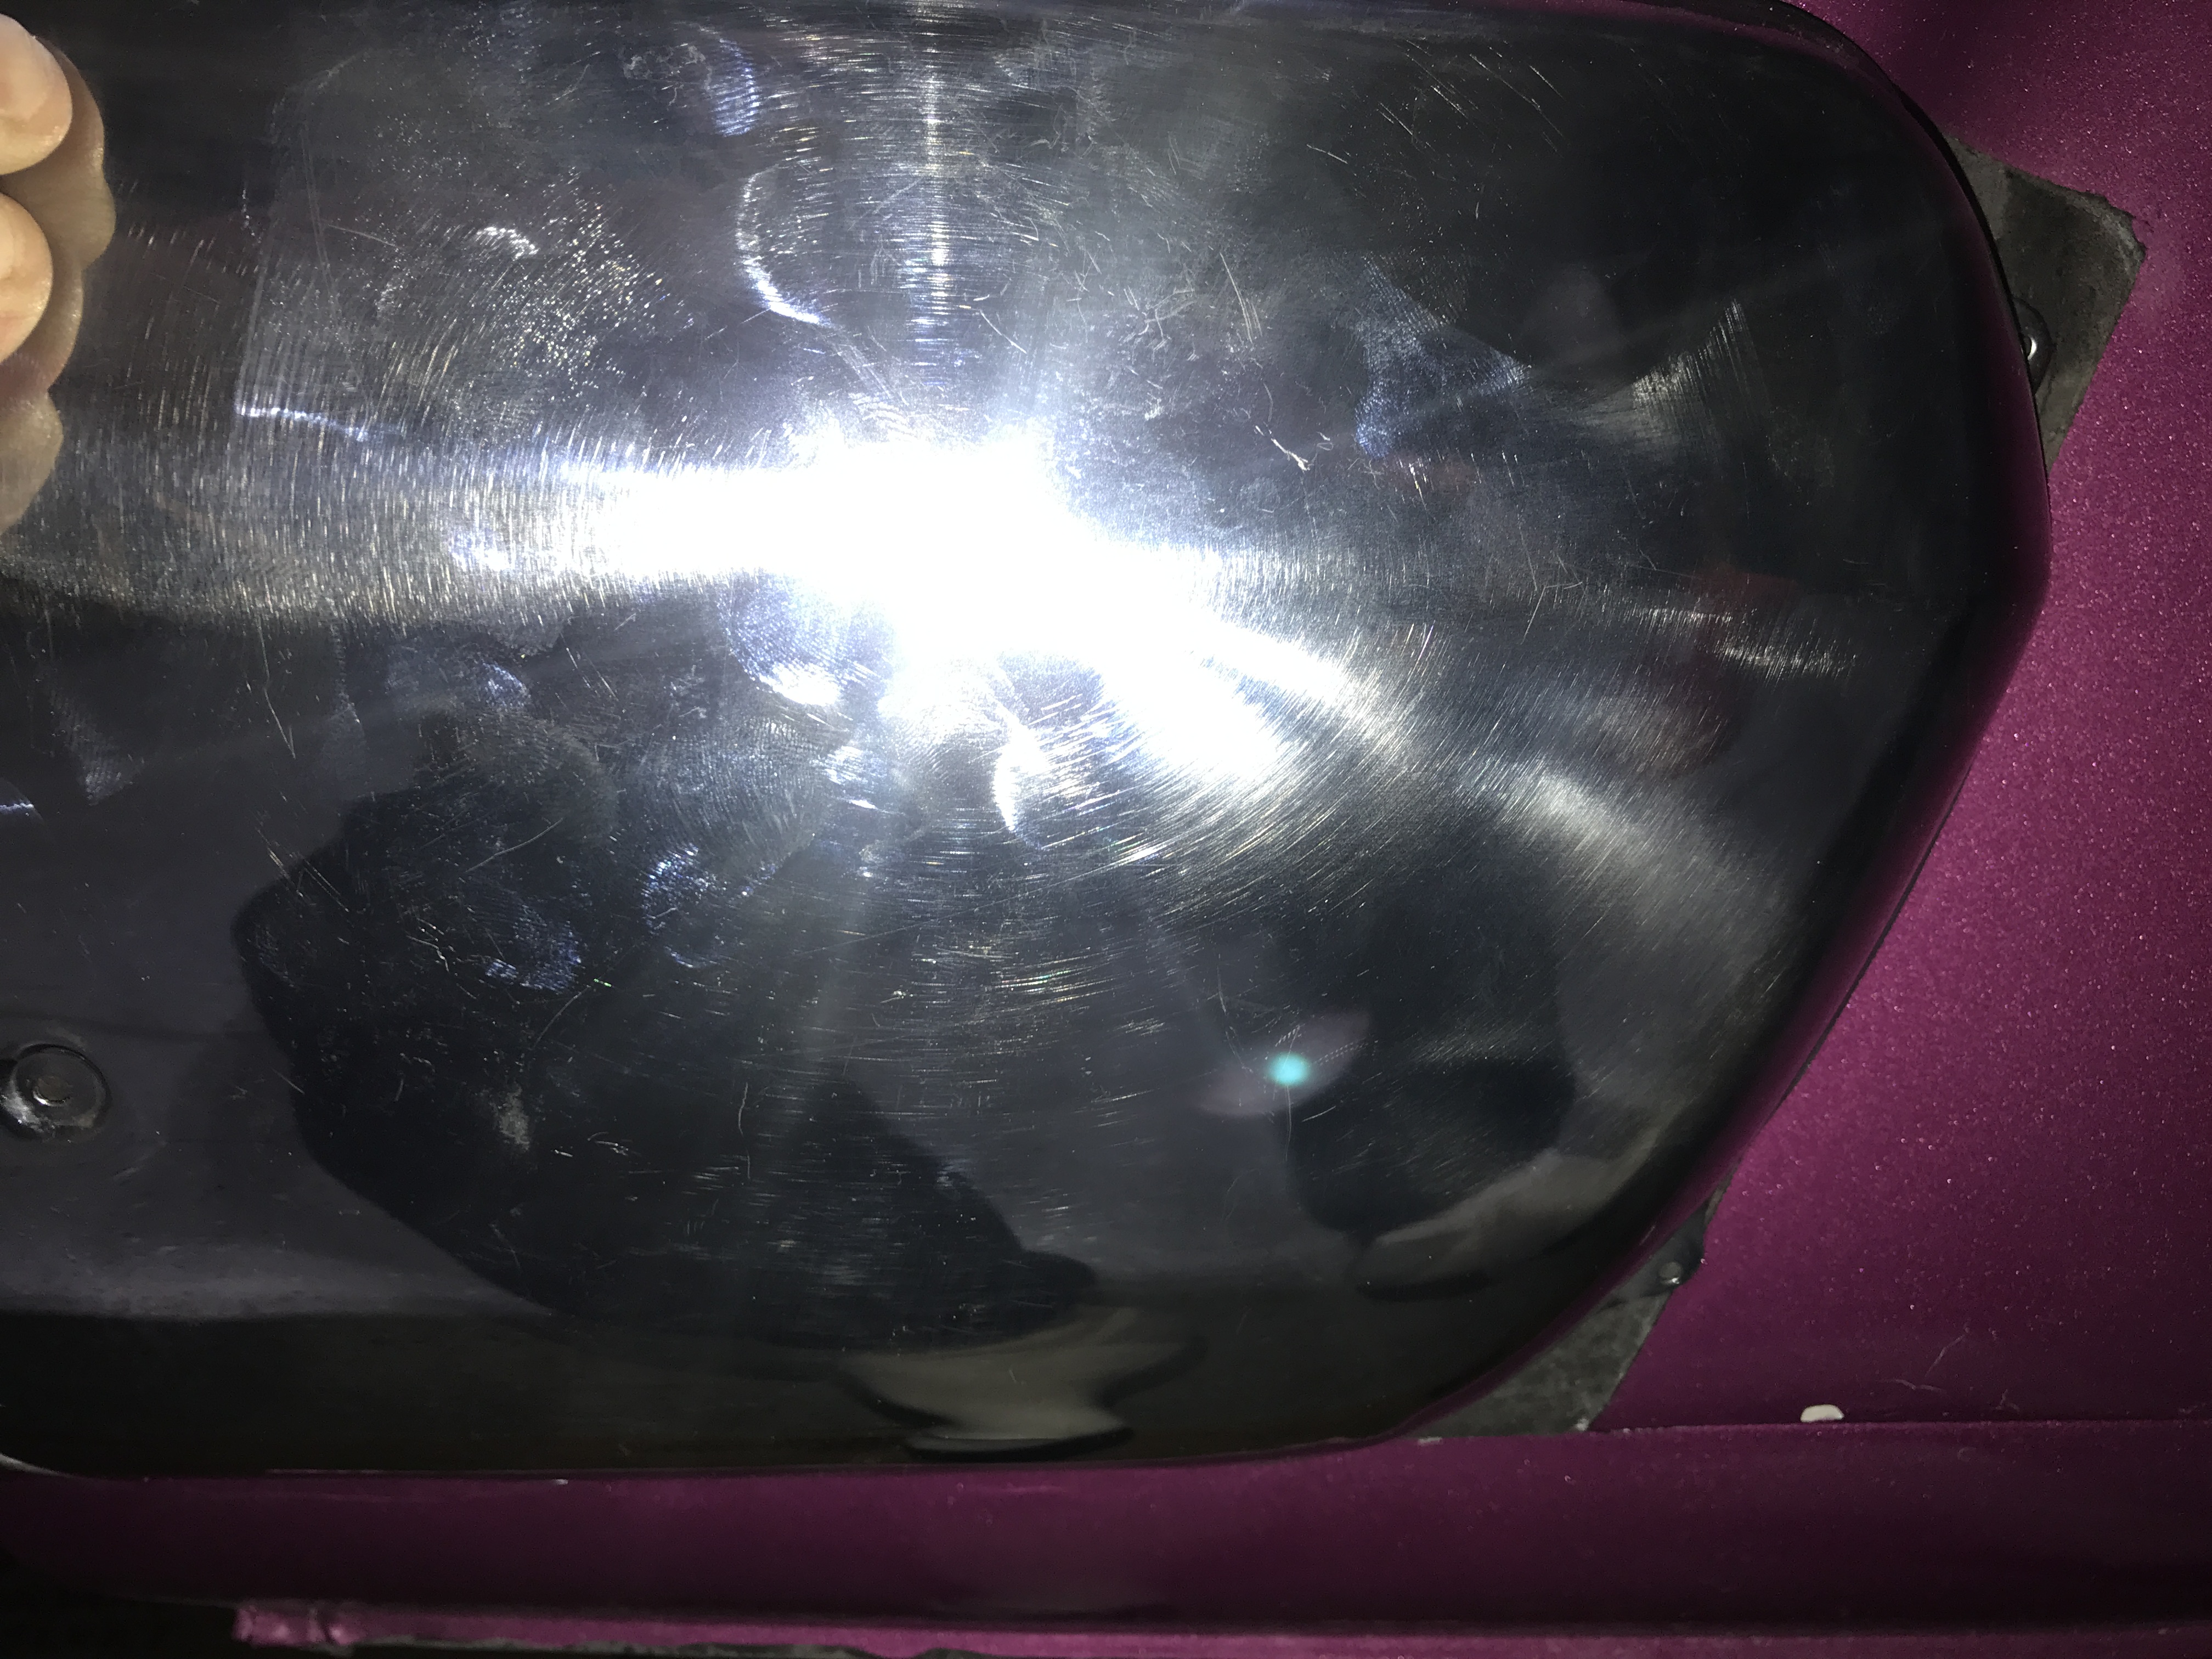
Placing the shield over TPO's work we see the rubber application is just slightly larger than the guard. Not a lot but we will need to remove roughly 12 inch on the leading edge. (top and bottom) Again - so hard to photograph chrome.
This proved easier said than done however. We first tried using plastic pics and wood tools (read as guitar and sandwich picks) "What is the worst thing that could happen?" The answer is we would need to repaint part of the door! We proceeded with more force than common sense and we failed. This stuff is tough and we are afraid we may damage the paint underneath. In this moment of sorrow a friend dropped by, we showed the ChevyBaker, and mentioned we were using touch up paint fix some small areas. When we showed the gravel shields he asked the simple question, "How much touch up paint do you have?"
| Hover to see both sides |
 |
OK its not perfect but we are not trying to be perfect! We held the shields in place again and traced the forward edge to show how much we needed to paint. From 15' its not noticeable, from 10 you have to know what to look for. The above and below photos where taken from roughly 3 feet away. Plus once the 'bling' is attached it should distract enough to make it even less apparent. With nothing else to do we taped the guard into position, used some shiny self tapping screws, and drove them home.
| Hover to see both shiny sides |
 |
We were so close to just leaving it the way we found it. The NOS replacements were not cheap and we did fear drilling holes into the car. But we are so glad we kept pushing forward. Take that TPO...