Warning: long read with some maths!
OK, we did not research this before purchasing the ChevyBaker, and why would we? When we purchased the car there were wheel covers and they were ugly. Later we discovered these are cheap replacements covers called "Fiesta". Of course we found some used original wheel covers and did an upgrade.

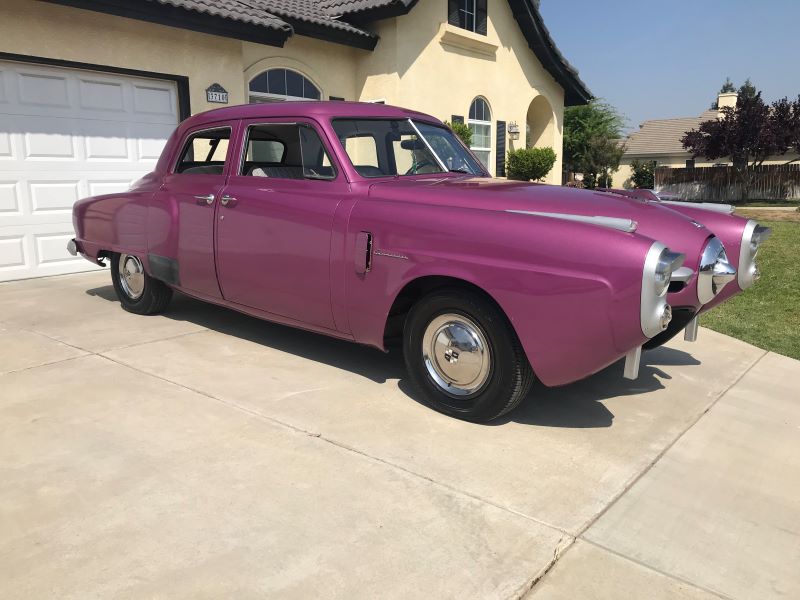
This was fine but we kept loosing wheel covers and this was getting both annoying and expensive. The original idea was to fit the ChevyBaker with some shiny rims and with the wheel covers getting harder to find we set off on the follow adventure. As it turns out the 50' Studebaker Commander has some 'uniqueness' with its wheels. At first glance they are 15" diameter with a 5x5" (5x127mm) bolt pattern so no issues there. What is of issue is the over sized bore hole due to the over sized wheel hub which measures 3 5/16" or 3.3125" or more importantly 84.1375mm. The largest hub we could find on an after market rim was 83mm. One upside, or so we thought, is the hub tapers quickly and if we could use an 1/8" spacer we could clear the hub. More on this in a bit.
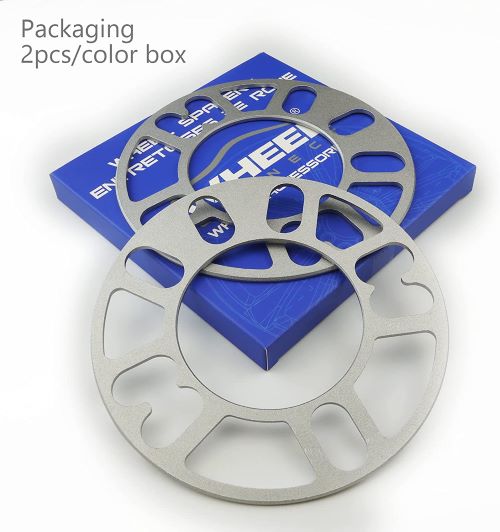
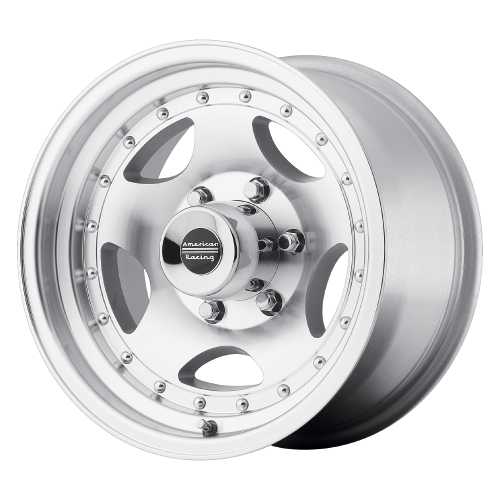
We did take the original wheel to a tire shop and had the backspace and offset measured. Now these are new terms for us and we did a LOT of Google Fu to figure out what would (read as might) work. The important number is the offset which is negative 13mm. This means the mounting surface is 13 millimeters towards the engine. Our thought was, if we use a wheel with a negative 6 offset it would move the wheel 7mm inward, or roughly 1/4 inch. The spacer would then poke (another new wheel term) the rim back out 3.125mm for a net positve poke of 3.875mm or roughly 0.153" away from the engine. This was very promising, almost too good to be true. We took a risk and ordered a new American Racing AR23 rim off Ebay. We actually added this to our watchlist and they offered a 10% discount so we took it.
OK, we added the spacer and then attempted (oh you read that right, attempted) to mount the new rim - sans tire. What we did not see, because we failed, was the protrusion on the outer edge of the hub that appears to give clearance for the brake shoes and brake wheel cylinder. It was just short and if we could use a 1/4 inch spacer we would clear both the hub and this 'bump out'. The problem then was immediately clear - adding a 1/4" spacer would effectively shorten the studs by the same amount and the new wheel is a bit thicker at the mounting surface. This spacer would mean we could NOT bolt on the new rim. Well %^&*.
So now we had a few options. First we could just go back to the original wheels but this also potentially mean buying more wheel covers in the future. Next is to use an adapter to poke the rim away from the wheel hub Lastly we could have new rims custom made (read as a very last resort) Risking a bit more we purchased 1" adapters after ensuring the hub and the adapter OD would fit on the hub and the additional thickness would allow the tire to fit in the fender. While it is an adapter it is really changing the 5x127 to another 5x127 and is meant for a Jeep. We could have actually adapted to a different bolt pattern but we already had the rim we liked. We found a great website that measures a lot of this and provides a rendering of the potential changes.
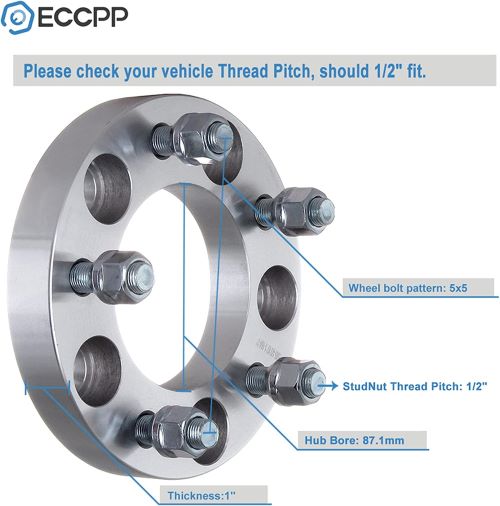
We did consider upsizing to a 16 or 17 inch rim and reducing the tire sidewall to keep the same diameter. This would mean we would lose the test rim cost AND would need 5 more tires. With all of that said we kept the 15" size! Then we realized the adapter comes with lug nuts but there are kinda wrong for our use. To correct this we purchased a new set. Lastly the adapter actually 'fixes' on issue where the drivers side lug nuts are left hand thread. While the wheel hub studs still are - the adapter now had all right hand threaded studs to mount the wheels...
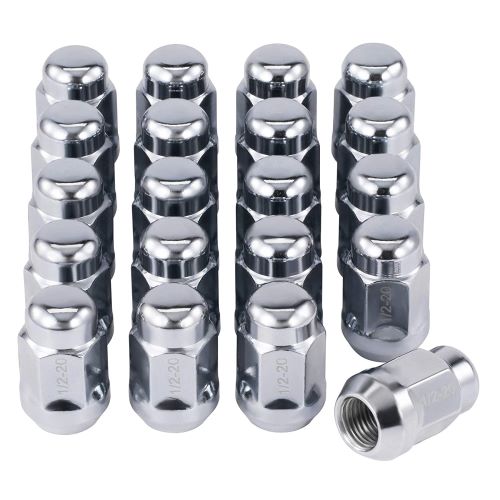
At this point we are $238 into this and still don't know if this will work. With a couple heavy boxes in hand we did a test fit by attaching the adapter, and then the wheel (wheel not pictured)
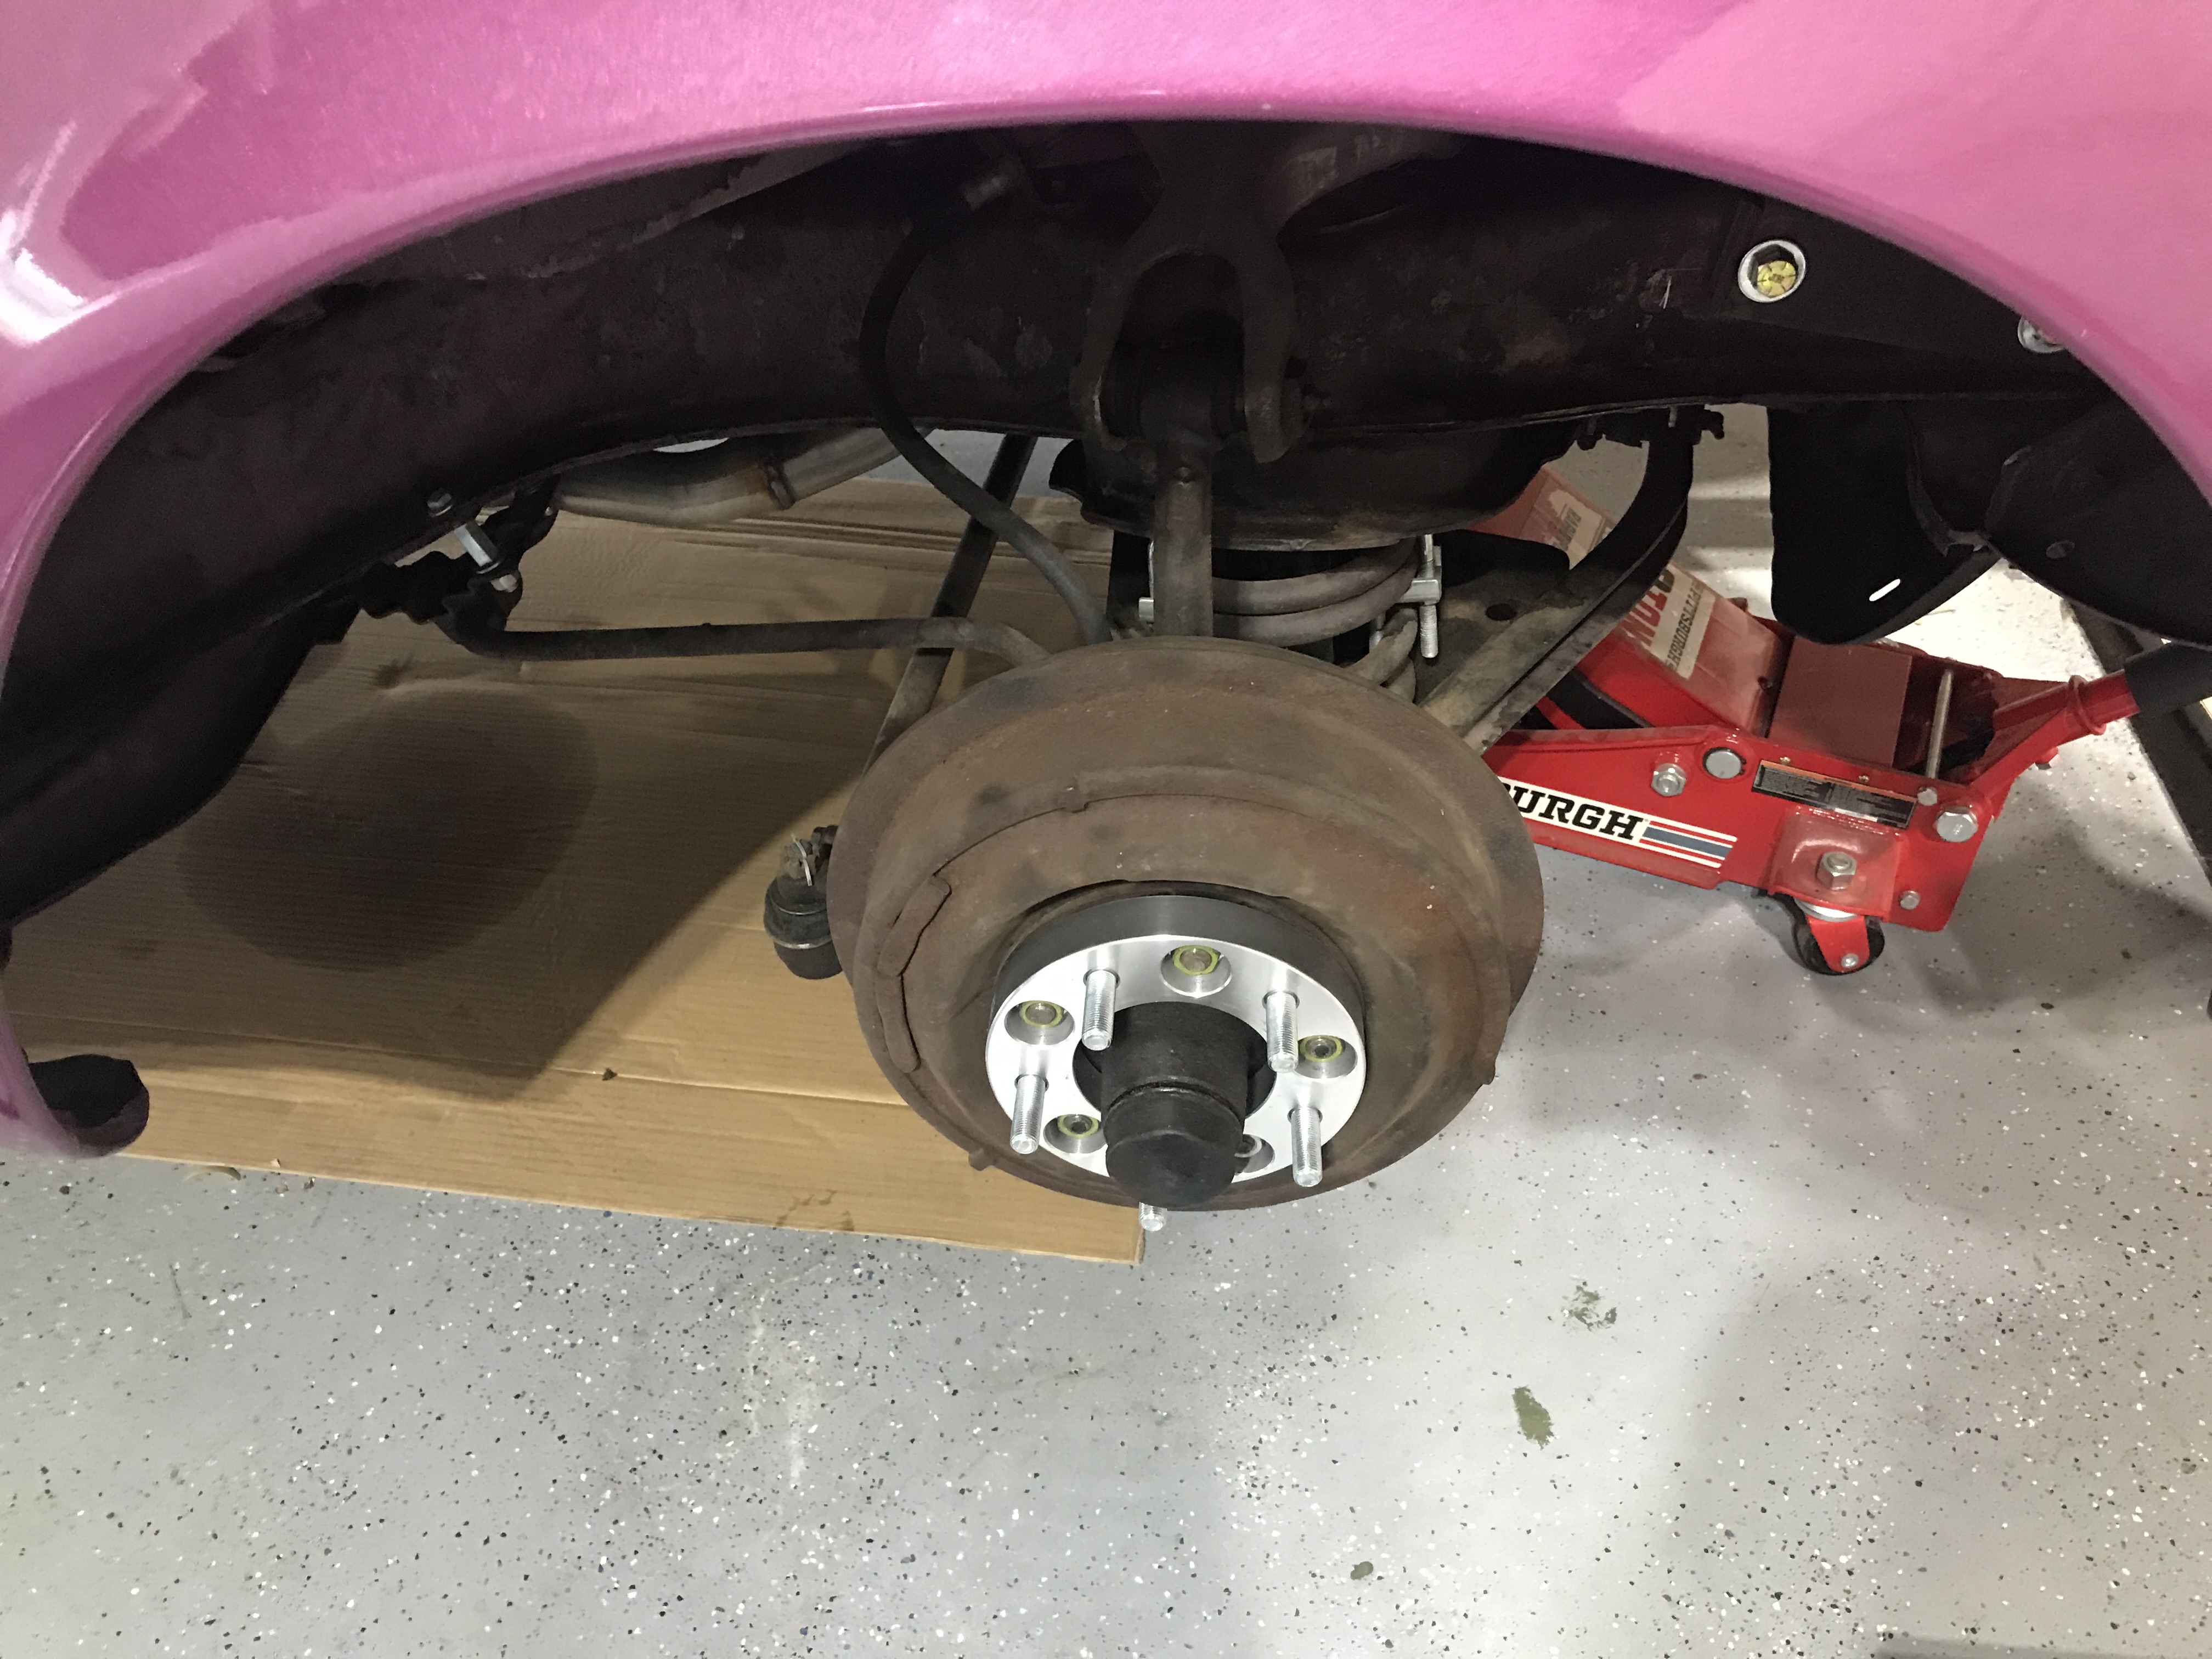
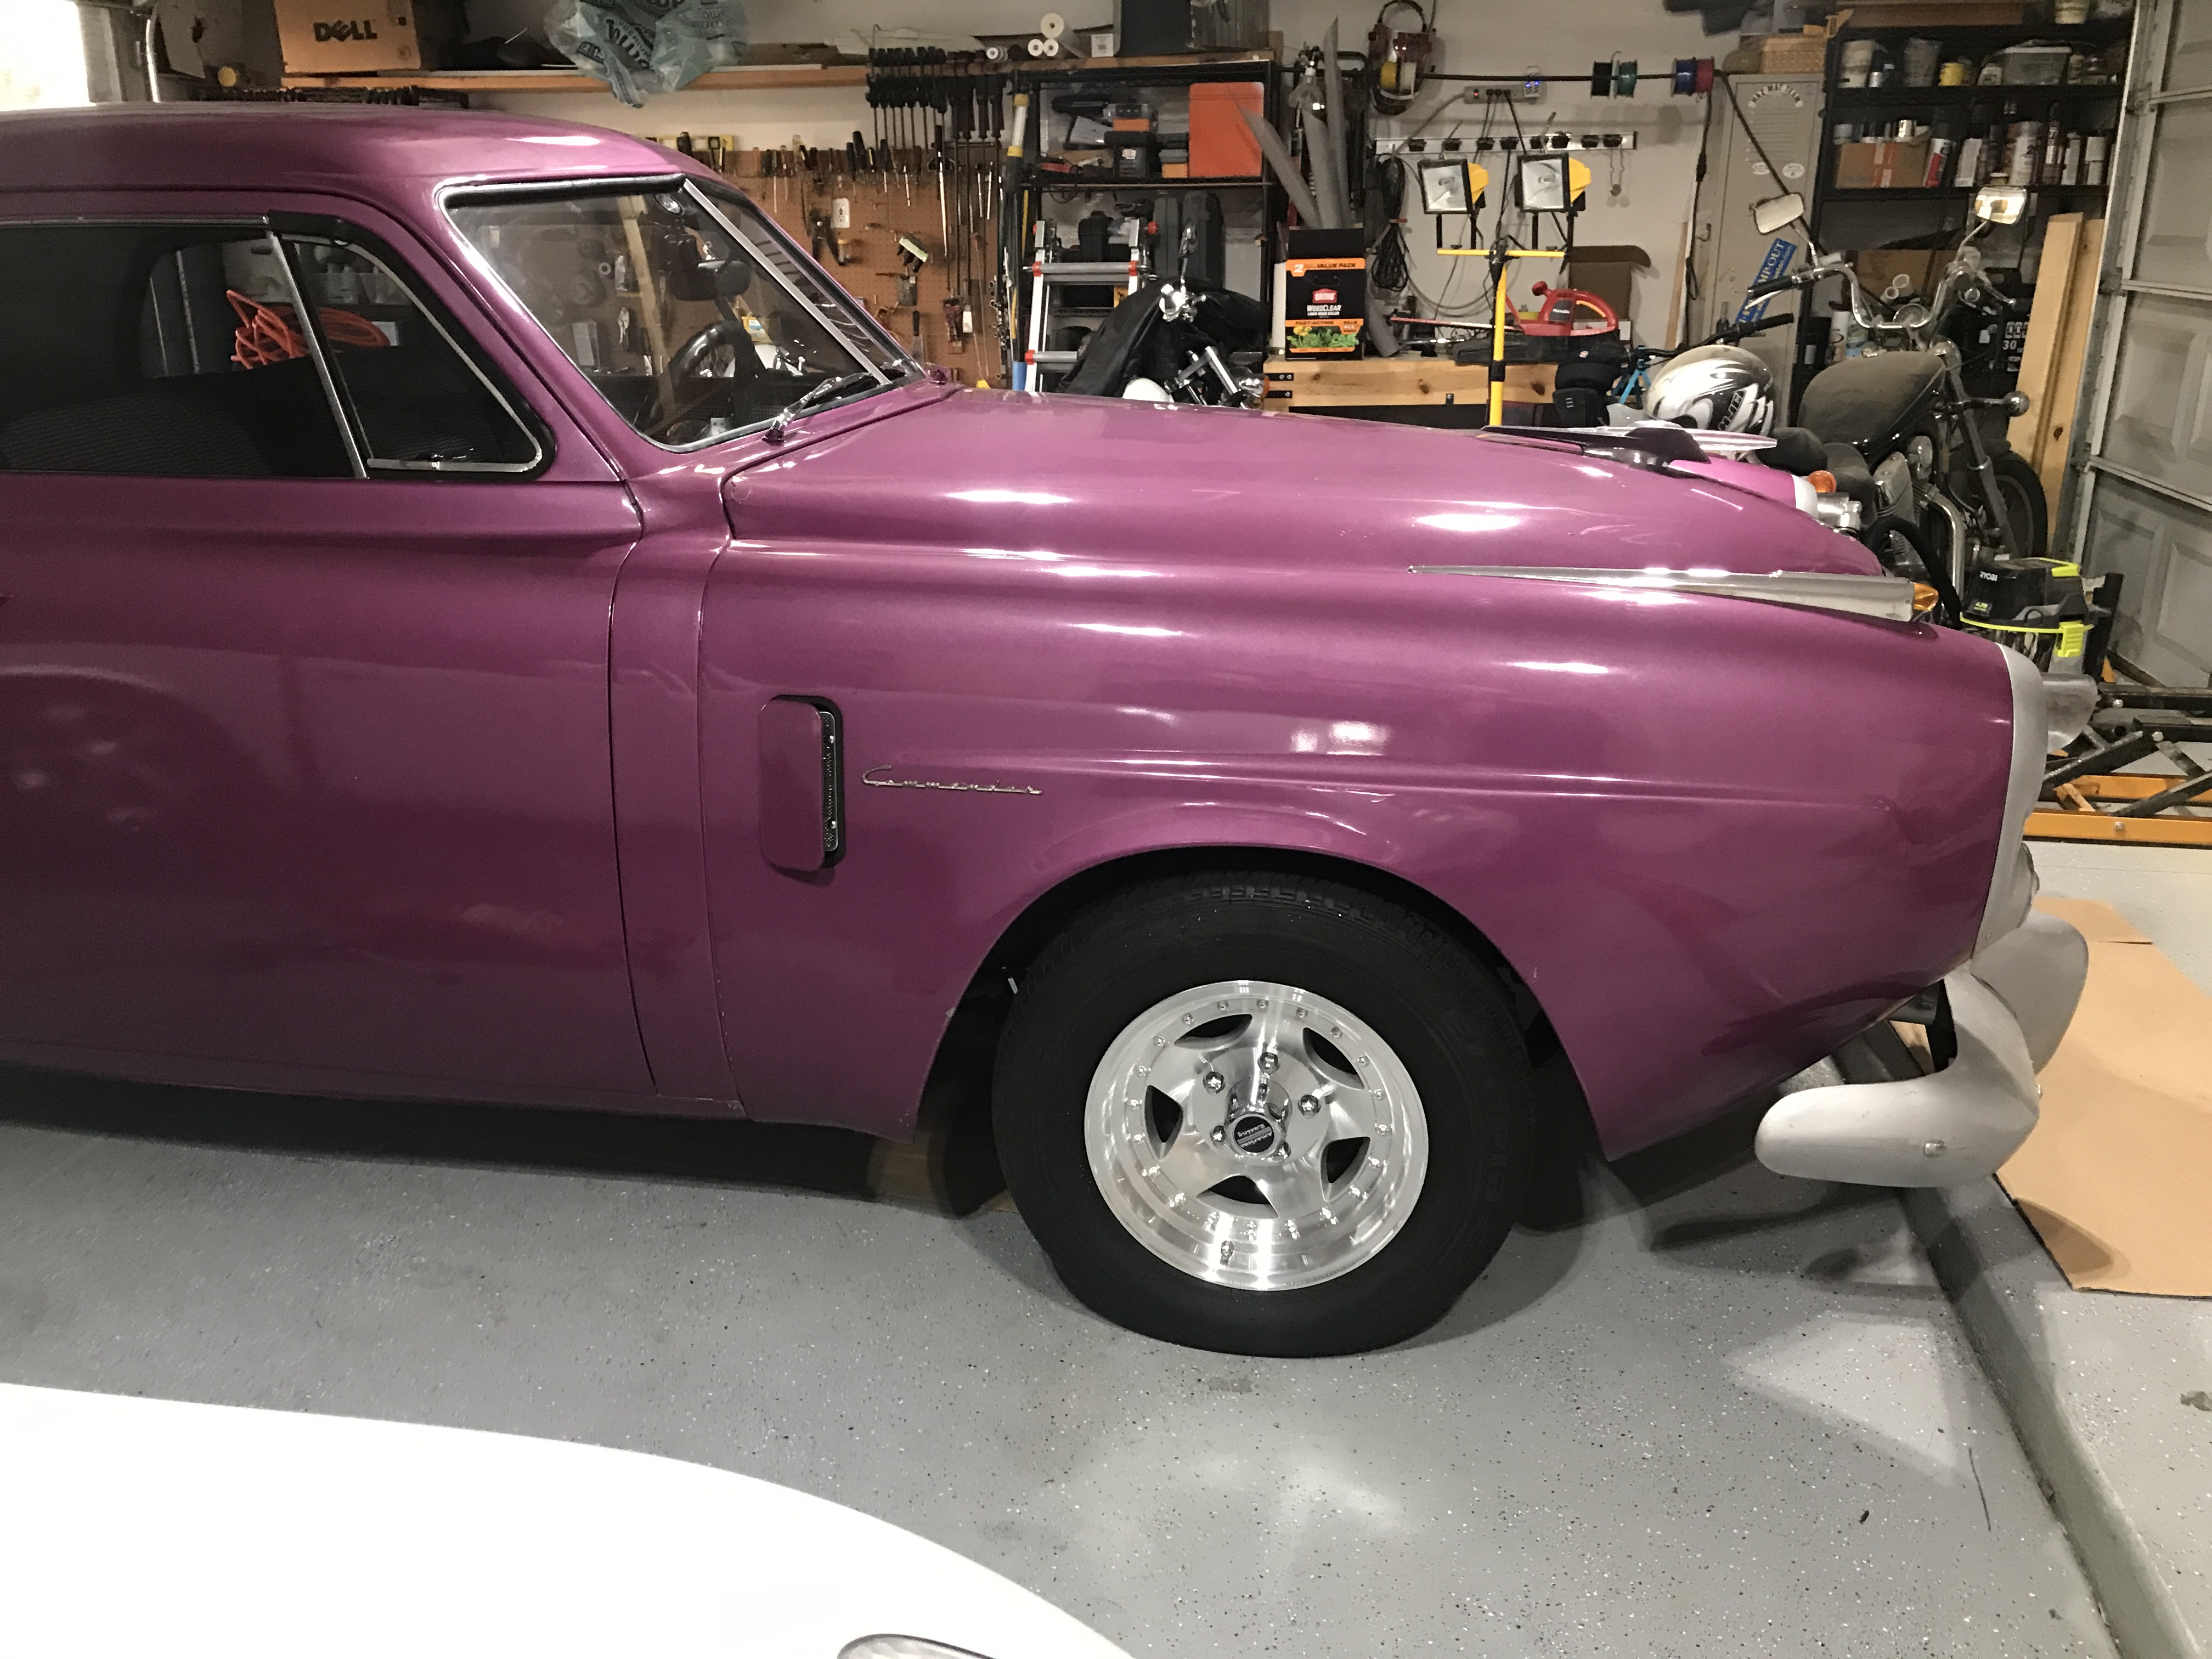
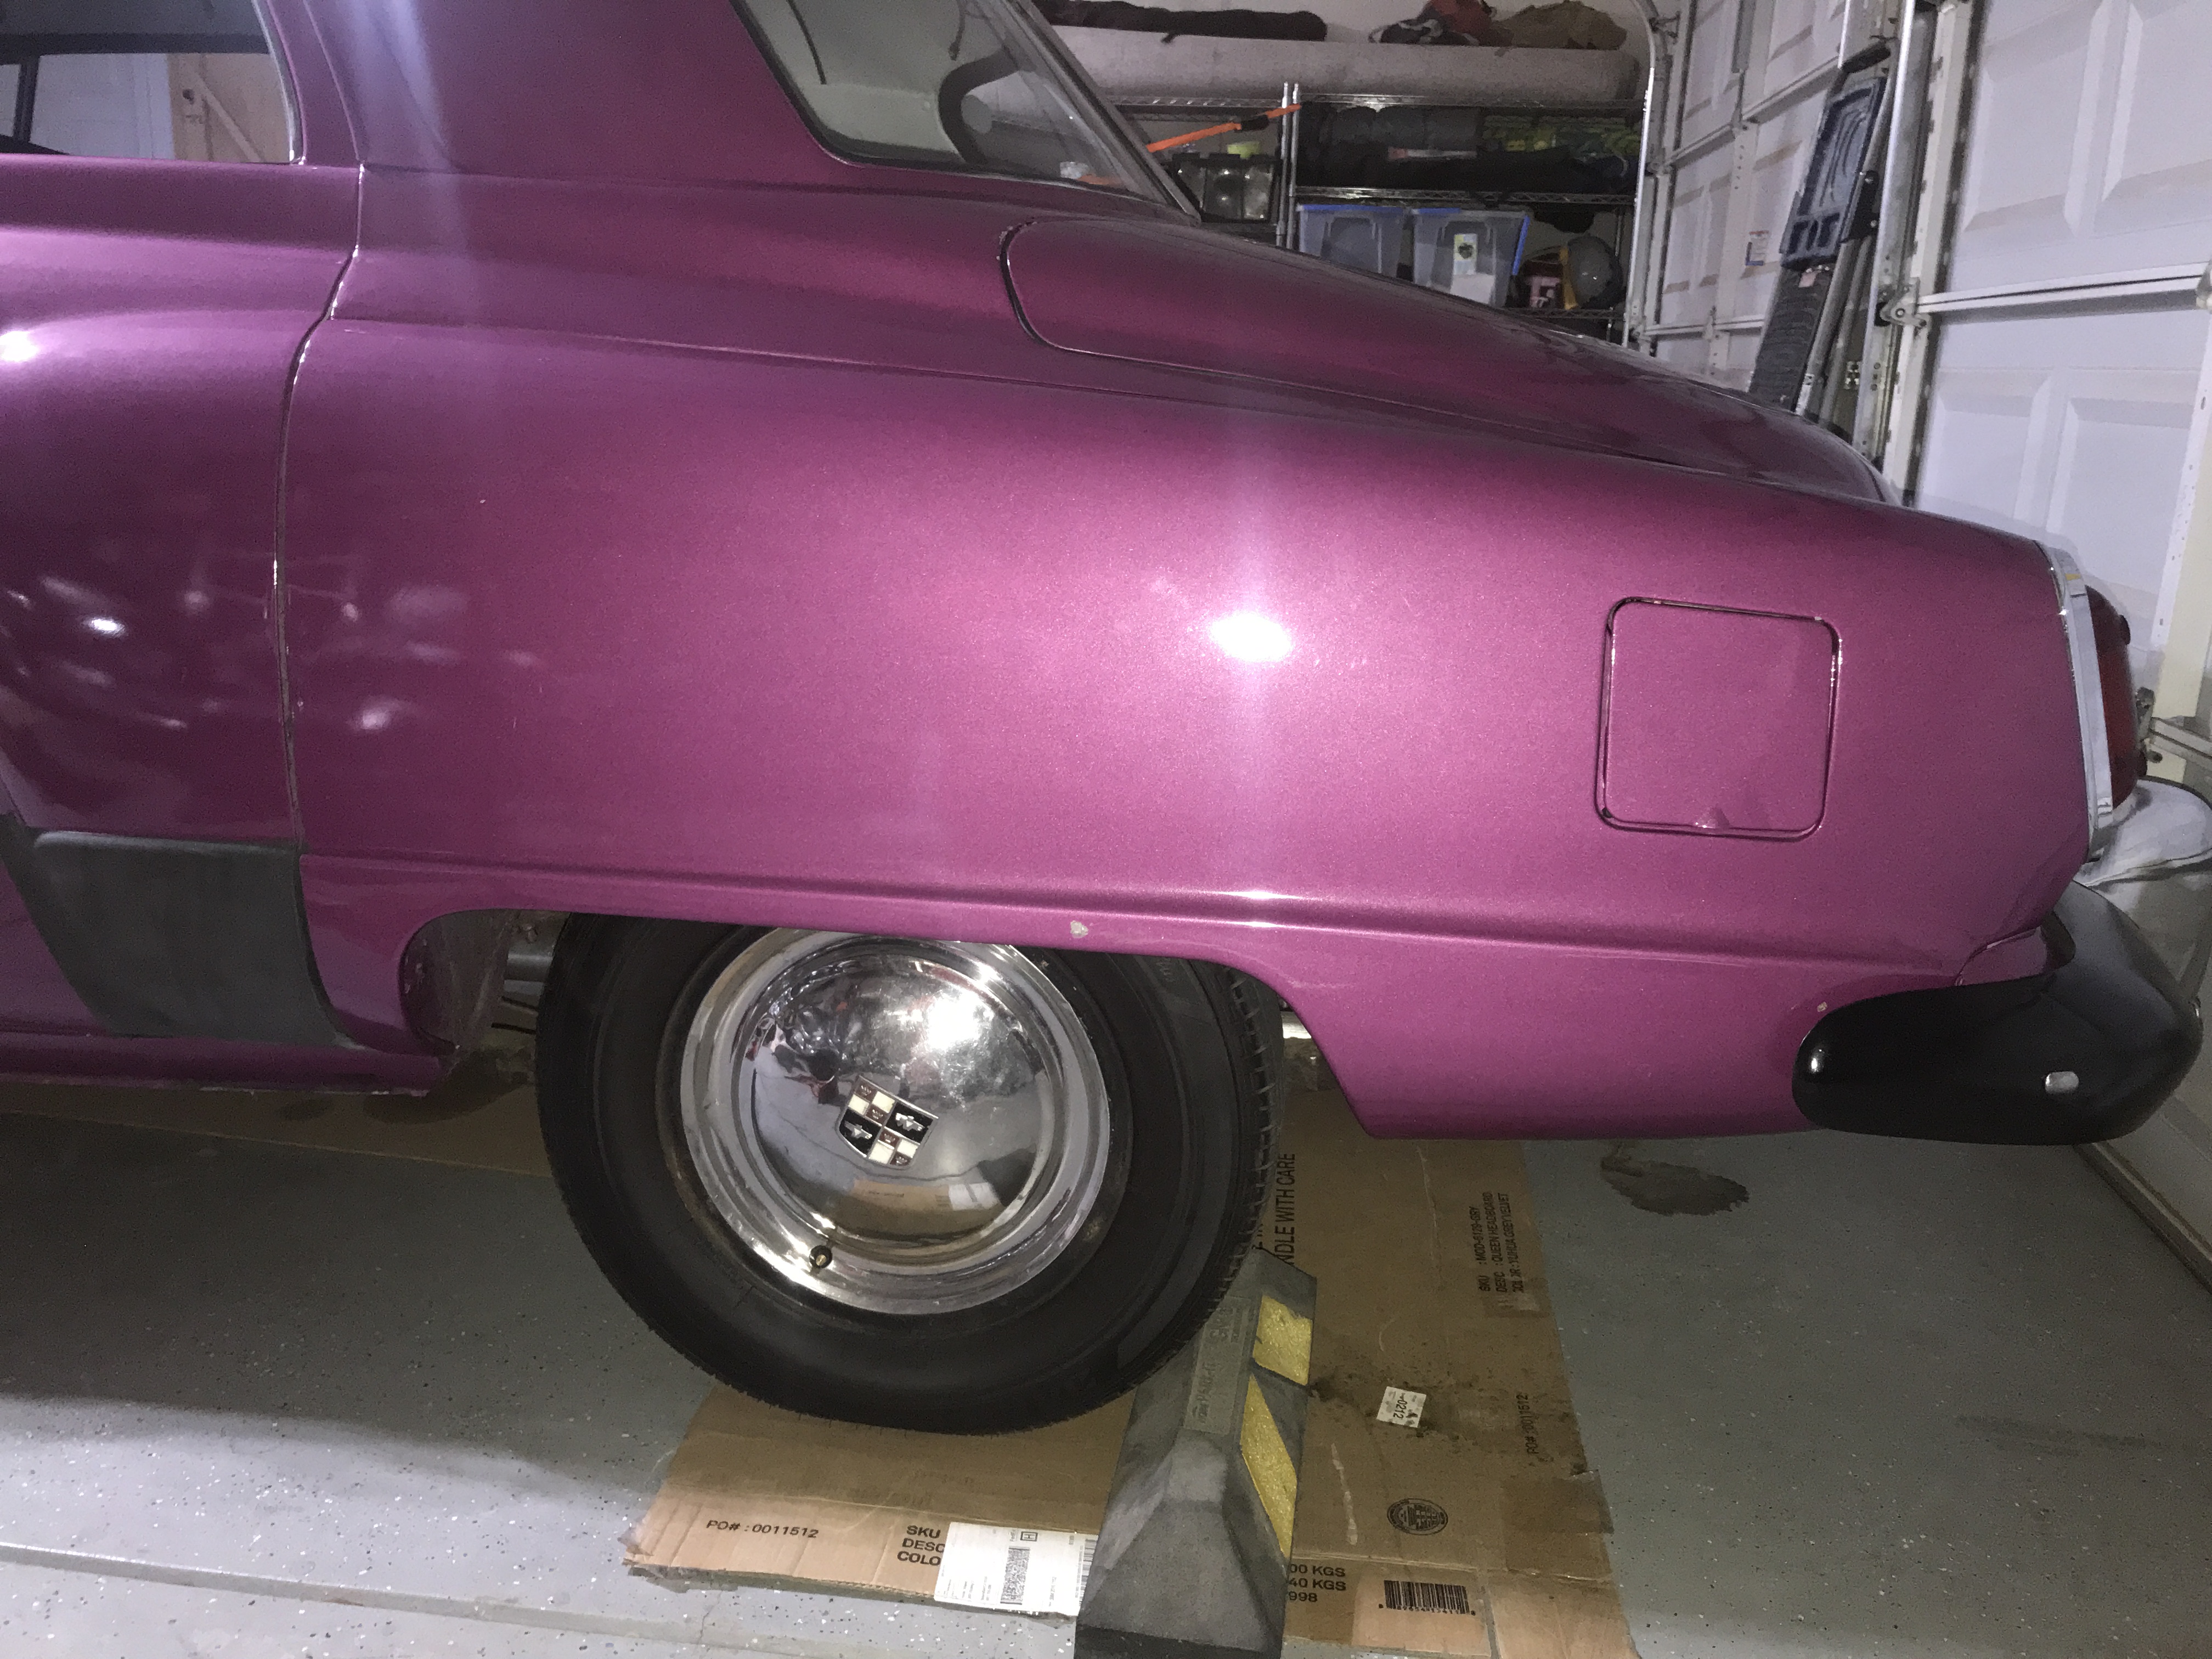
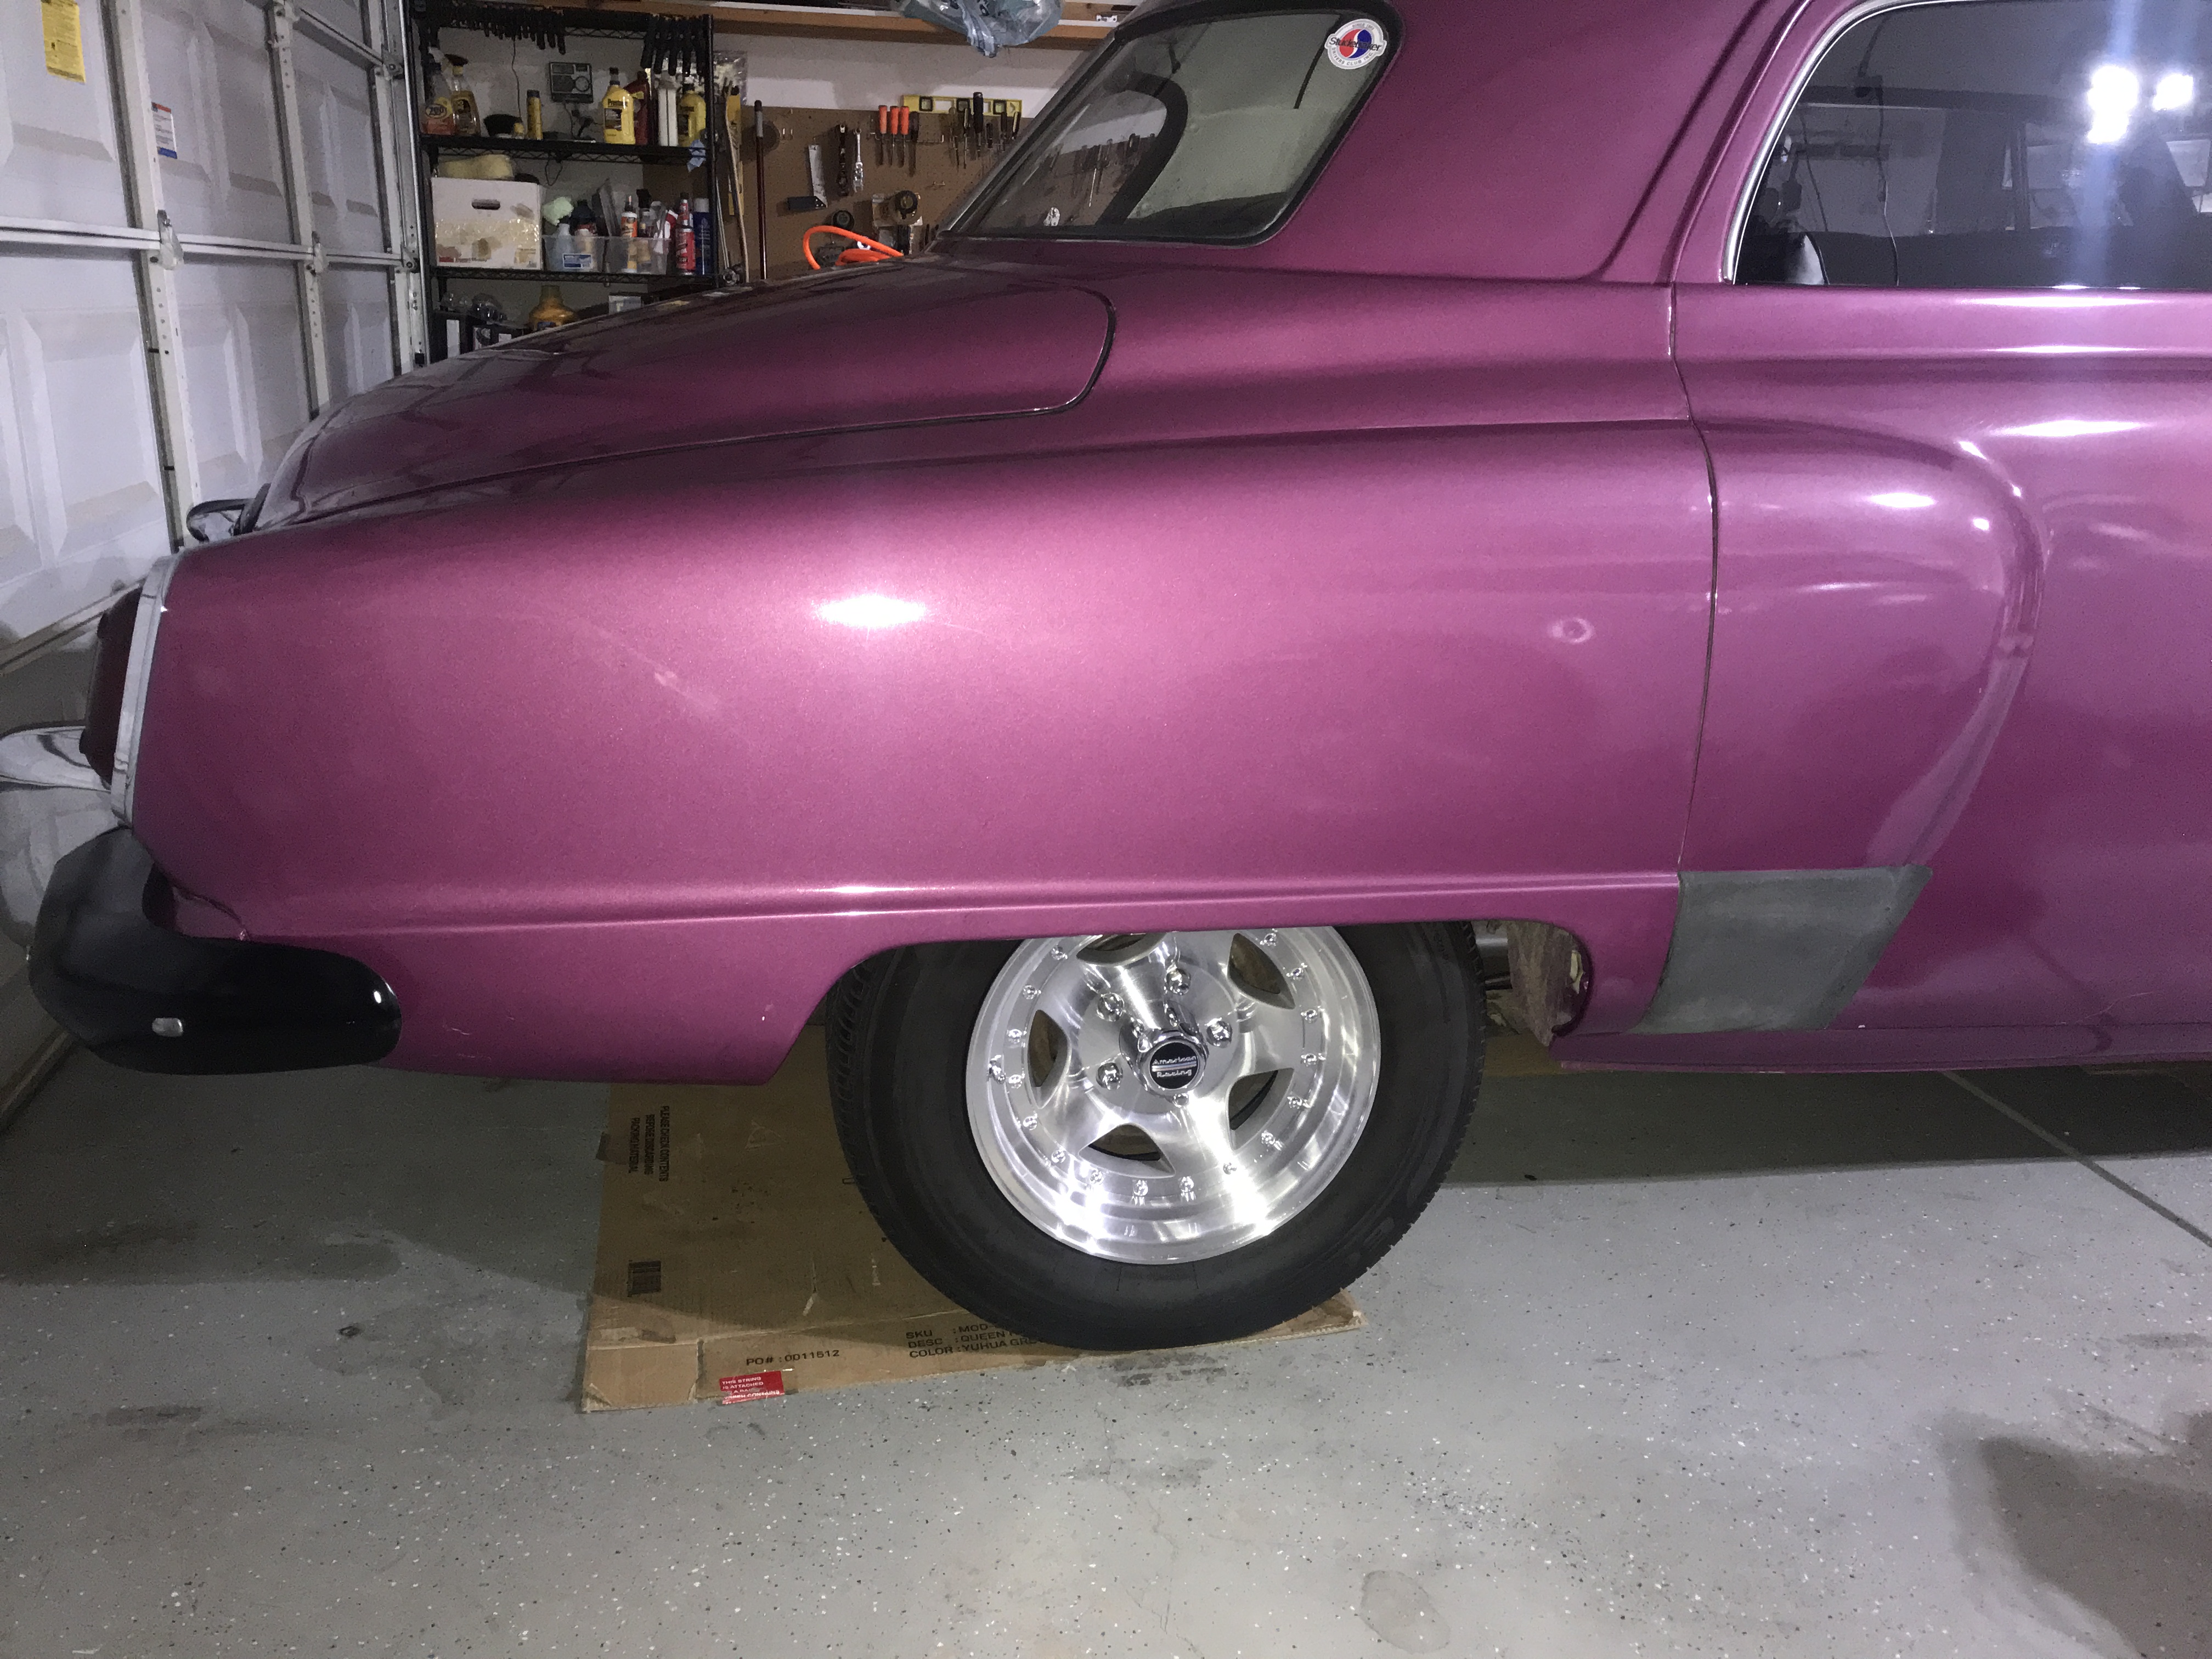
We rotated the wheel, took some measurements, eyeballed it a bit and then took the rim and spare tire to the tire shop. If the rim did not work we would pay again to reverse the tire swap back to the original. We are now $273 in the hole and have some more fit testing to do but felt we were getting close. The shop was very fast (no one there when we arrived) and we were back in the garage holding our breaths. We mounted the rim, with tire, on the front and lowered the car. Awesome. The poke is great and we love the look. Here is the drivers side (original) and the passenger side (new rim)

As we admired the look we kept glancing at the rear of the car. It was at this point we realized that we measured the fender well spacing on both the front and rear original tires but only calculated the additional 1" of the adapter on the front. It looks awefully close and we calmly put the orginal wheel back on the front and proceeded to jack up the rear of the ChevyBaker. We then calmly (bracing for the worst) mounted the adapter and the new rim. All seemed fine and we calmly lowered the floor jack. Here again is the drivers side (original) and the passenger side (new rim).
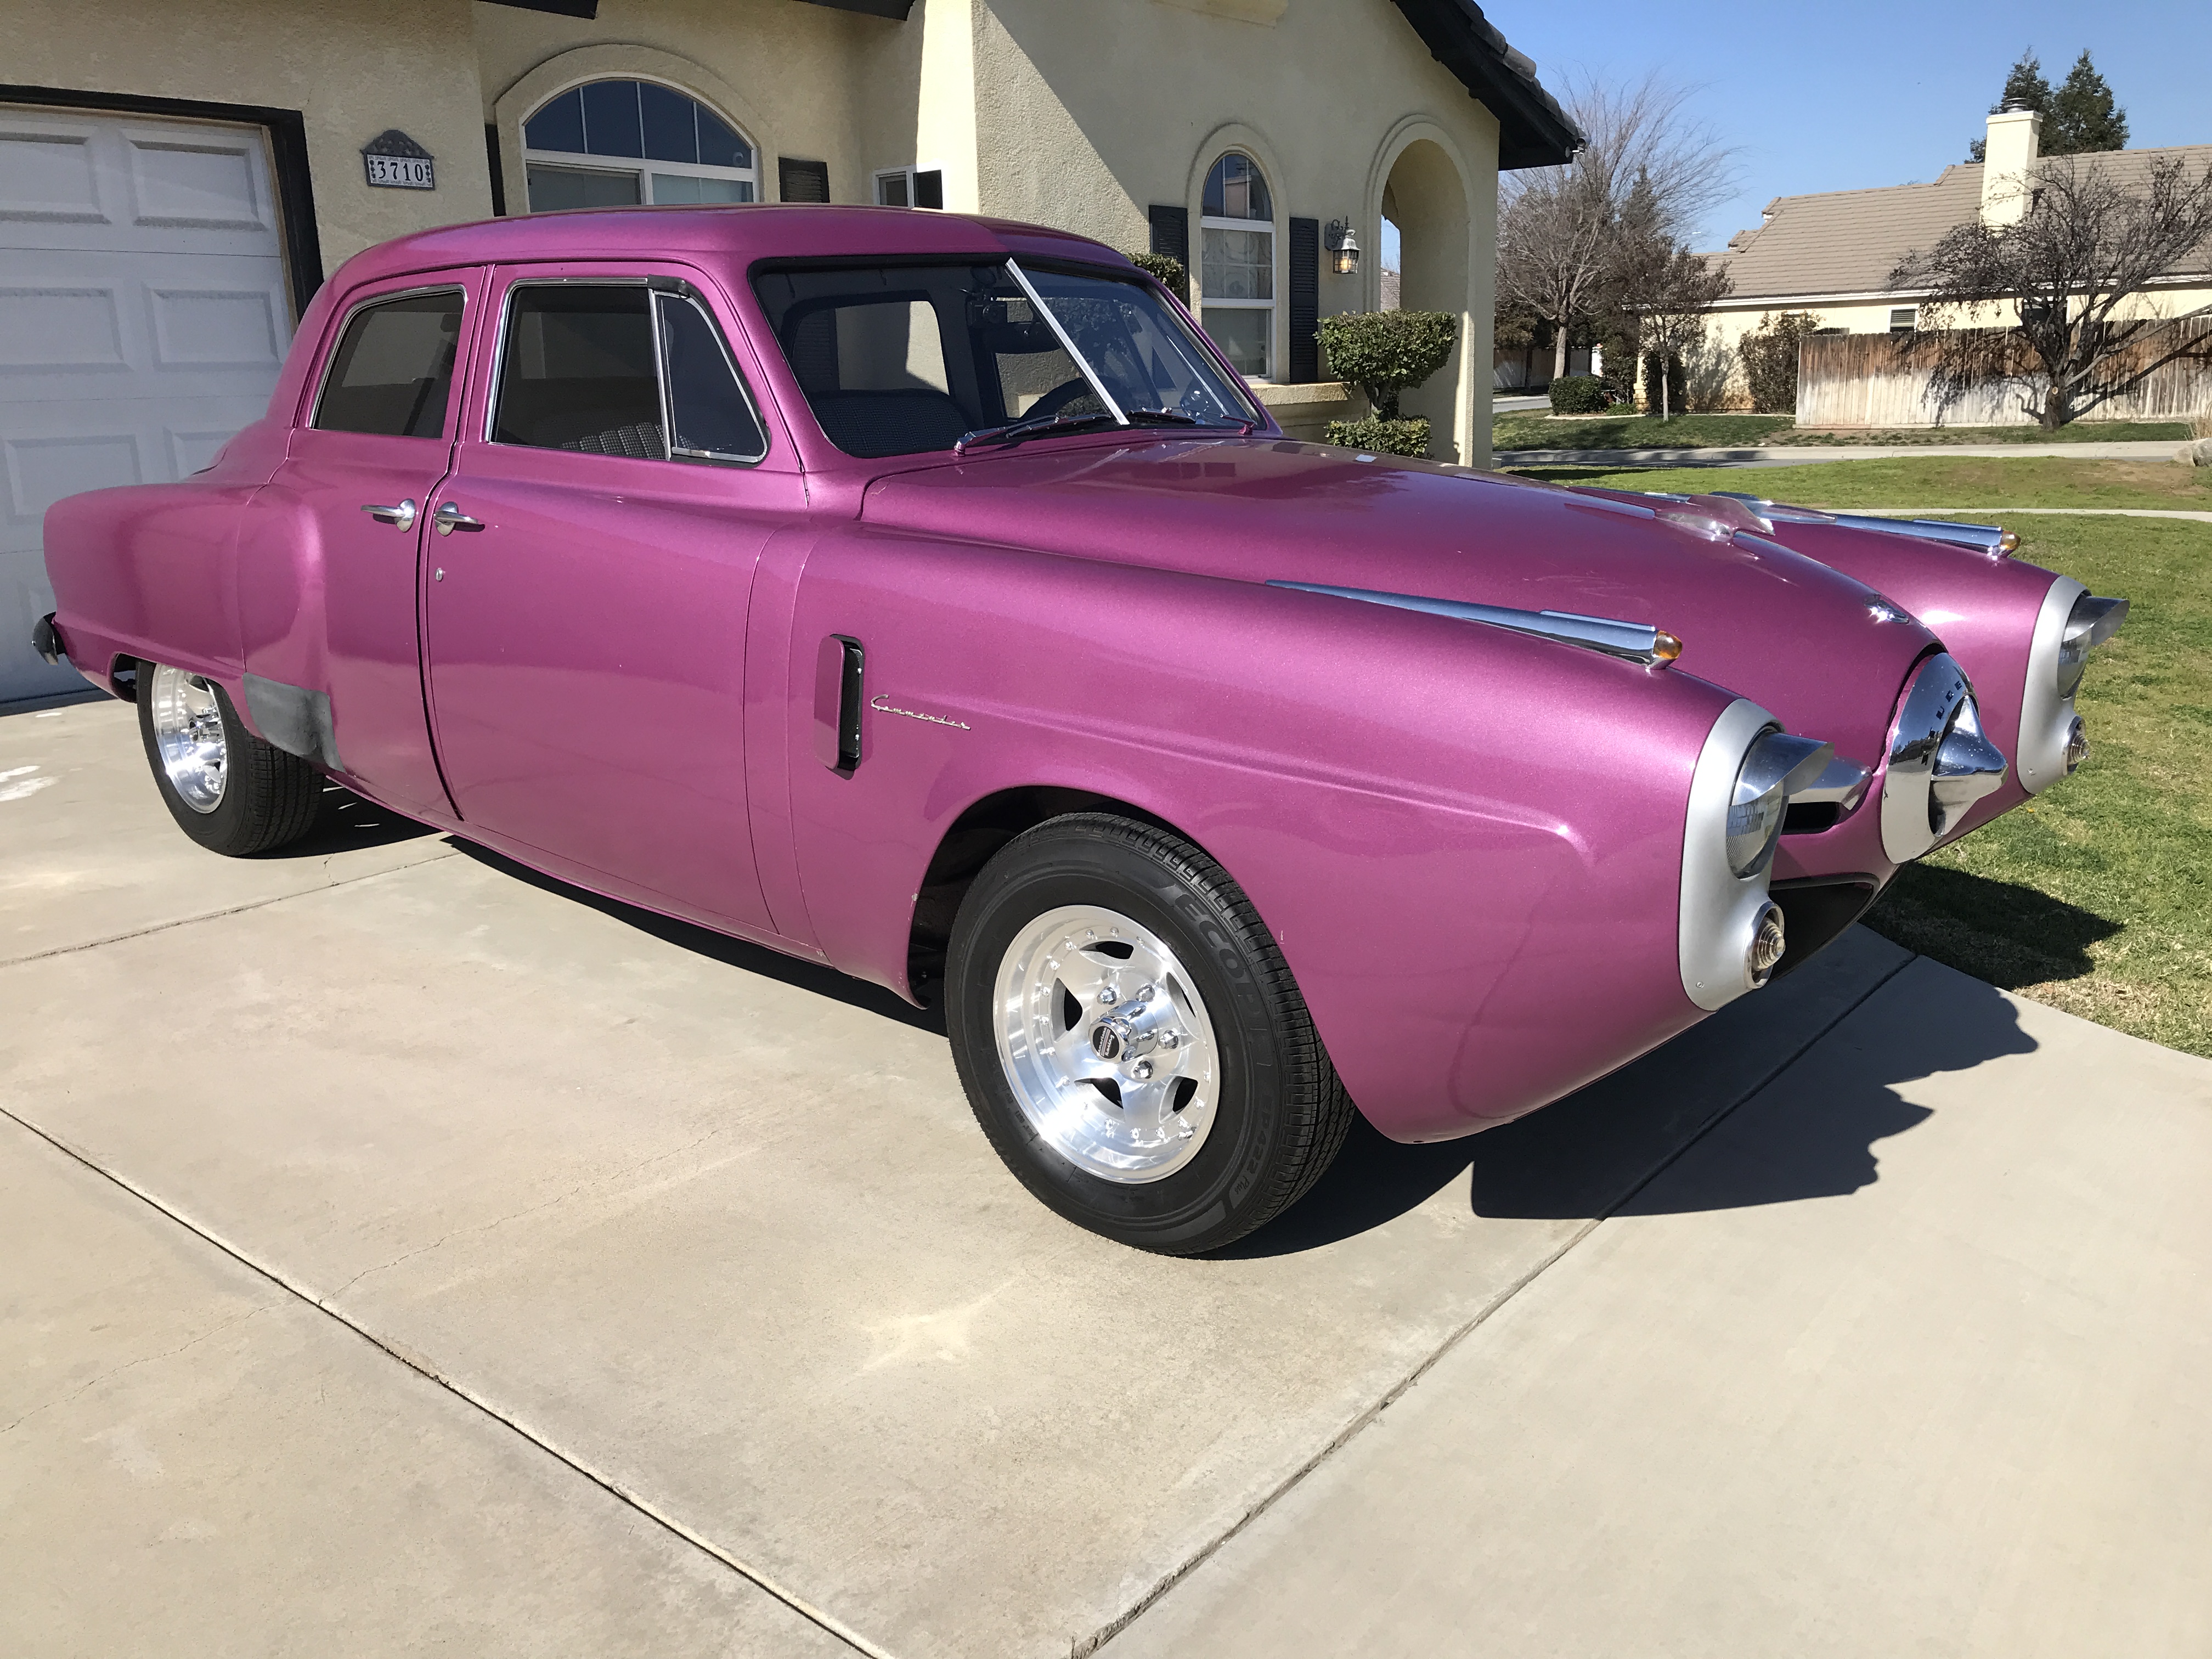
We knew the next step - ask for the same discount and order 4 more rims. We love the look. We sent pictures to friends and they loved the look. We had a lot of expensive options and feared the new rim would be too aggressive or over the top. We did NOT want a tuner look or something too muscle car. We think we hit that happy medium that looks great and saved money (inexpensive rims plus not buying new tires), We however did not get the discount but given how deep into this we were it was easy to simply purchase at the full price. We thought we could do this for around $1000 and after mounting/balancing we were "right on budget" .
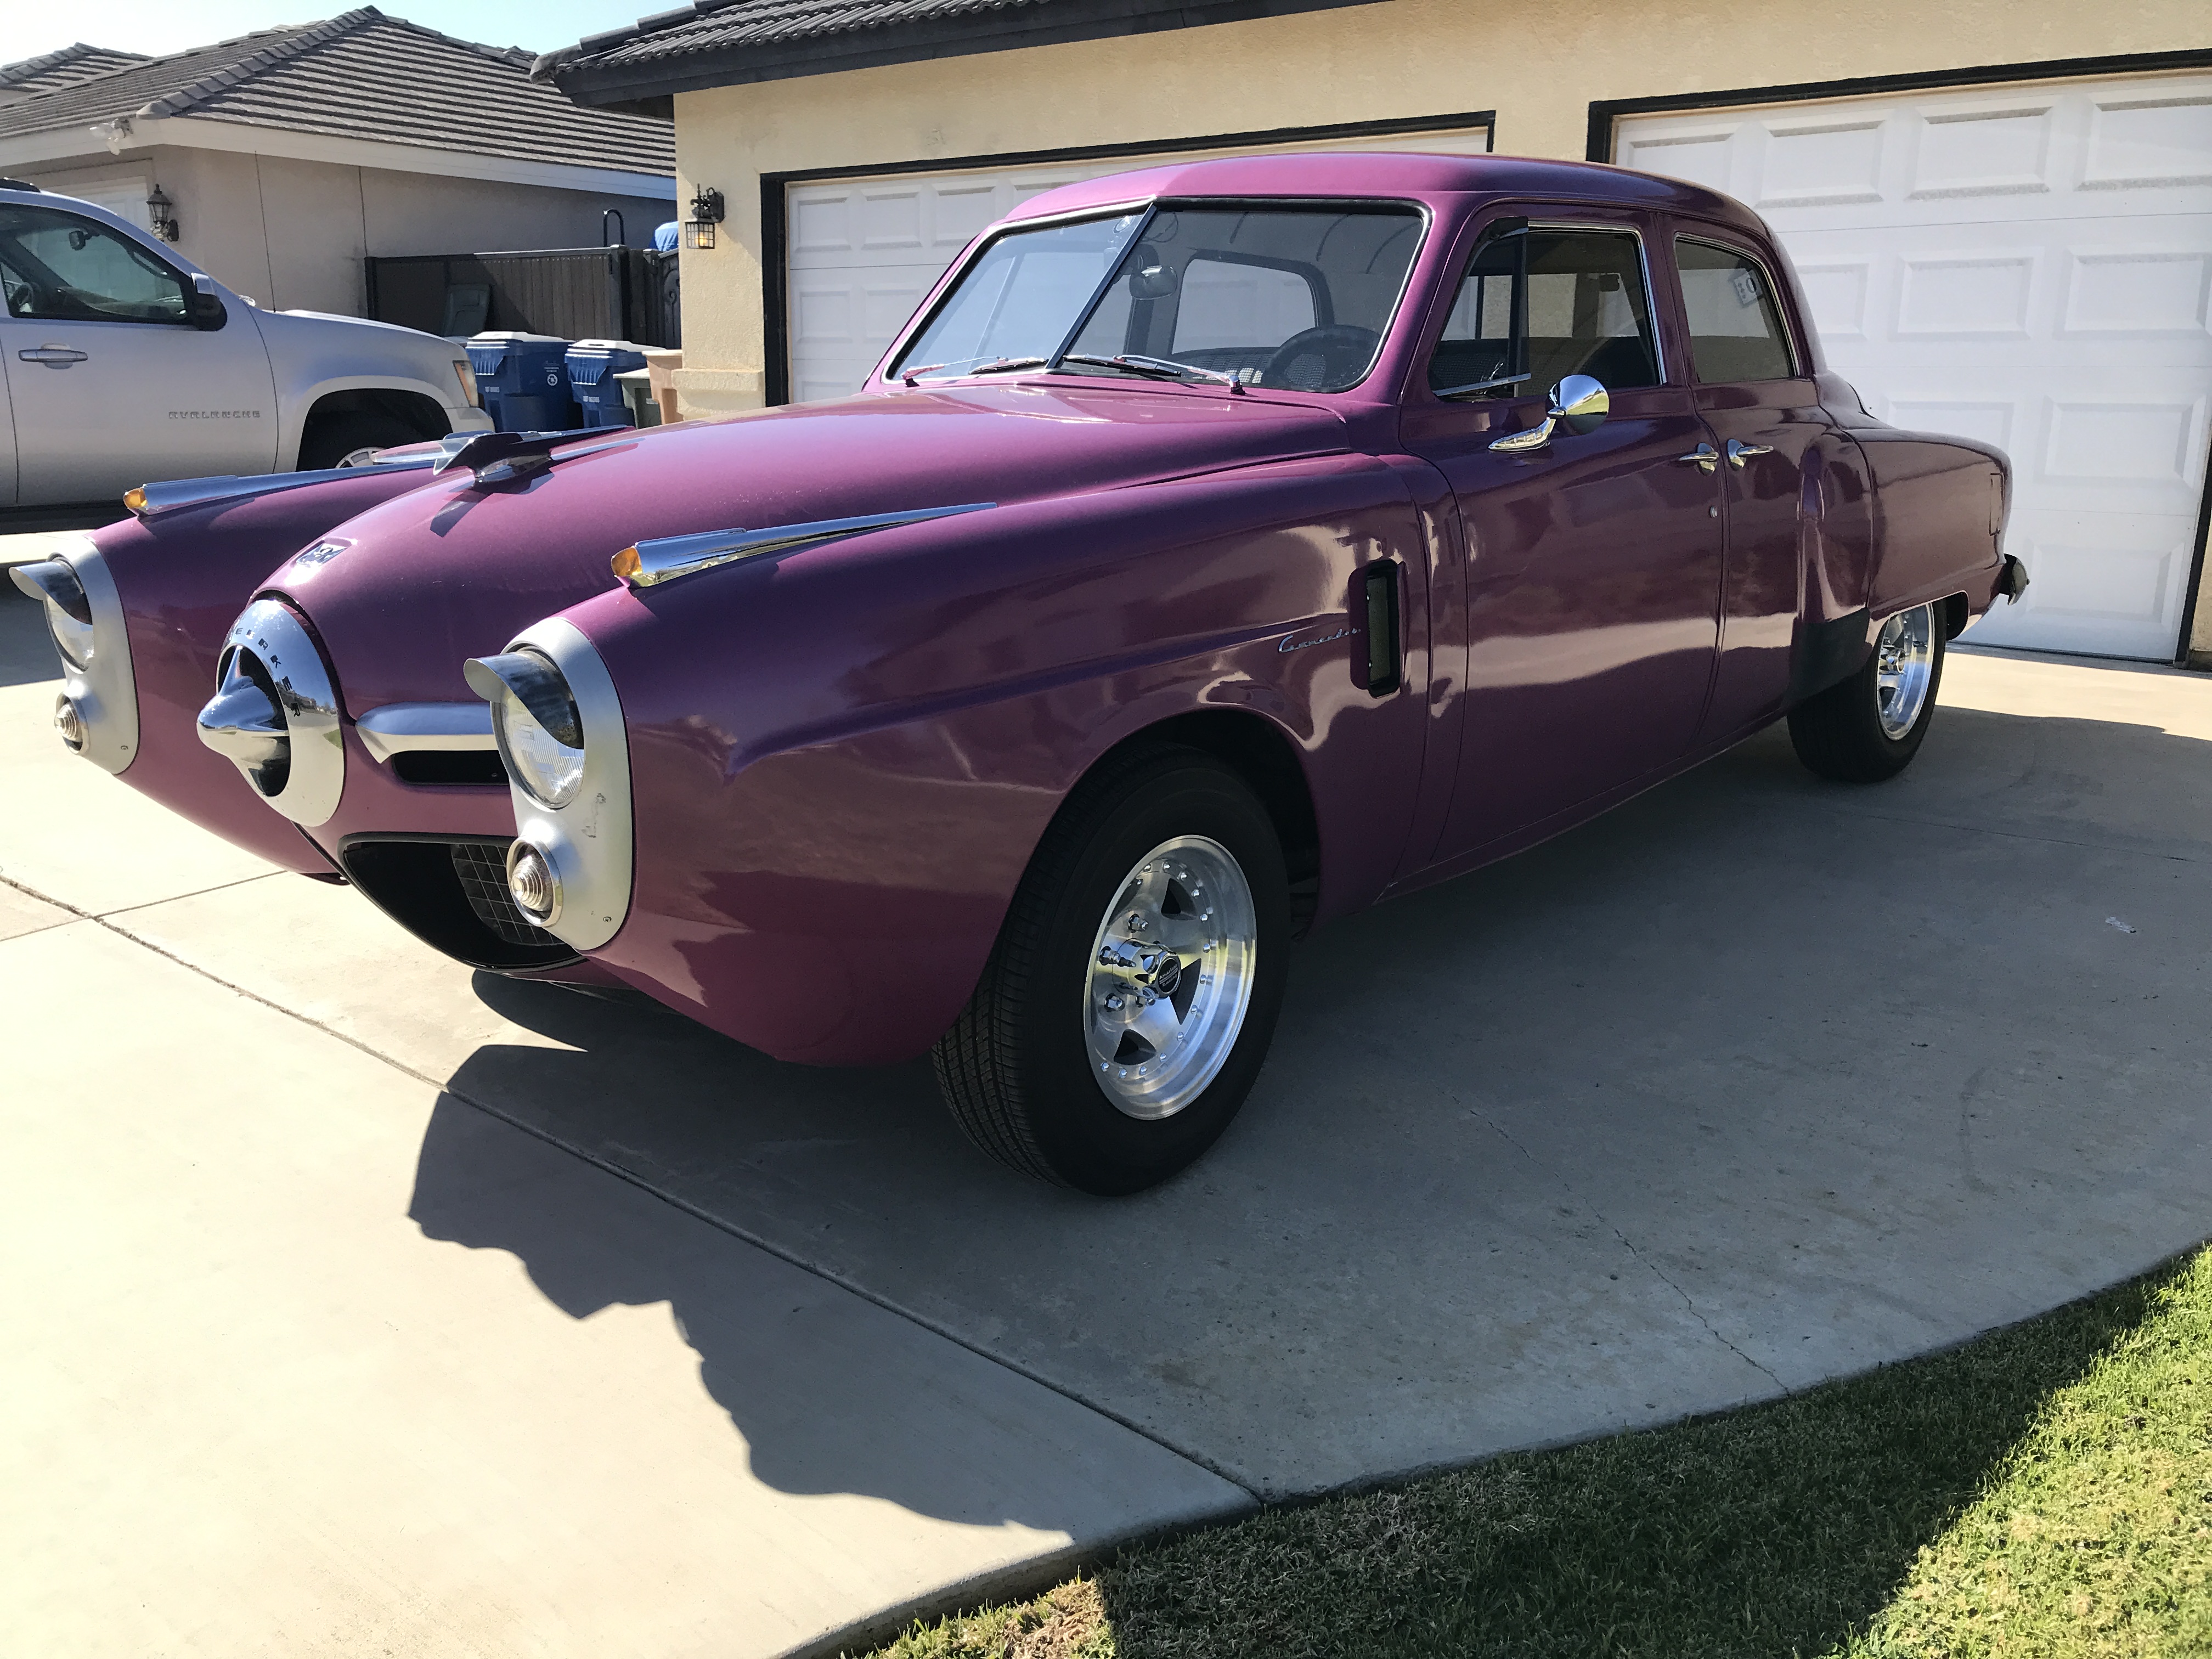
Note: The gravel guards shown above were fabricated by the previous owner (we swear we did not mention him just to do so) out of some type of spray on rubber?. Future project anyone‽
After the final trip to the tire shop, to mount the tires, we paid particular attention to the way the hub could be seen through the rim, (you can get a sense of this in the photo above) With modern cars - yes you can see the disc brake rotor and calipers. We believe sometimes this is the point of the rim. On our 50' this is not the point so we decided to mute the look by painting the hub a flat black.
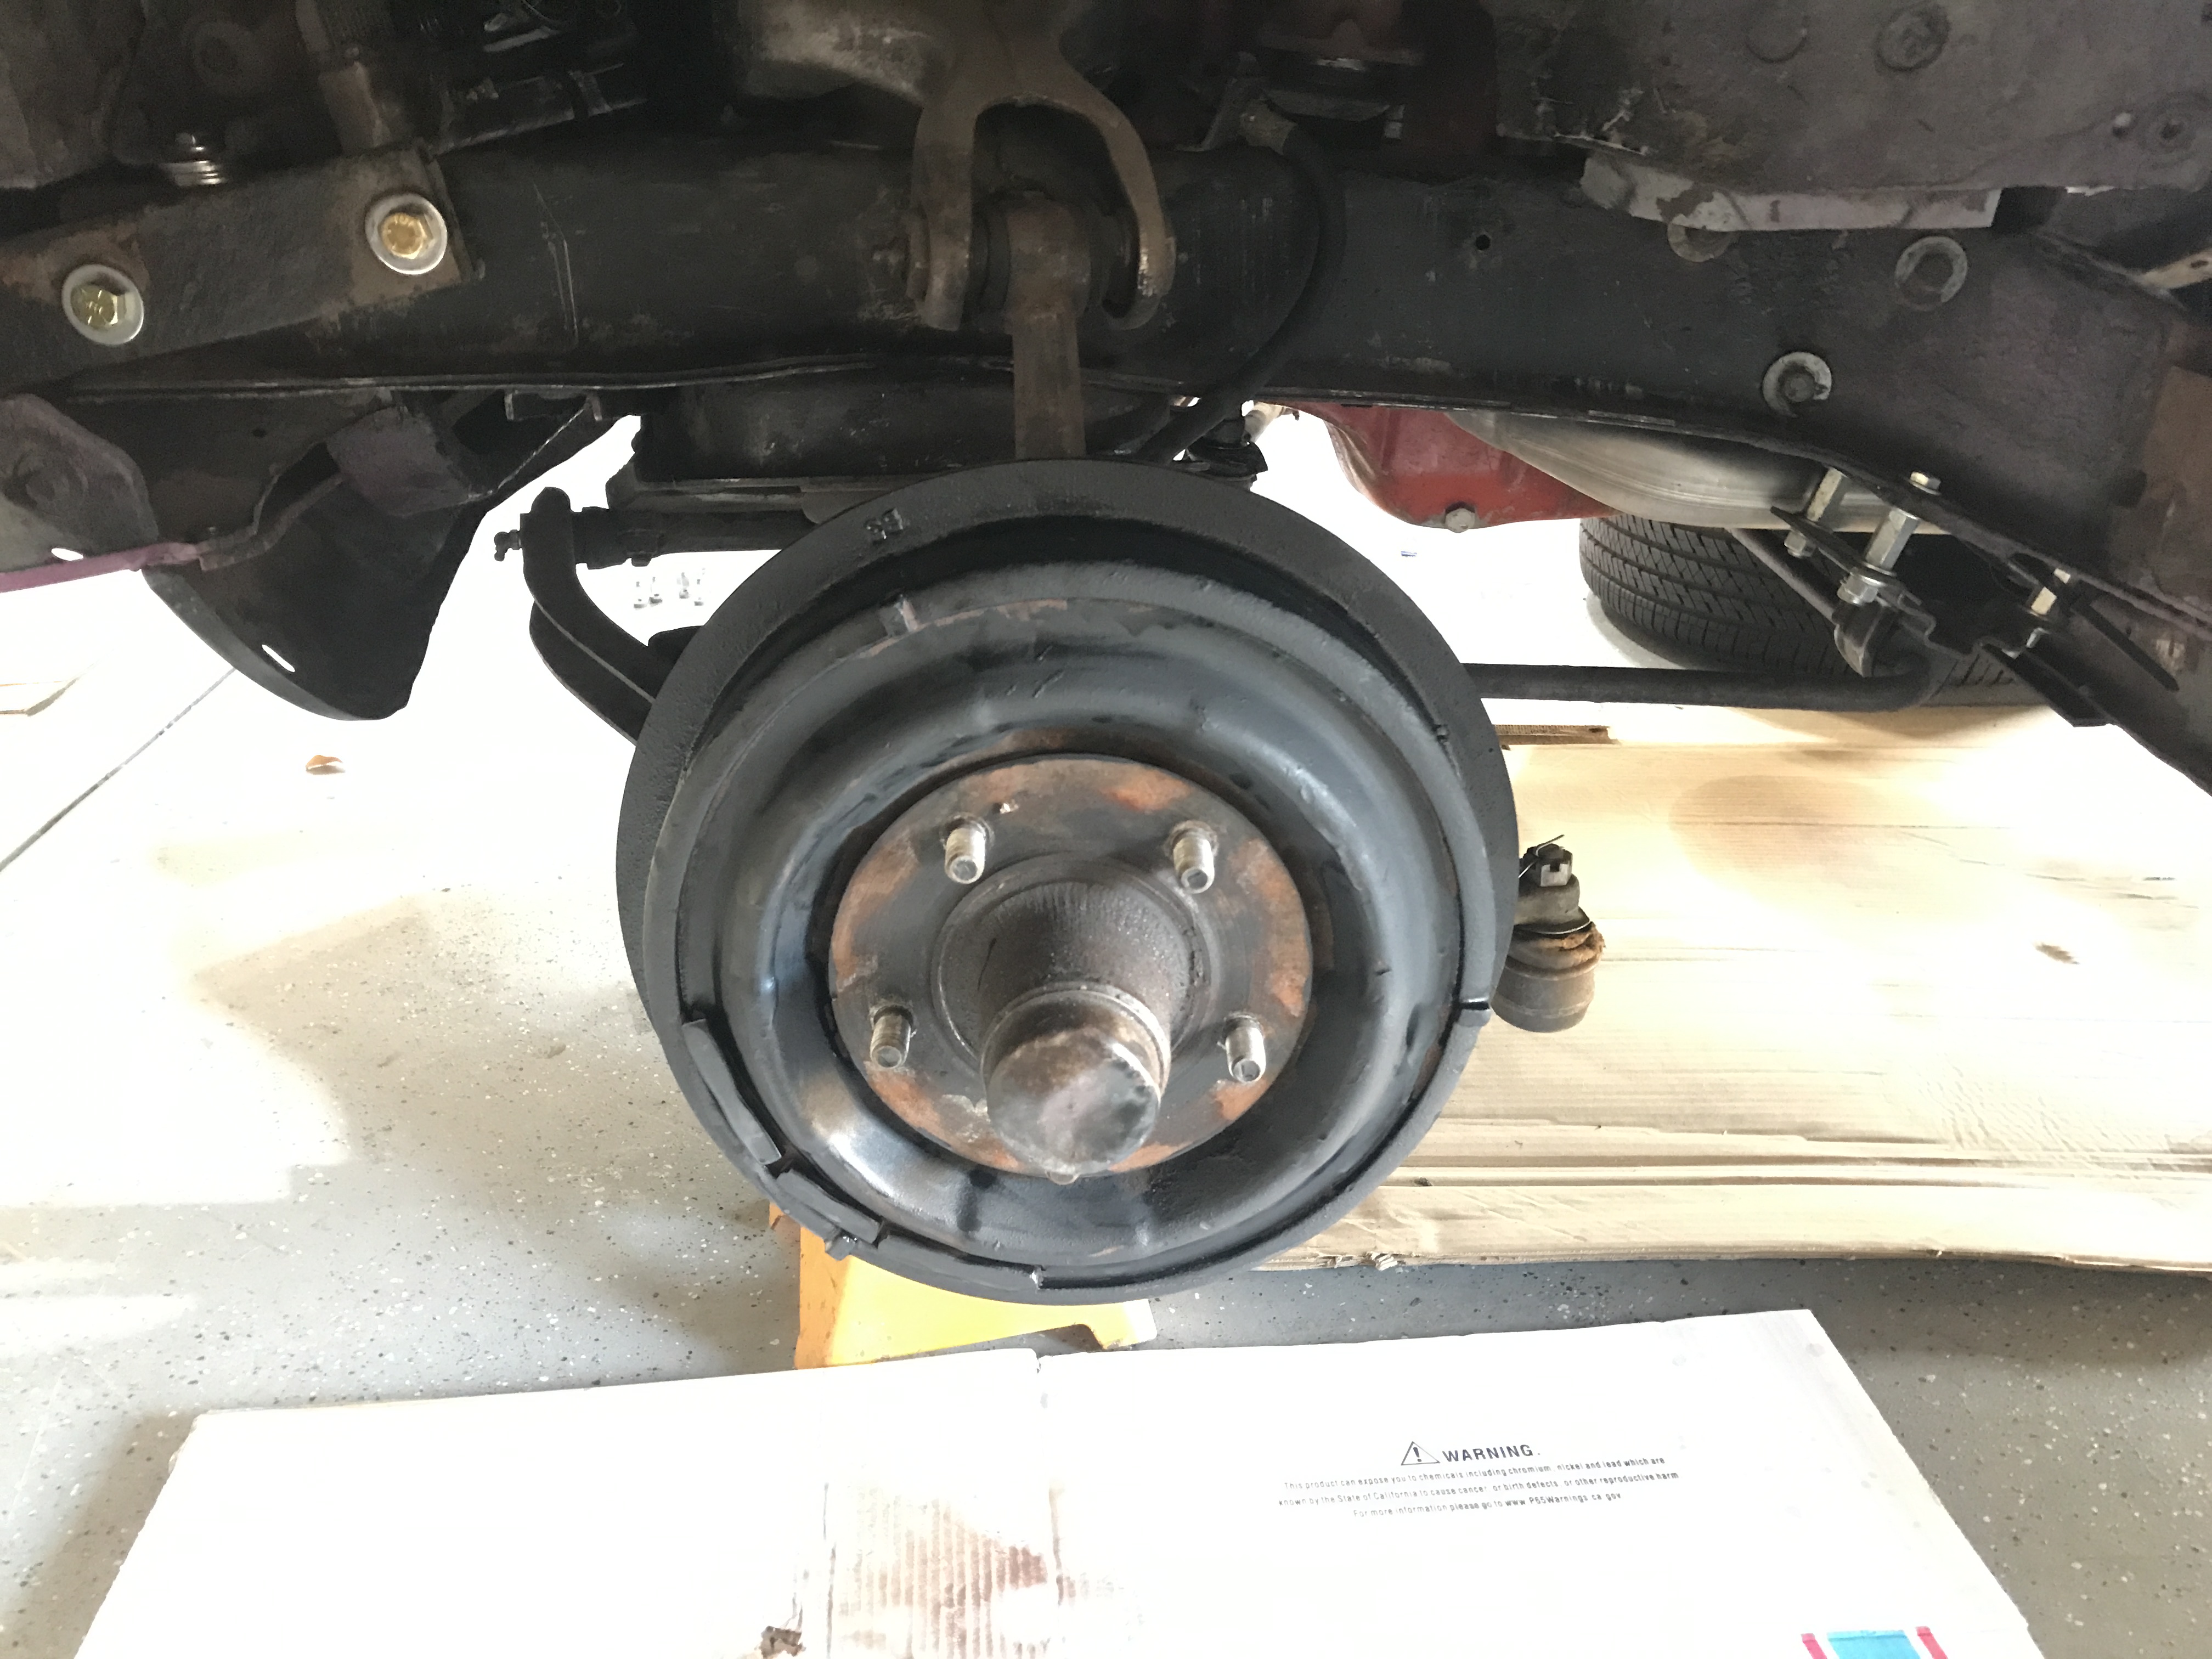
We left the mounting surface alone for better contact with the hub and the fact that it will be covered by the adapter anyway.
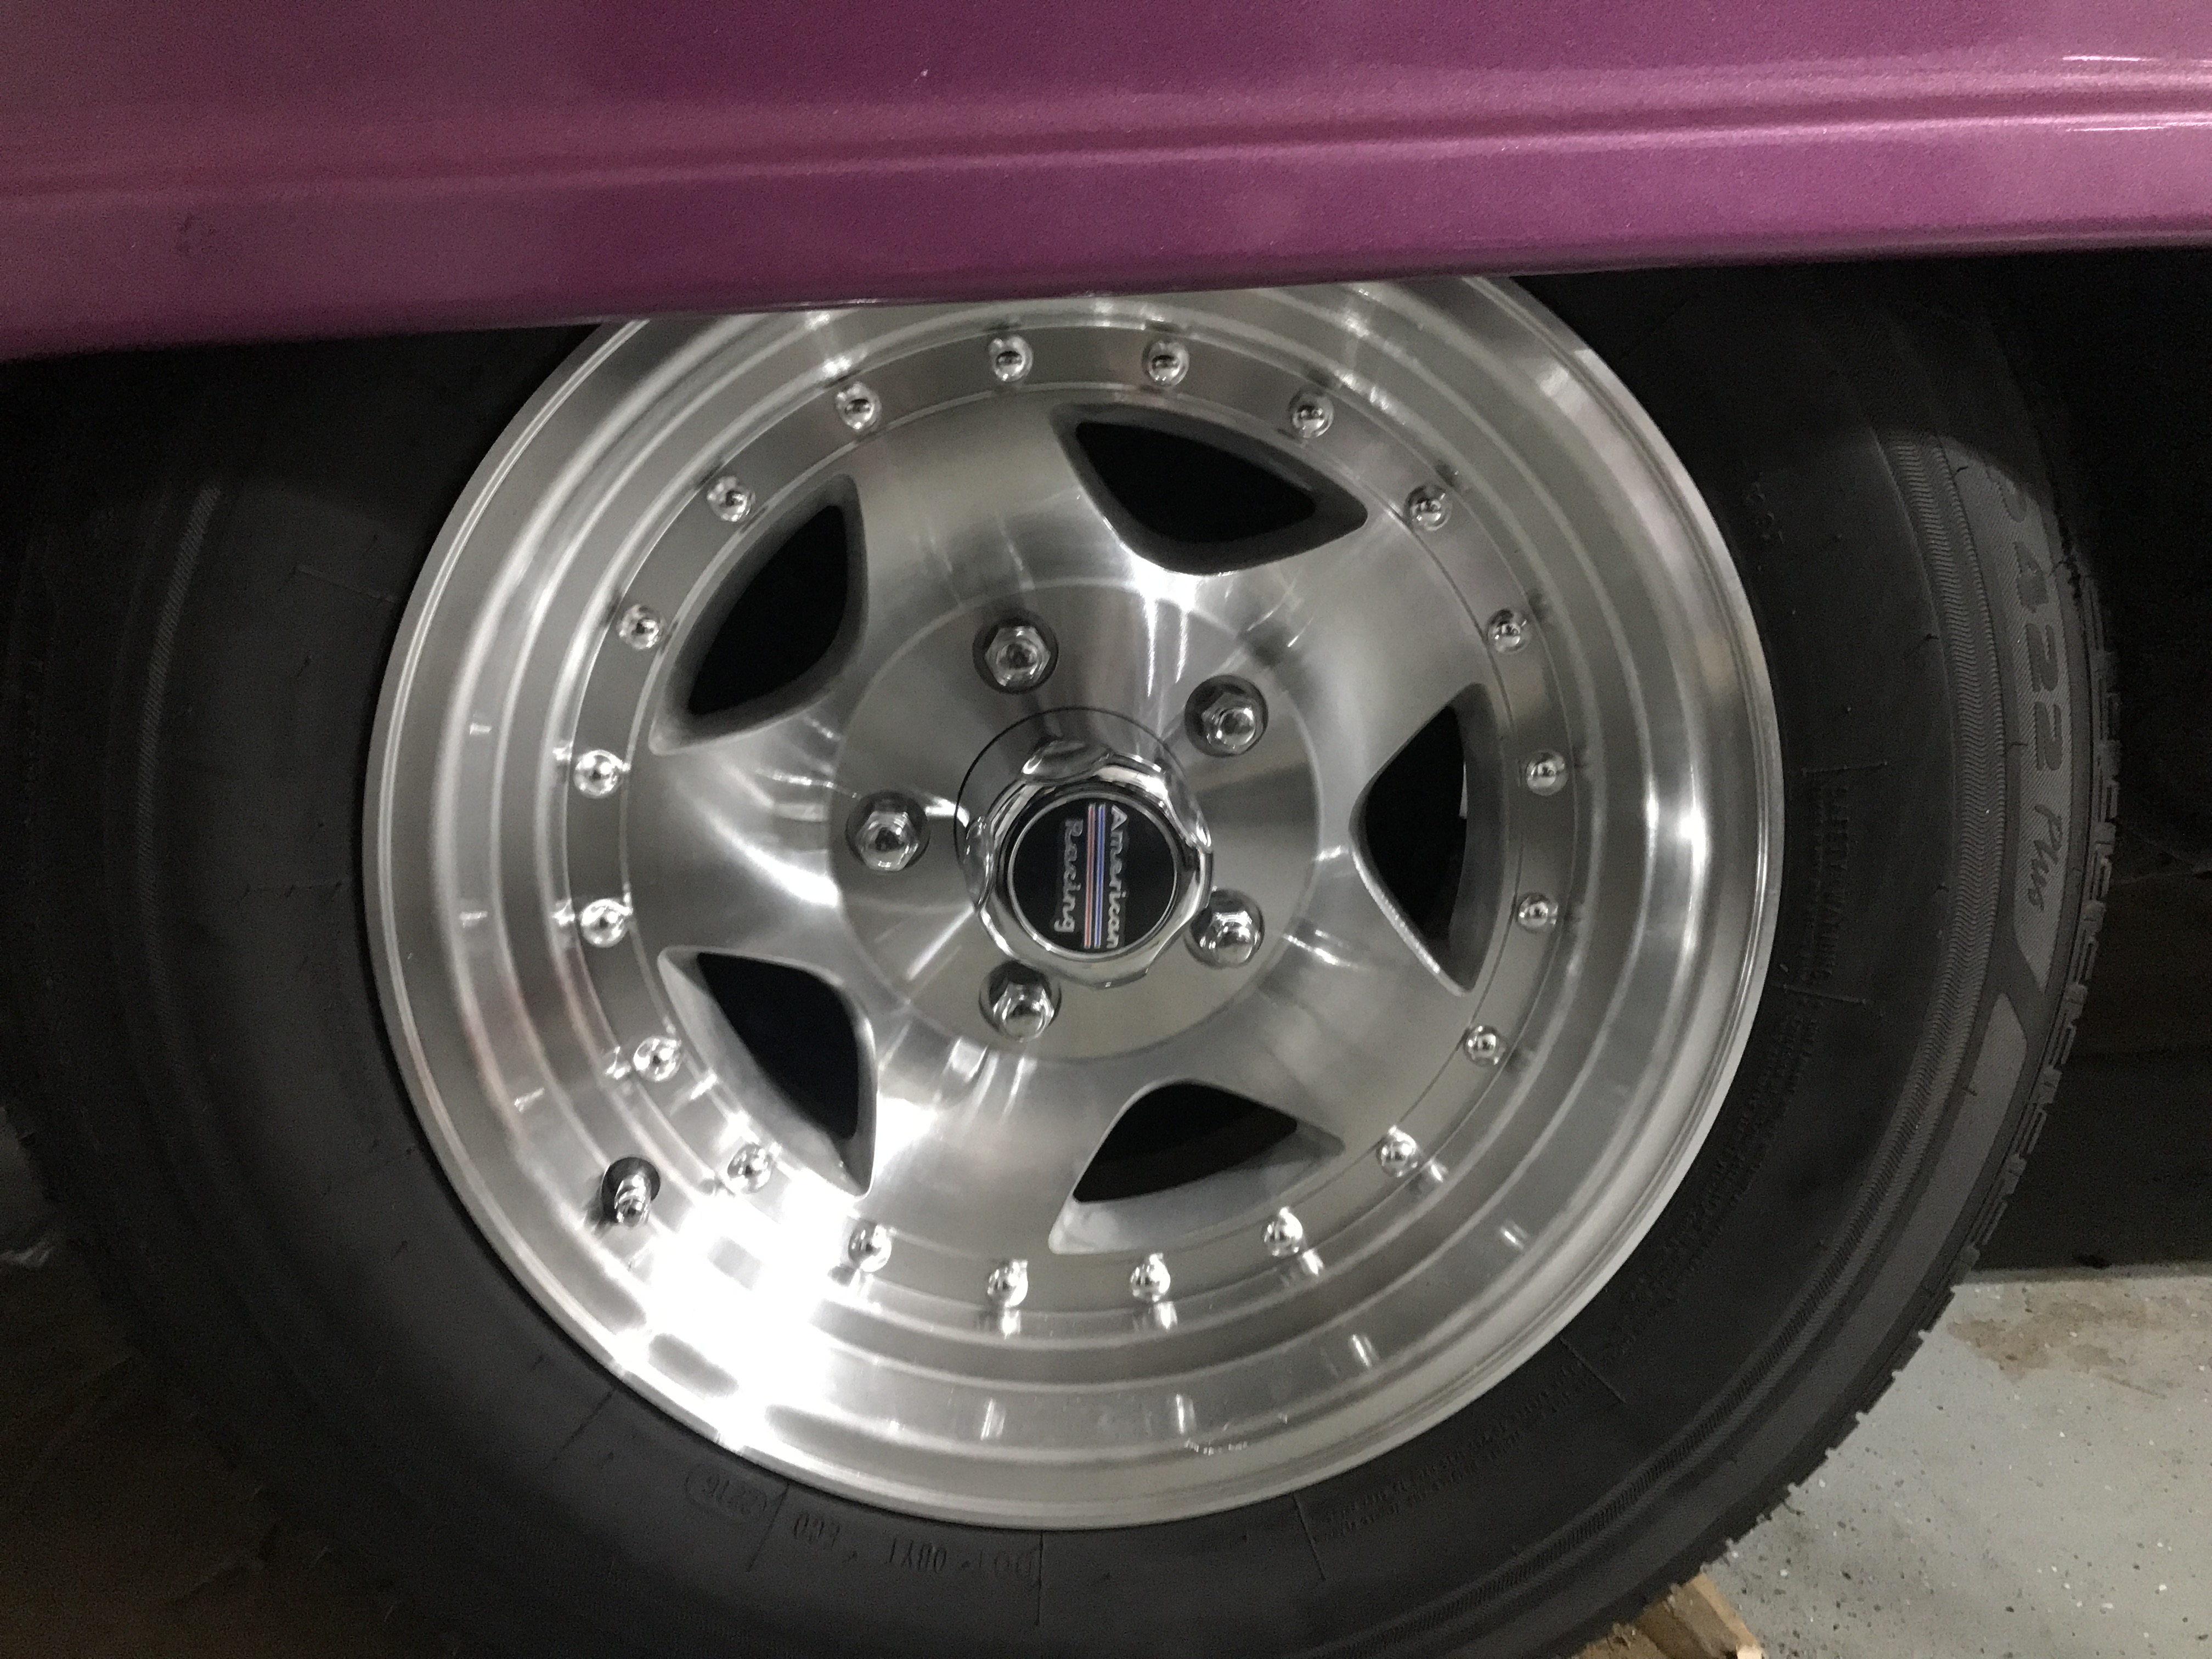
And finally, we have the rims we wanted.
As always, thank you for your time in reading this. Cheers!