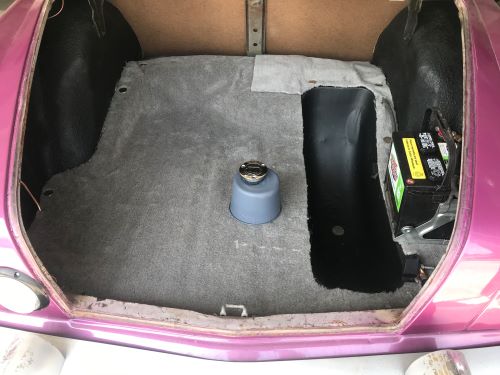
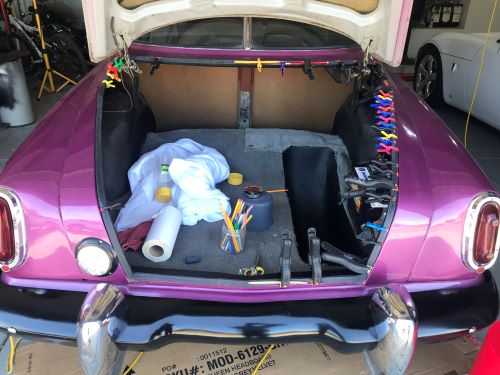
So you know how it is - you see something that you know needs fixed but its a low level item and other things have your attention. Then when those other things are complete the minor item sticks out like a sore thumb. Yep, the trunk seal was bad and we knew it. Once the trunk was cleaned up and carpet put down the seal looked really bad.
Looking over the vendor pages a new seal was easy to find and we got recommendations on the type of gasket seal to use as well as the best orientation of the seam that we had to make when we cut the seal to the proper length. This part was a bit intimidating because too long it would bunch up and too short there would be a gap. Fortunately the material is quite forgiving.
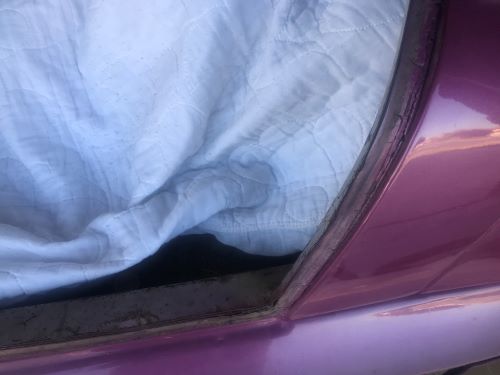
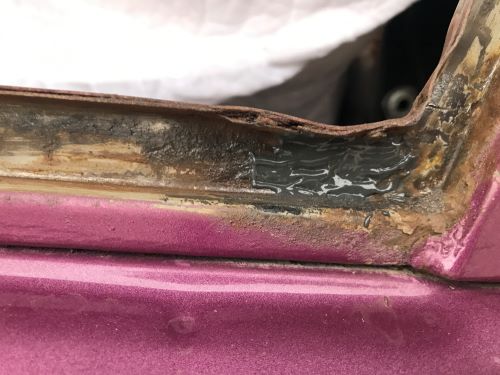
Once we had the old seal out (read as chiseled out) we cleaned the channel and in prep for installation.
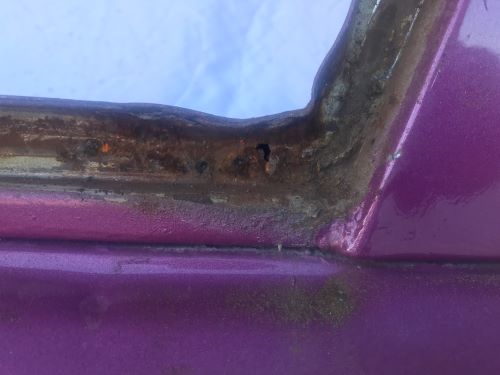
Of course during the removal we found a couple spots of rust (rust we say) in the typical locations - bottom corners. We cleaned this back to good metal and applied some JB Weld (steel reinforced epoxy) prior to installing the new seal.
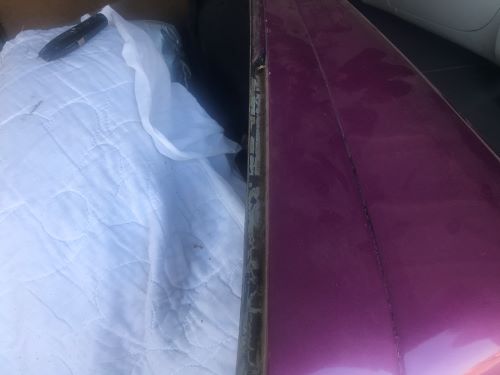
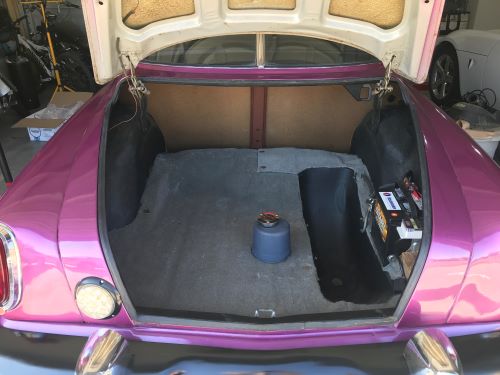
We also took the opportunity to paint the perimeter of the truck. This cleaned up the look and matches the wheel and spare tire wells that were part of the prior trunk work. Then the process of installing the new seal began. The last thing we wanted was to rush the work and have a shabby install. We took our time and used a LOT of clamps. By working in stages and leap frogging the clamps we worked our way around the trunk until we met up with the starting point just right of the trunk latch.
We then completed the painting of the rear seat support bar (in rusty metal brown) and the job was complete.
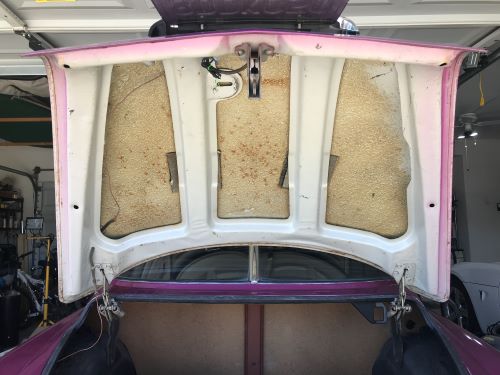
We stopped just short of painting the underside of the trunk lid. We thought about it - we really did. Because we are fans of Steve Magnante's YouTube channel we have heard several times that the trunk lid is the best place to see the original car color. Because we can always go back and paint it - we decided to leave it for a historical reference.
We thank you for your time in reading this and following our work on the ChevyBaker!