For reference:
TPO = The Previous Owner
CAD = Cardboard Aided Design (we are fans of Project Binky)
Ok, not a huge amount of work but...
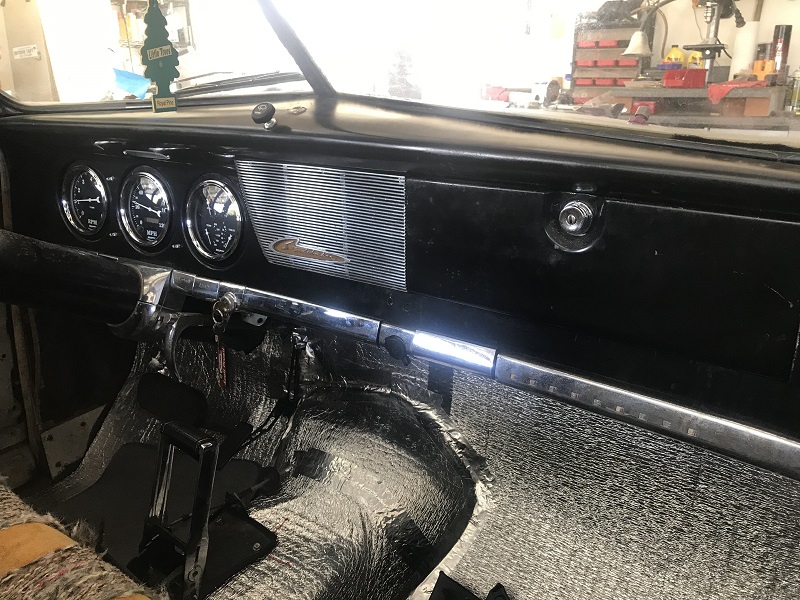
While following some TPO wiring (manual switch for radiator fan) we mistakenly "touched" the glove-box. Of course we had opened the glove box door previously but we actually touched the cardboard and well, we broke it. It was already broken but we tried to move it just a bit. Needless to say the 68 year old paper decided to give one last hurrah and fell to the floor with the saddest sound ever.
Well, we have a metal break and decided to just build our own. First we used CAD to flush out a shape and gave some thought to how we would mount the new box. We removed the sad little bits from the dash. Bent up some metal - drilled some holes - and began test fitting. As usual the first back panel was a complete failure and we drastically simplified the design.
Some of the thoughts that went into the process were:
- Do we fold in the back for wiper pulley clearance or make it shorter in the back?
- Do we pop rivet the whole thing together, in place, or try to bolt it in order to make it semi-removable?
- Do we leave it metal or do something else?
- Do we need a glove-box light?
We decided to make the bottom and sides from a single piece and by flexing the sides a bit we can installed it though the front. The back panel is folded under to create alignment holes to attach to the sides and bottom. The back, which has the relief for the defroster was also bent over to allow room for the wiper pulley, was inserted from below, aligned with the holes and bolted together. This means we "could" in the future remove the box if needed. We added a bracket that runs from the bottom front, along the bottom to the back, and then turns up. This has a captive nut welded onto it and we could use a short bolt from the inside. This stiffens the unit considerably and was a simply solution.
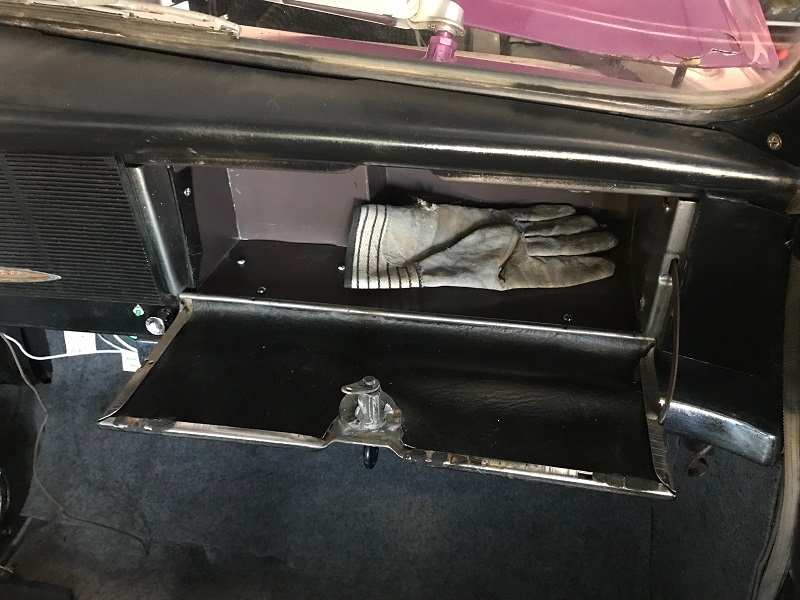
After a couple days of looking/touching the box we decided that while our upholstery skills are nil we could use some 3M glue and wound up using a heavy felt.
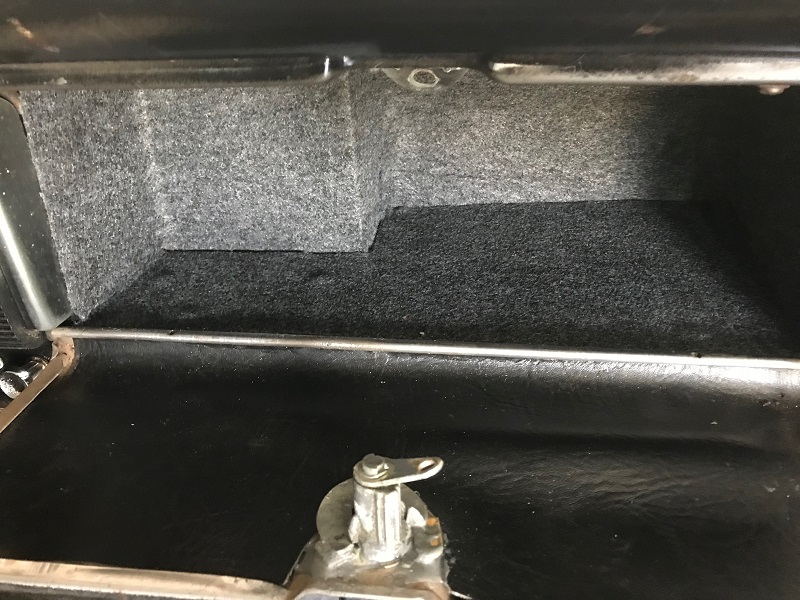
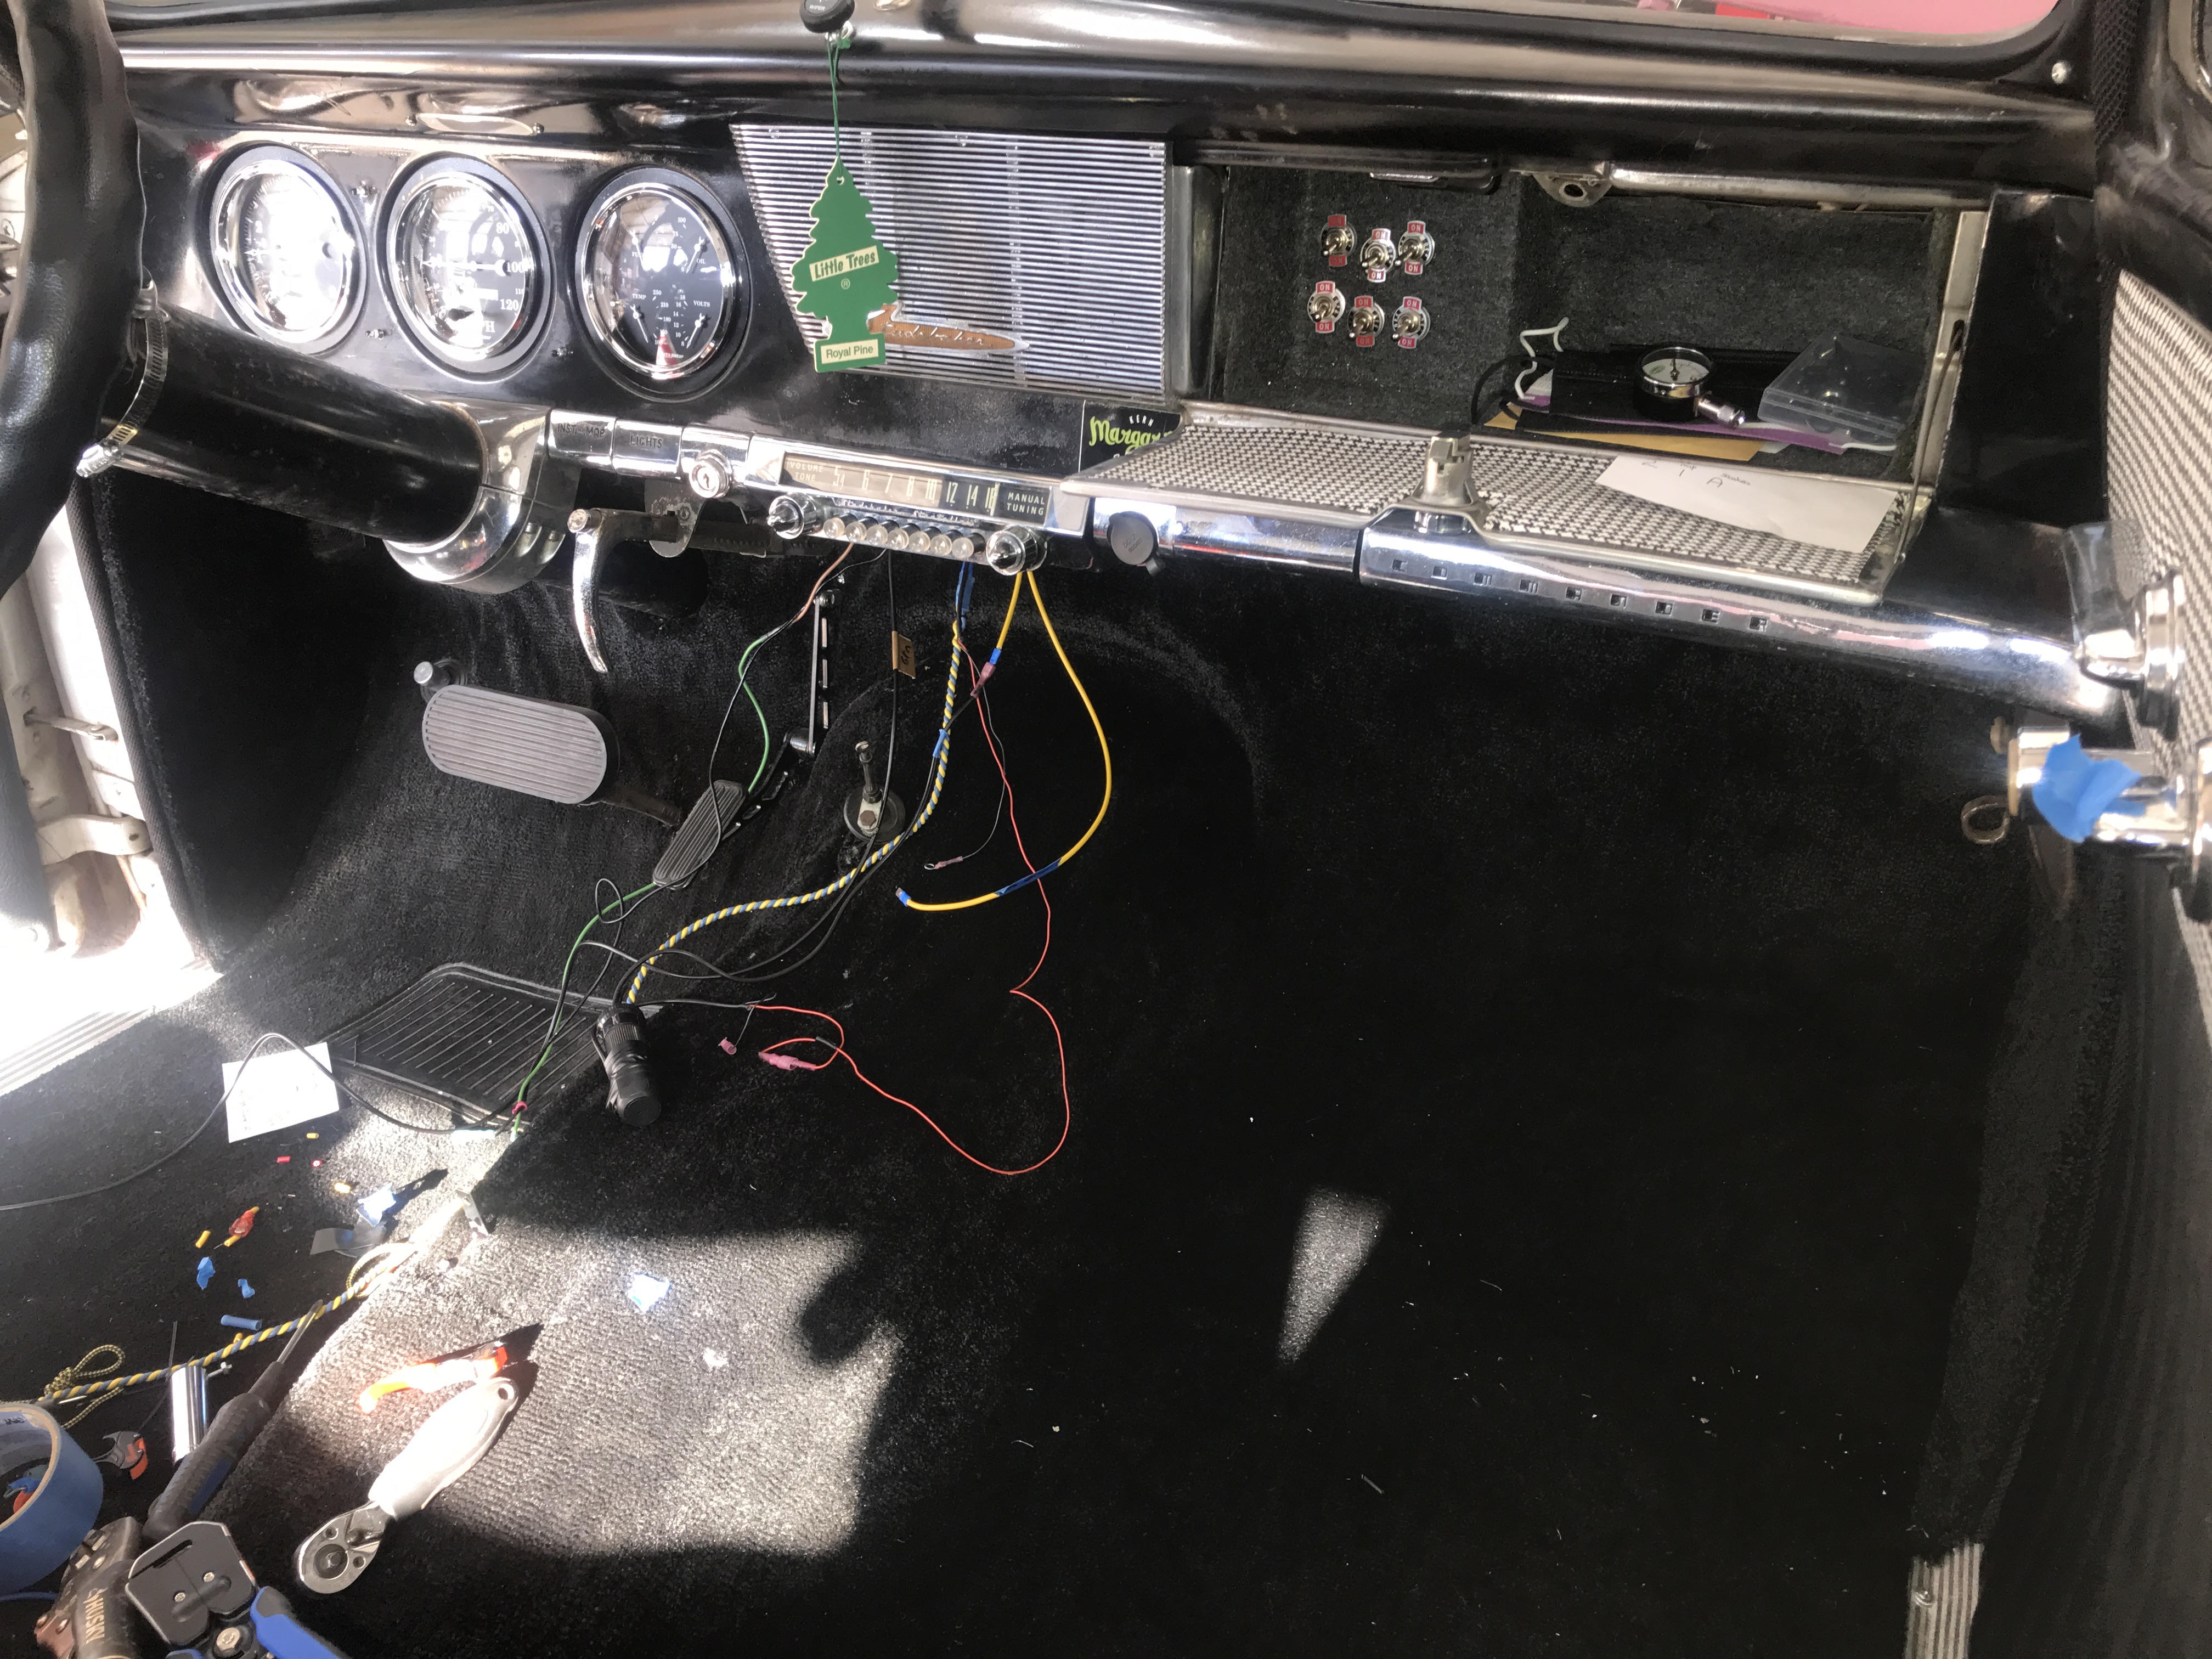
While we had/have plans to make a top for the box we may just leave it open to the dash underside. The sides are as high as possible and there is no fear of anything falling up/out. To the light... TPO did an odd bent washer type of mount for the door moment switch which looks original. The wiring was junk and while there was a switch there was not light connected to it. We scrapped the idea of adding a light and will re-purpose the wire (hot on ignition) for powering the cigar lighter (AKA USB charging port)
The lock has always been an issue. You see - the Previous Owner (We really are running out of stuff to blame) used two part epoxy to glue in a lock, not THE lock but “A” lock. The lock had a tab mounted on the back end and if you did turn it it would hold the door closed.
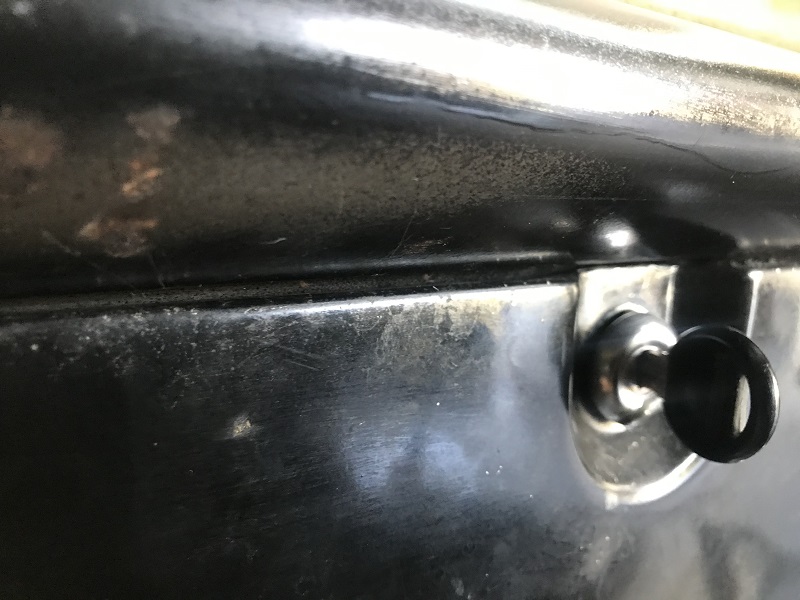
Notice we did not say it would “Lock”. If you put anything in the key way it would turn the cylinder and the door would open. With some help from the Studebaker Vendors page we found an original lock cylinder and installed the same. We now have a key that actually locks the glove box AND works the trunk lock (once we install the new lock cylinder).
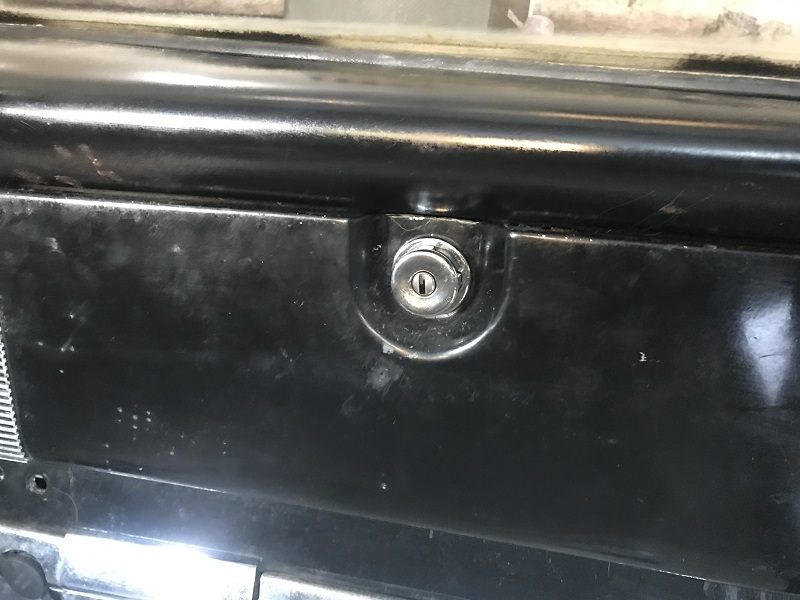
Not really a “project” but more of a bolt on solution but we did have to do a “little” work getting the old one out we we think this counts. We continue to debate if we will attempt to restore the glove box door. Yes we hear you, “You had the door almost off when you removed the radio grill!” Well, yeah - you’re right. We overlooked it then and may “redo” the effort in the future.
Update: The glove box lock is being repinned to use the door key!
Update on the Update: Well the Studebaker Glovebox lock was tougher than the locksmith as they were unable to get the lock apart. They were however able to make a key for the lock which is weird because when originally called they "did not work on classic cars!" Regardless, the ChevyBaker has 4 keys, the ignition, trunk, doors, glovebox.
Update3: With thre Radio Mod project came the new glove box door.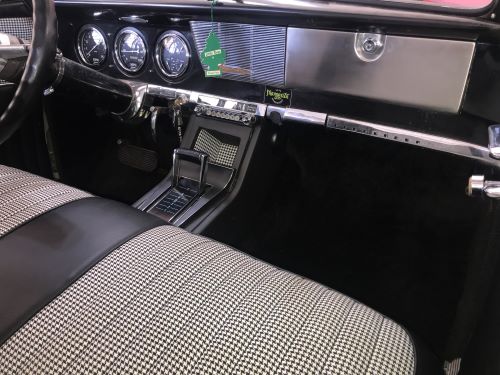
And a bunch of switches that direct current directly to the component or to the radio controlled switches. This was done as a fail safe in case a switch in the radio fails.
You can also see in the above the inside of the glove box door matches the upholstery.